Research/Reference
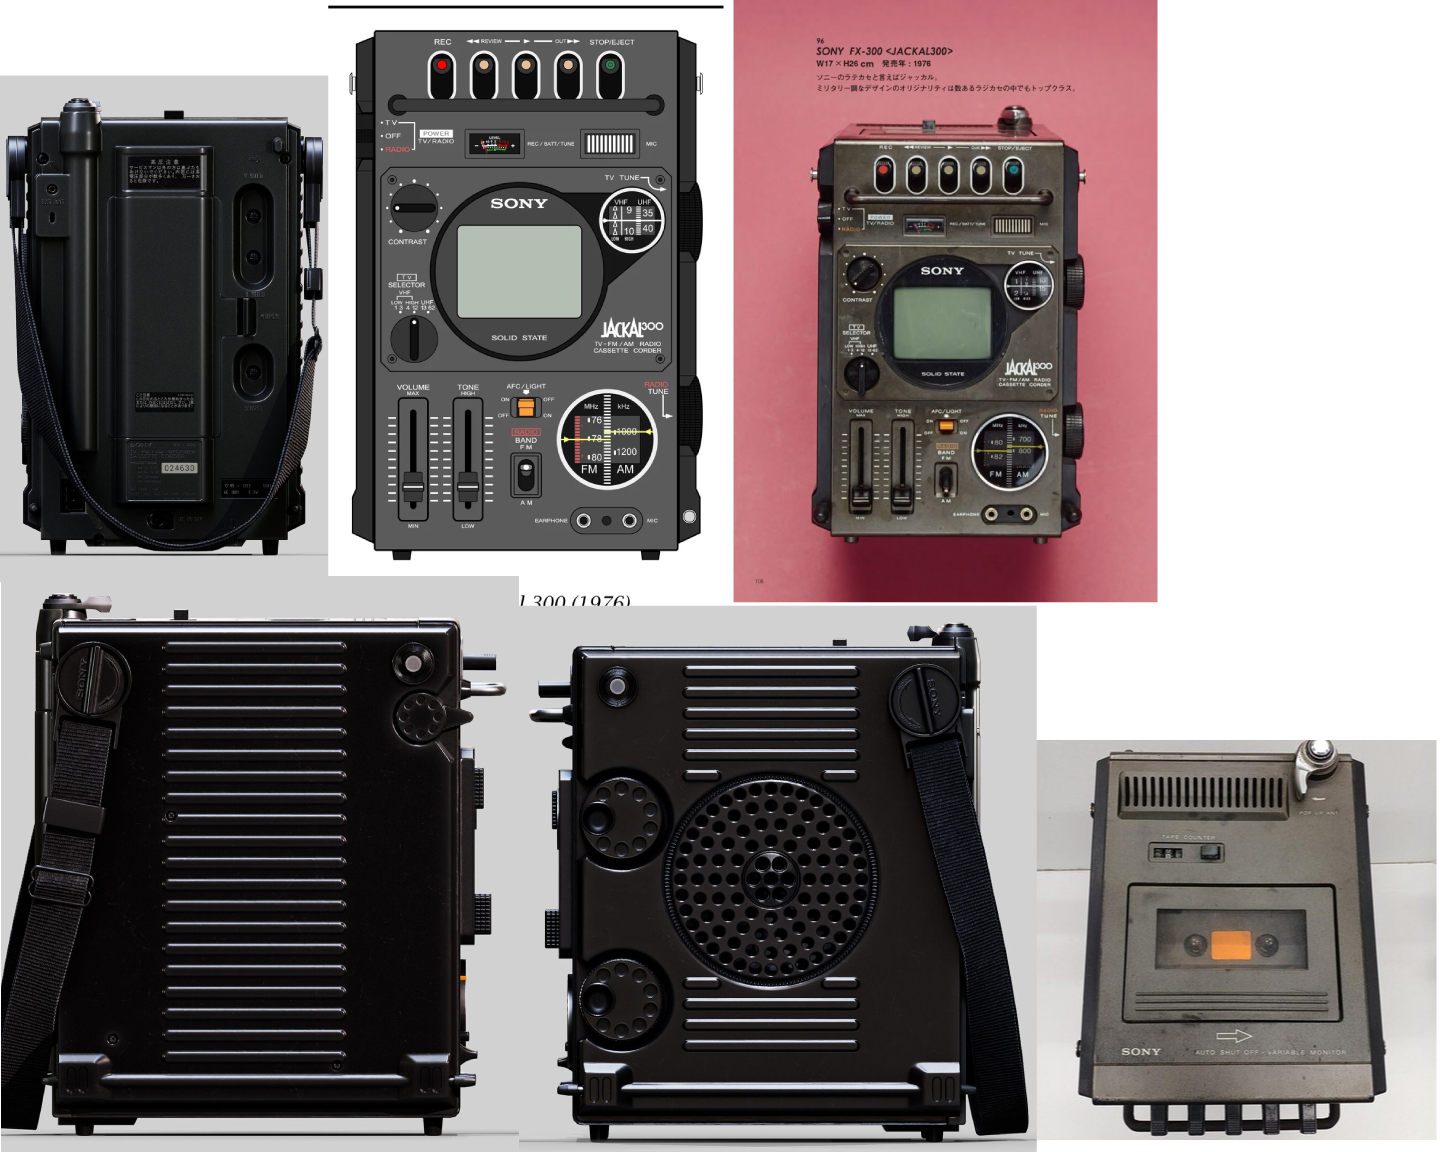
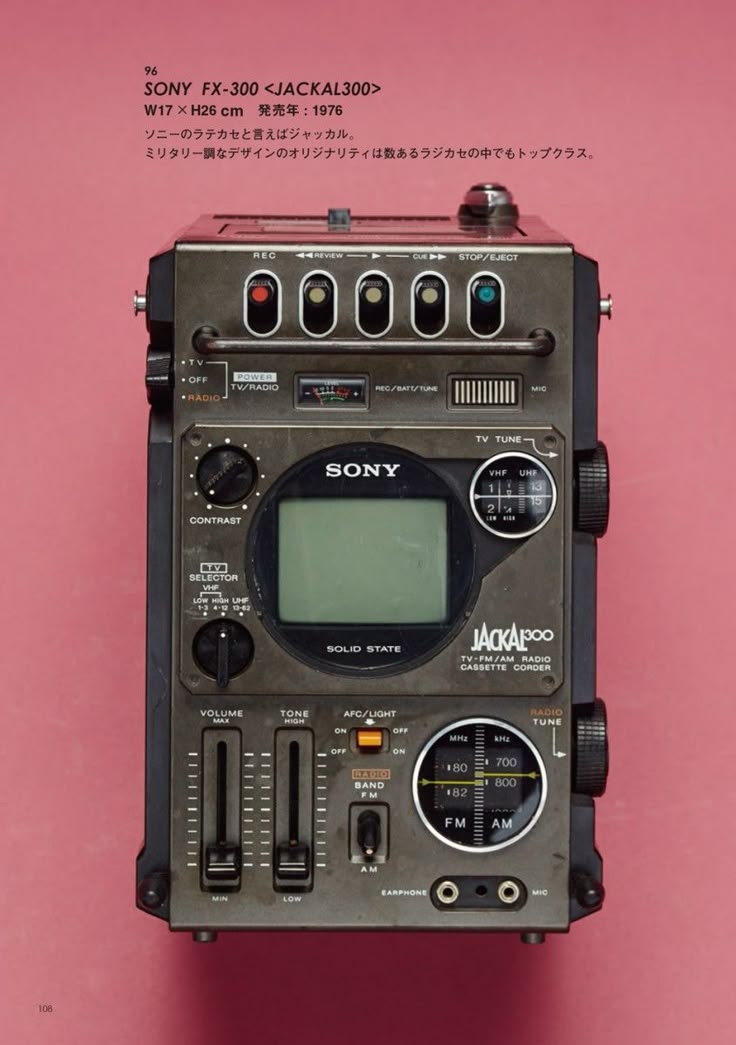
Choosing an Object for Highpoly Model + Gathering Ref
For this project, I ended up choosing something I thought would be both challenging, and fitting for my overall interior model assignment. I ended up finding what I'd want to model rather quickly, and immediately got started with finding useable references.
High Poly Model
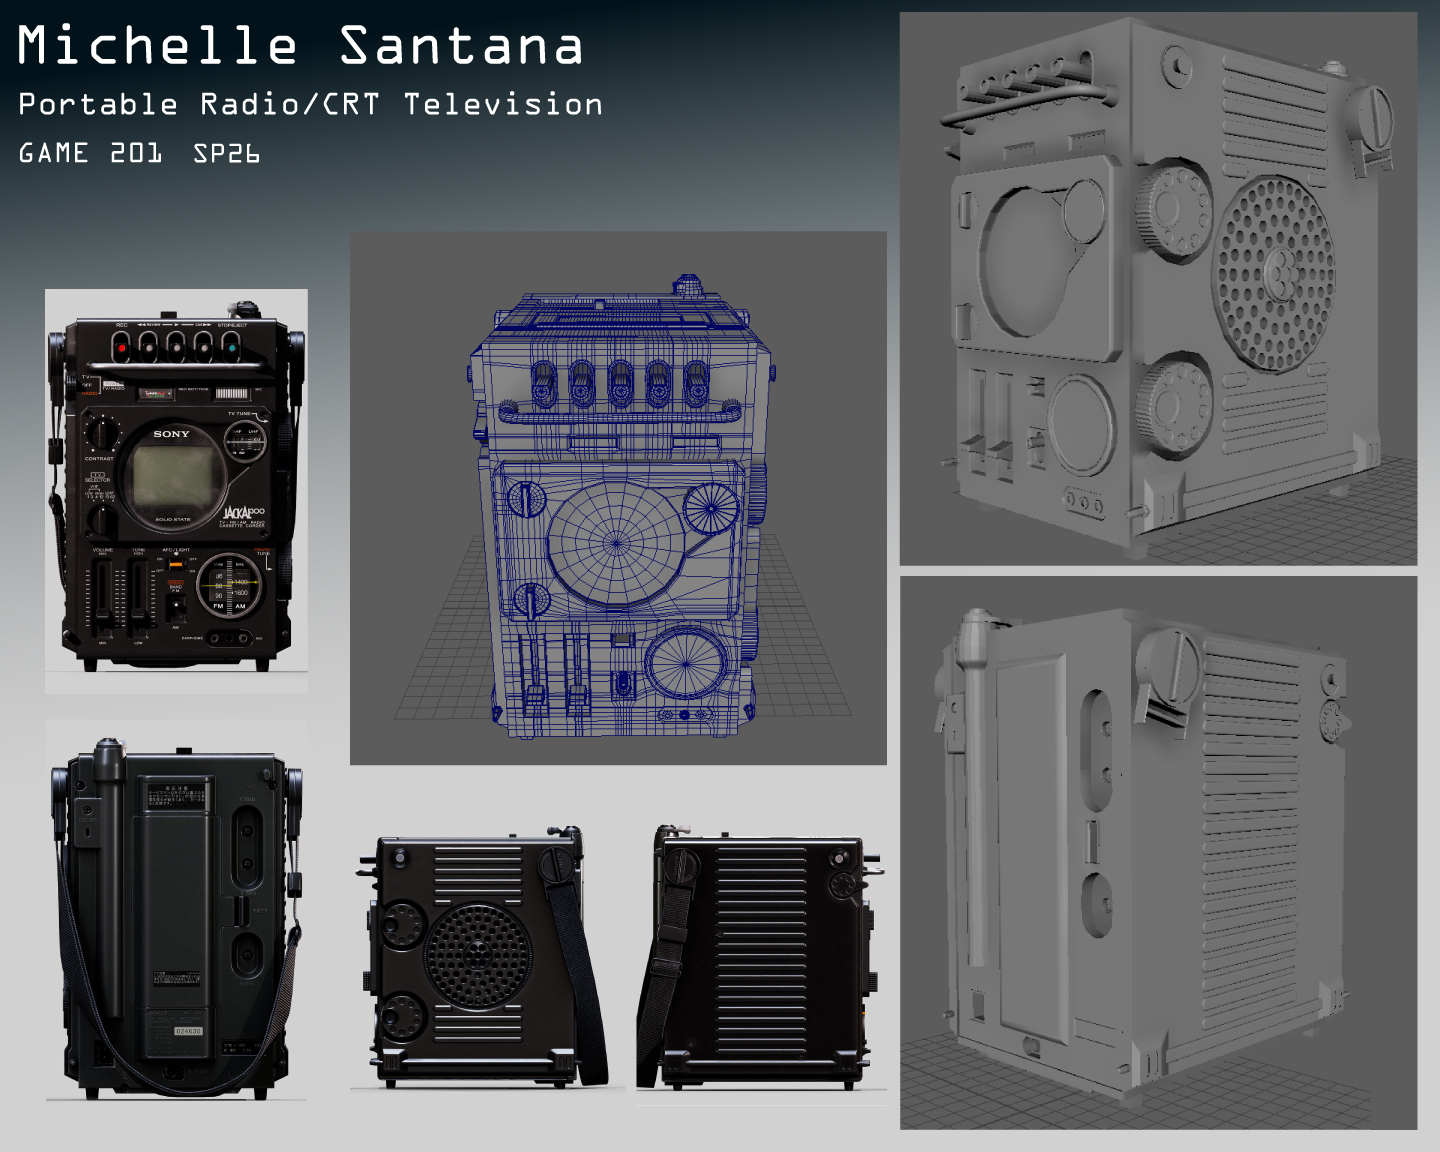
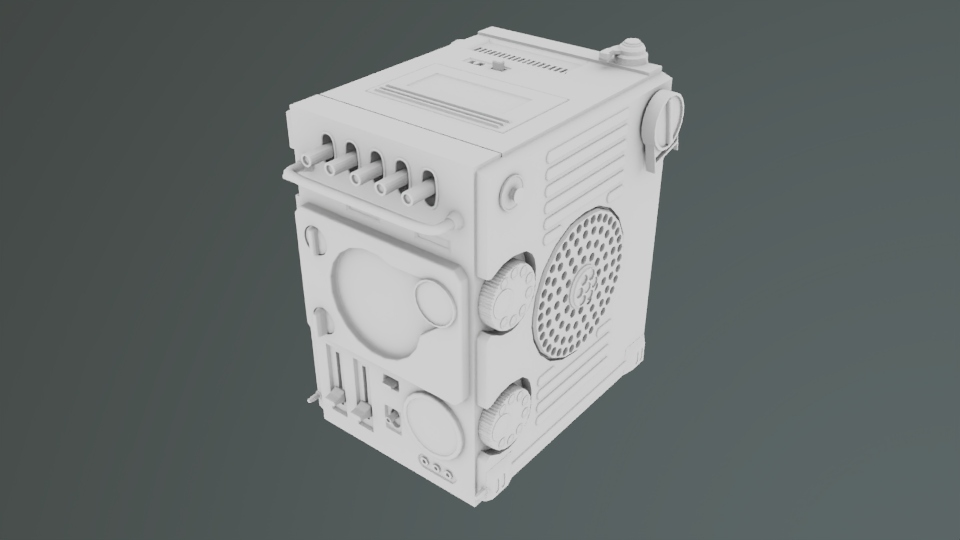
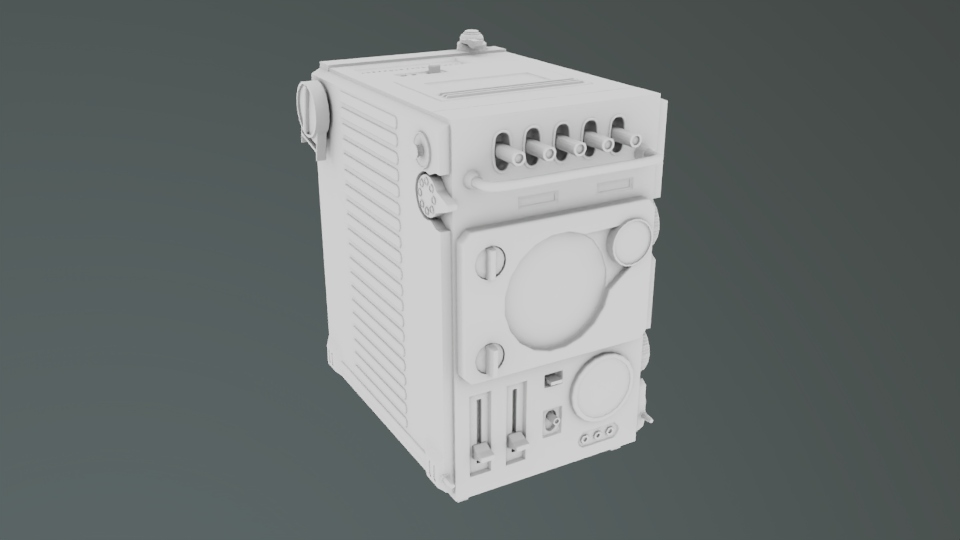
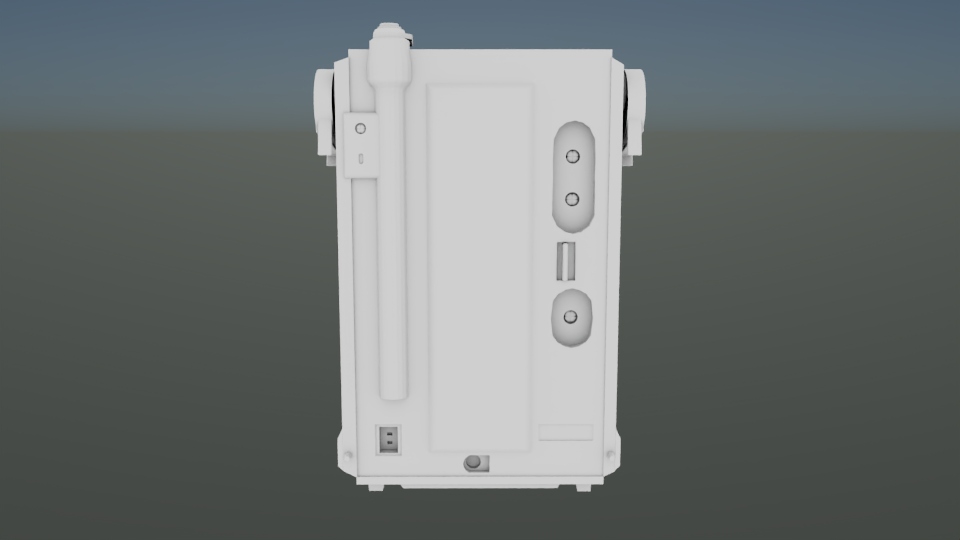
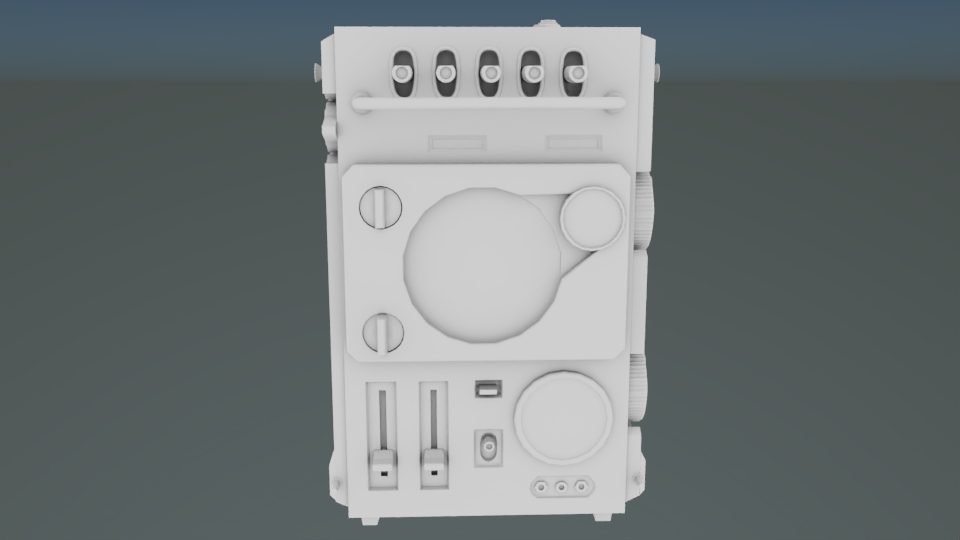
High Poly Modeling
During this stage, I ended up restarting my model atleast three times. I would start the model as one object, and would try to extrude from there. However, after further research and trial and error, it became clear that I needed a different approach. I broke the model into six different sides, making sure to focus on each side individually. I was not fully paying attention to edgeflow or artifacts, which actually caused me to redo the front side of my model.
I utilized booleans, the multi-cut tool, and inserted edgeloops evenly for a symmetrical object. However, I did end up having n-gons which needed to be cleaned before I could actually use Maya's texture baking function. The process of creating this model taught me how I needed to be more aware of how I am building objects in order to reduce time spent on clean up.
Low Poly/UV/Normal Map
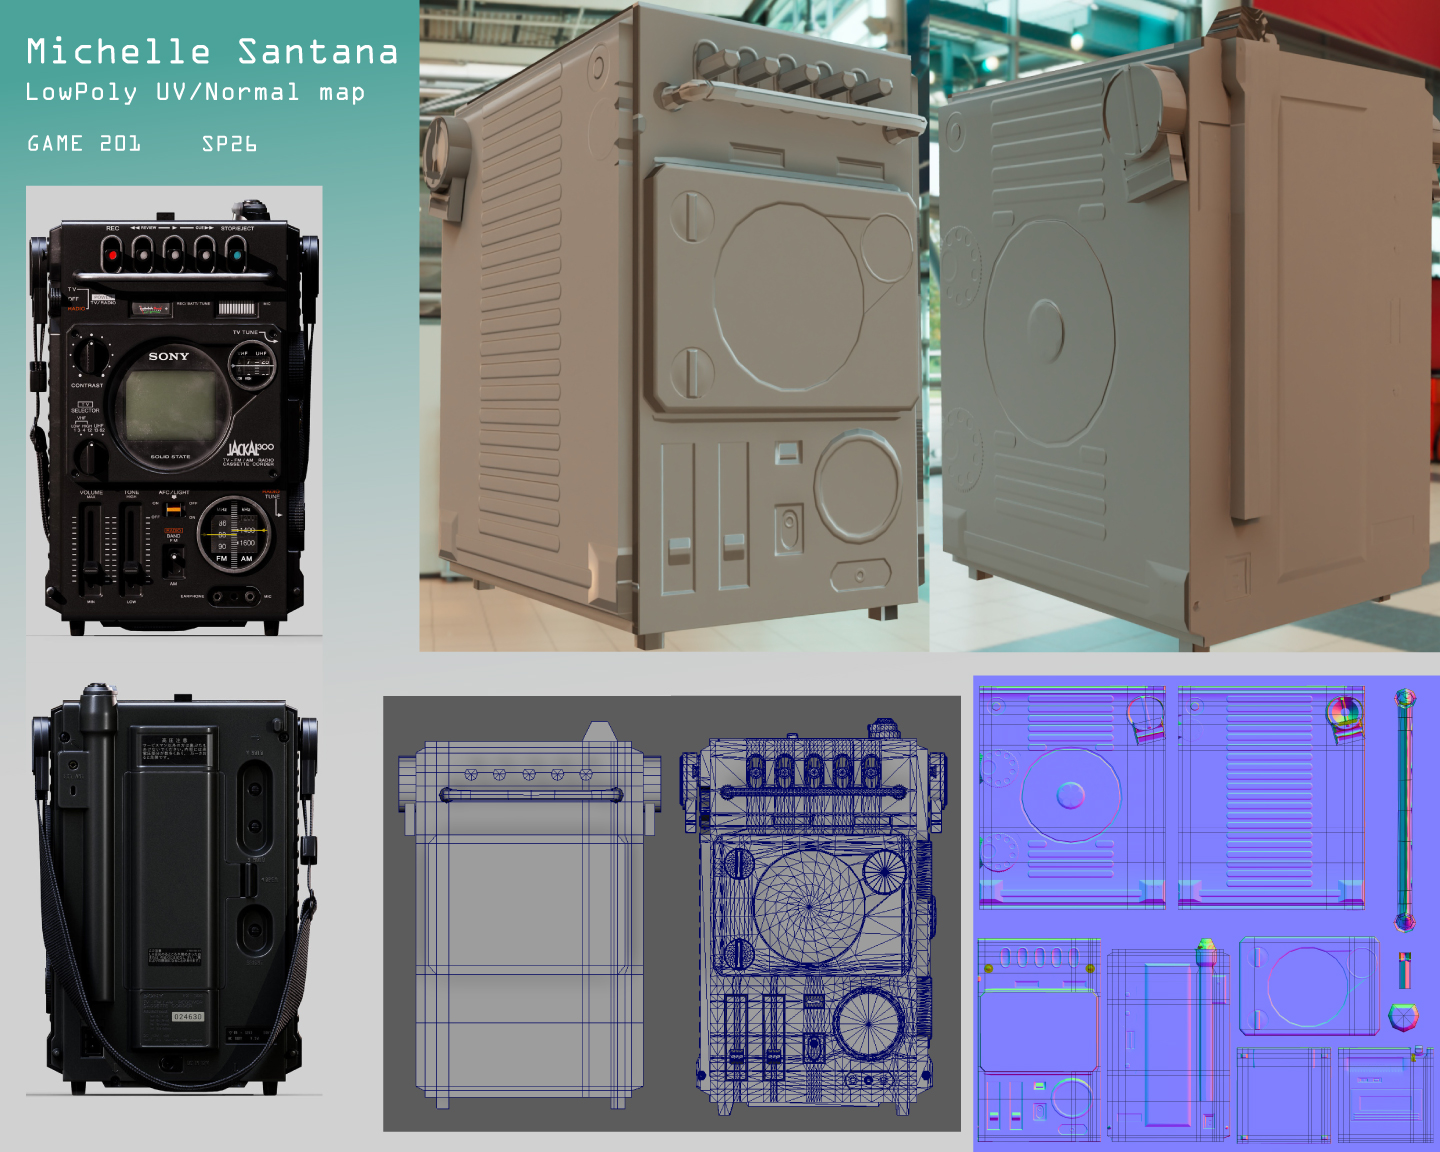
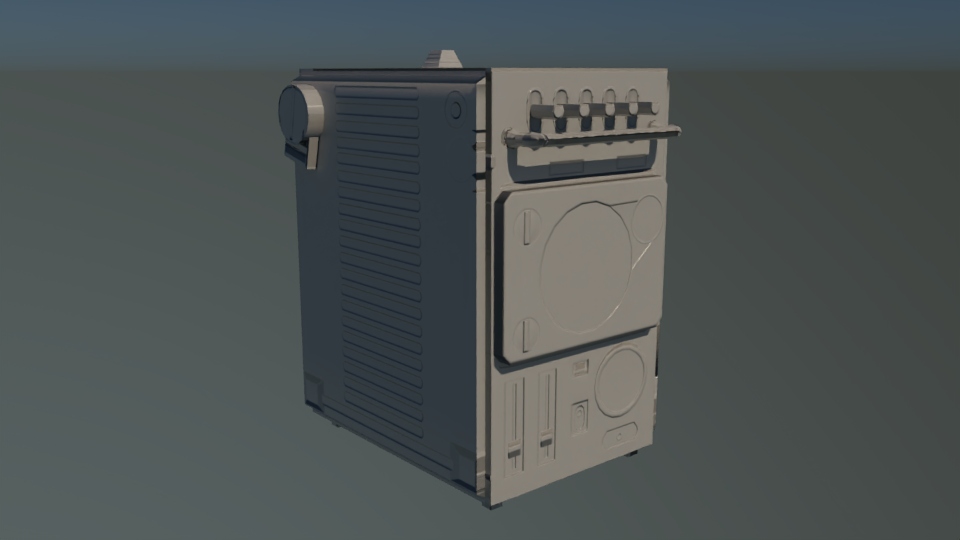
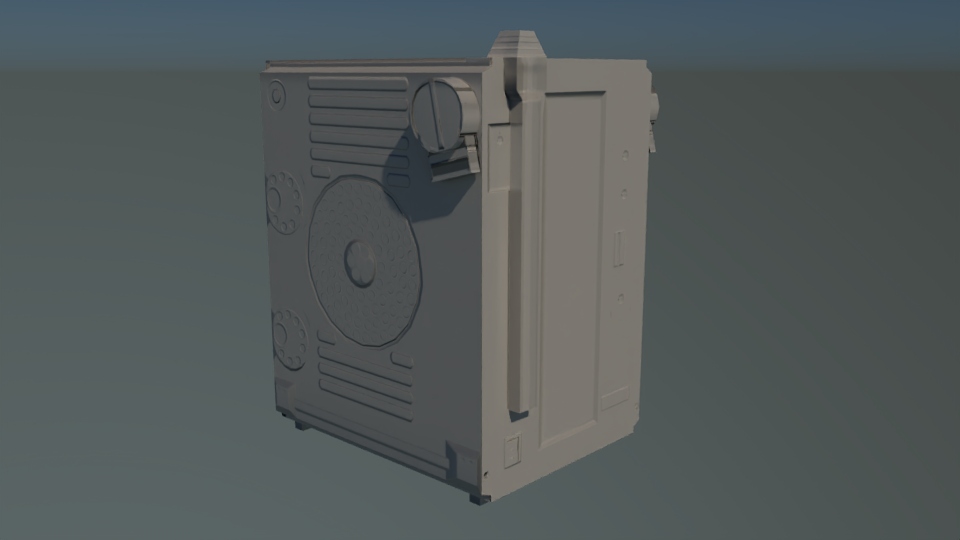
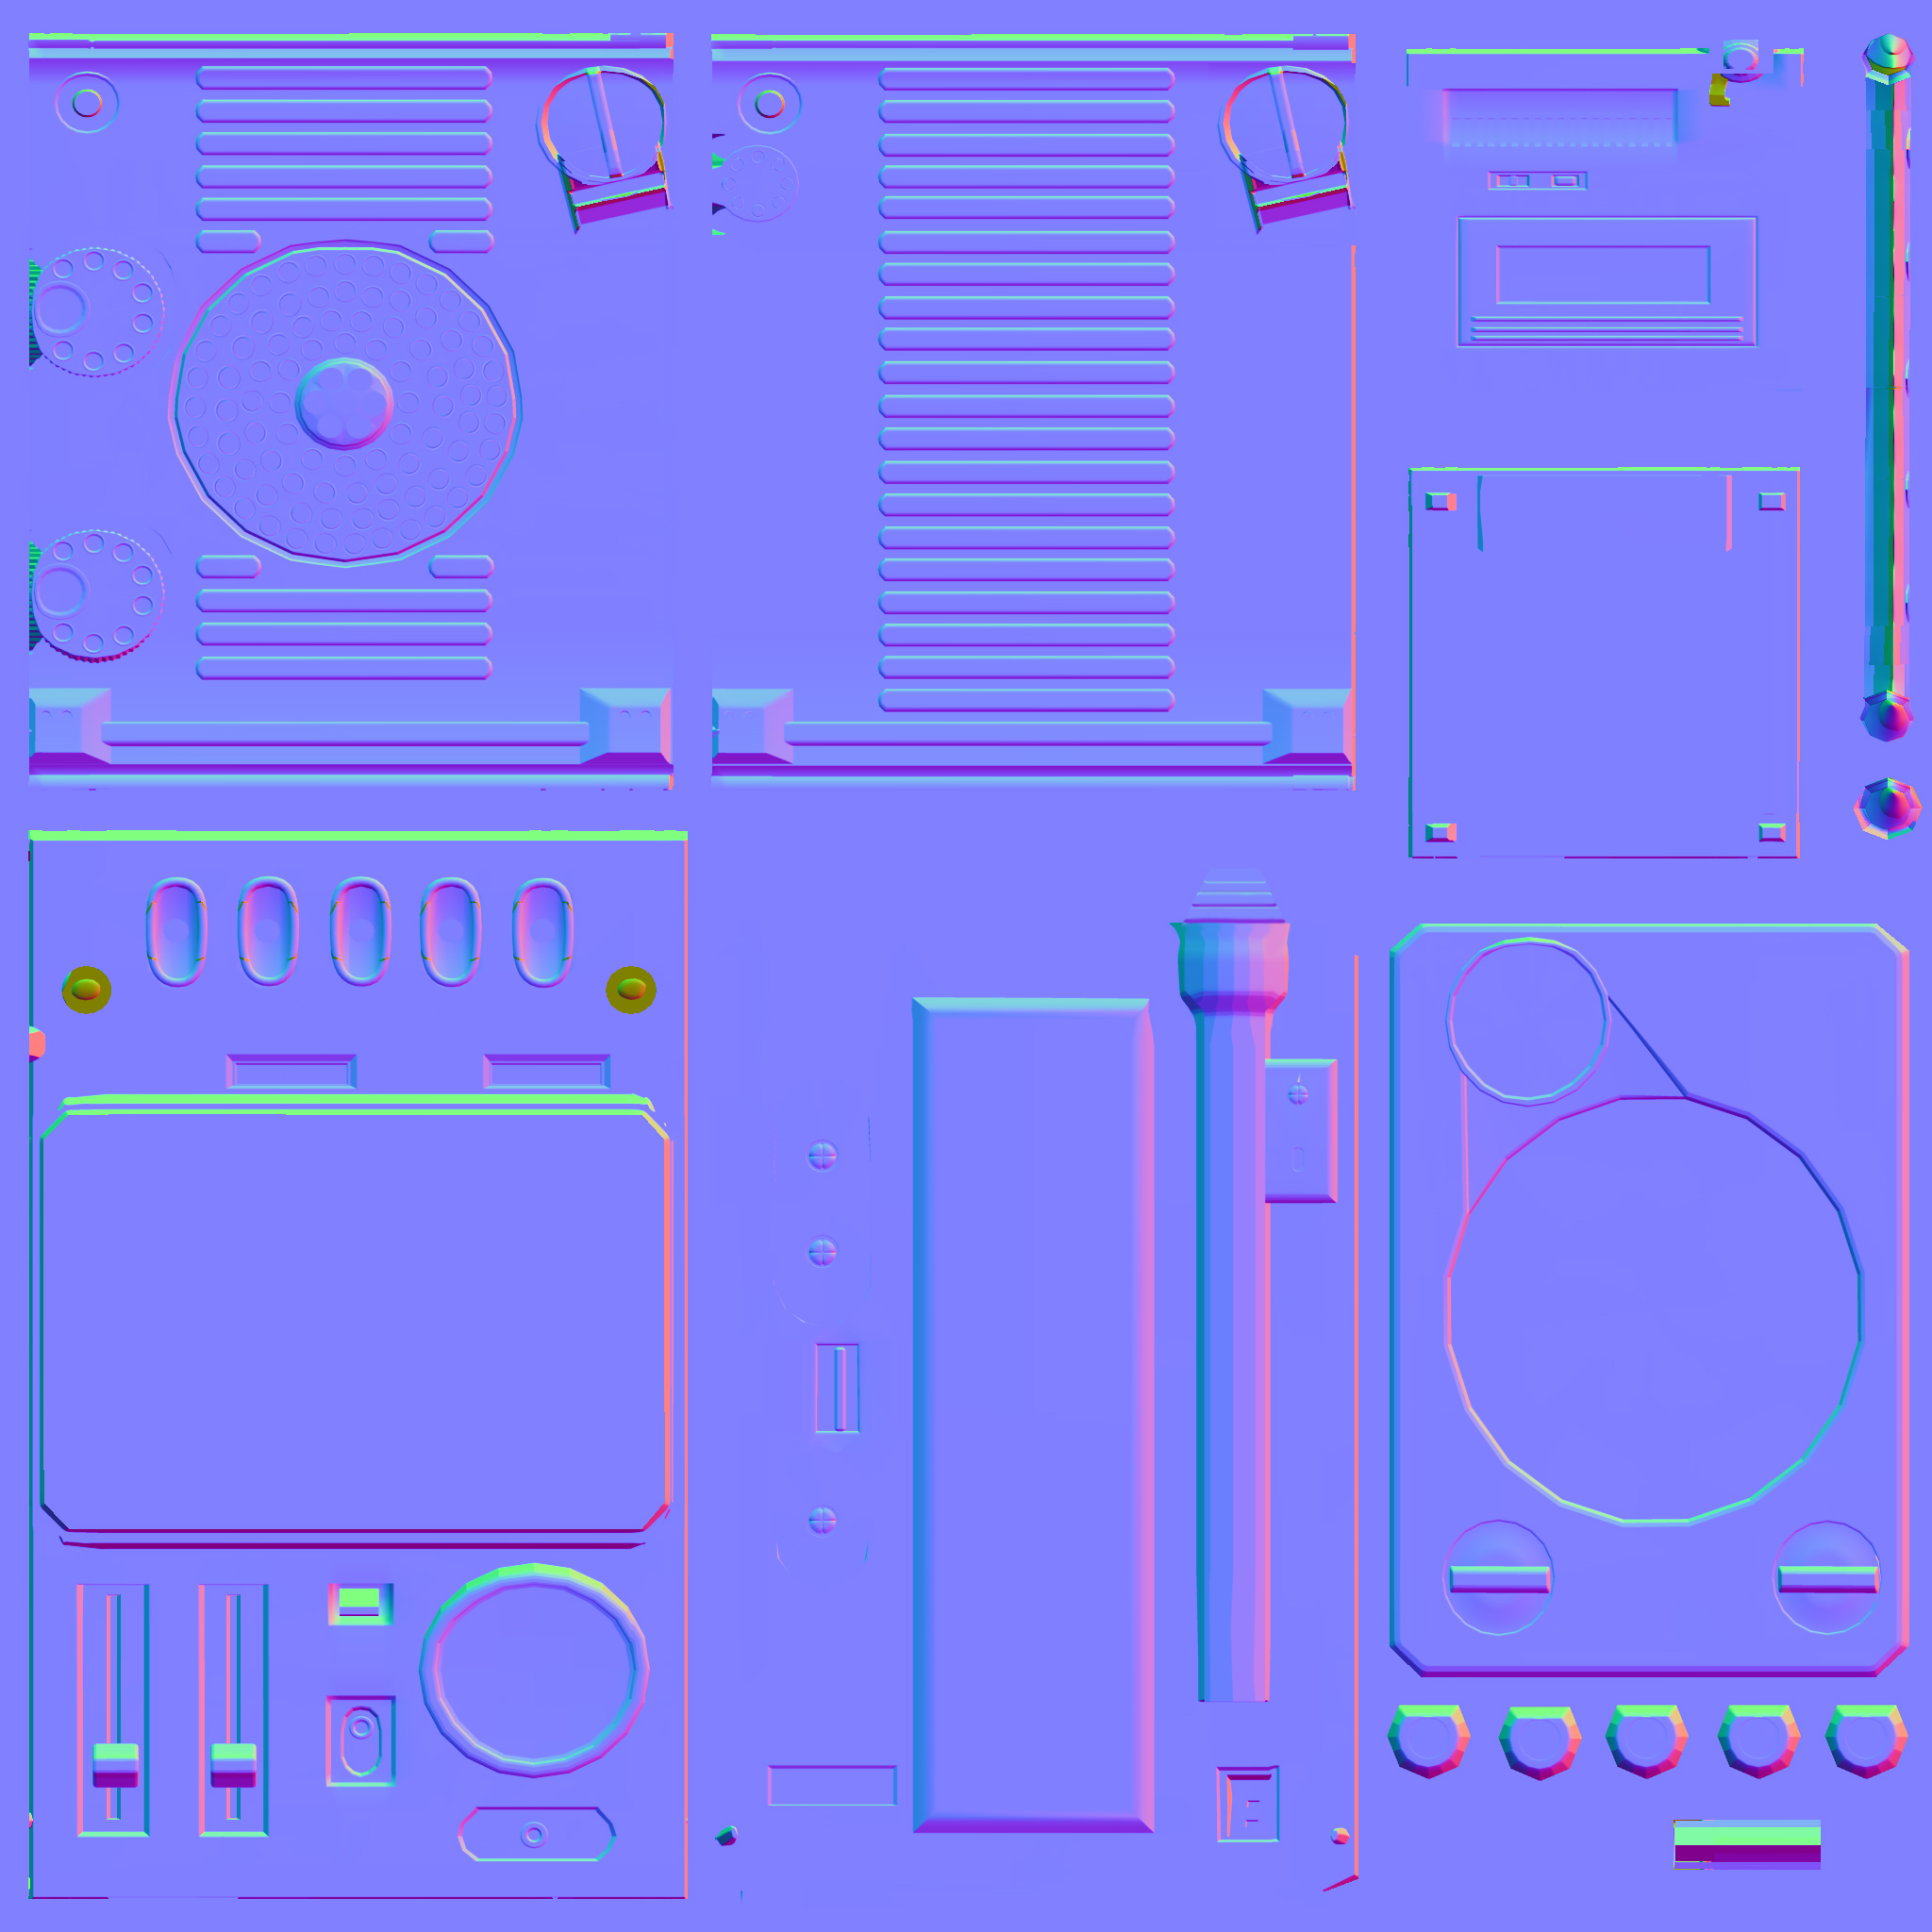
Lowpoly Modeling/Normal Map
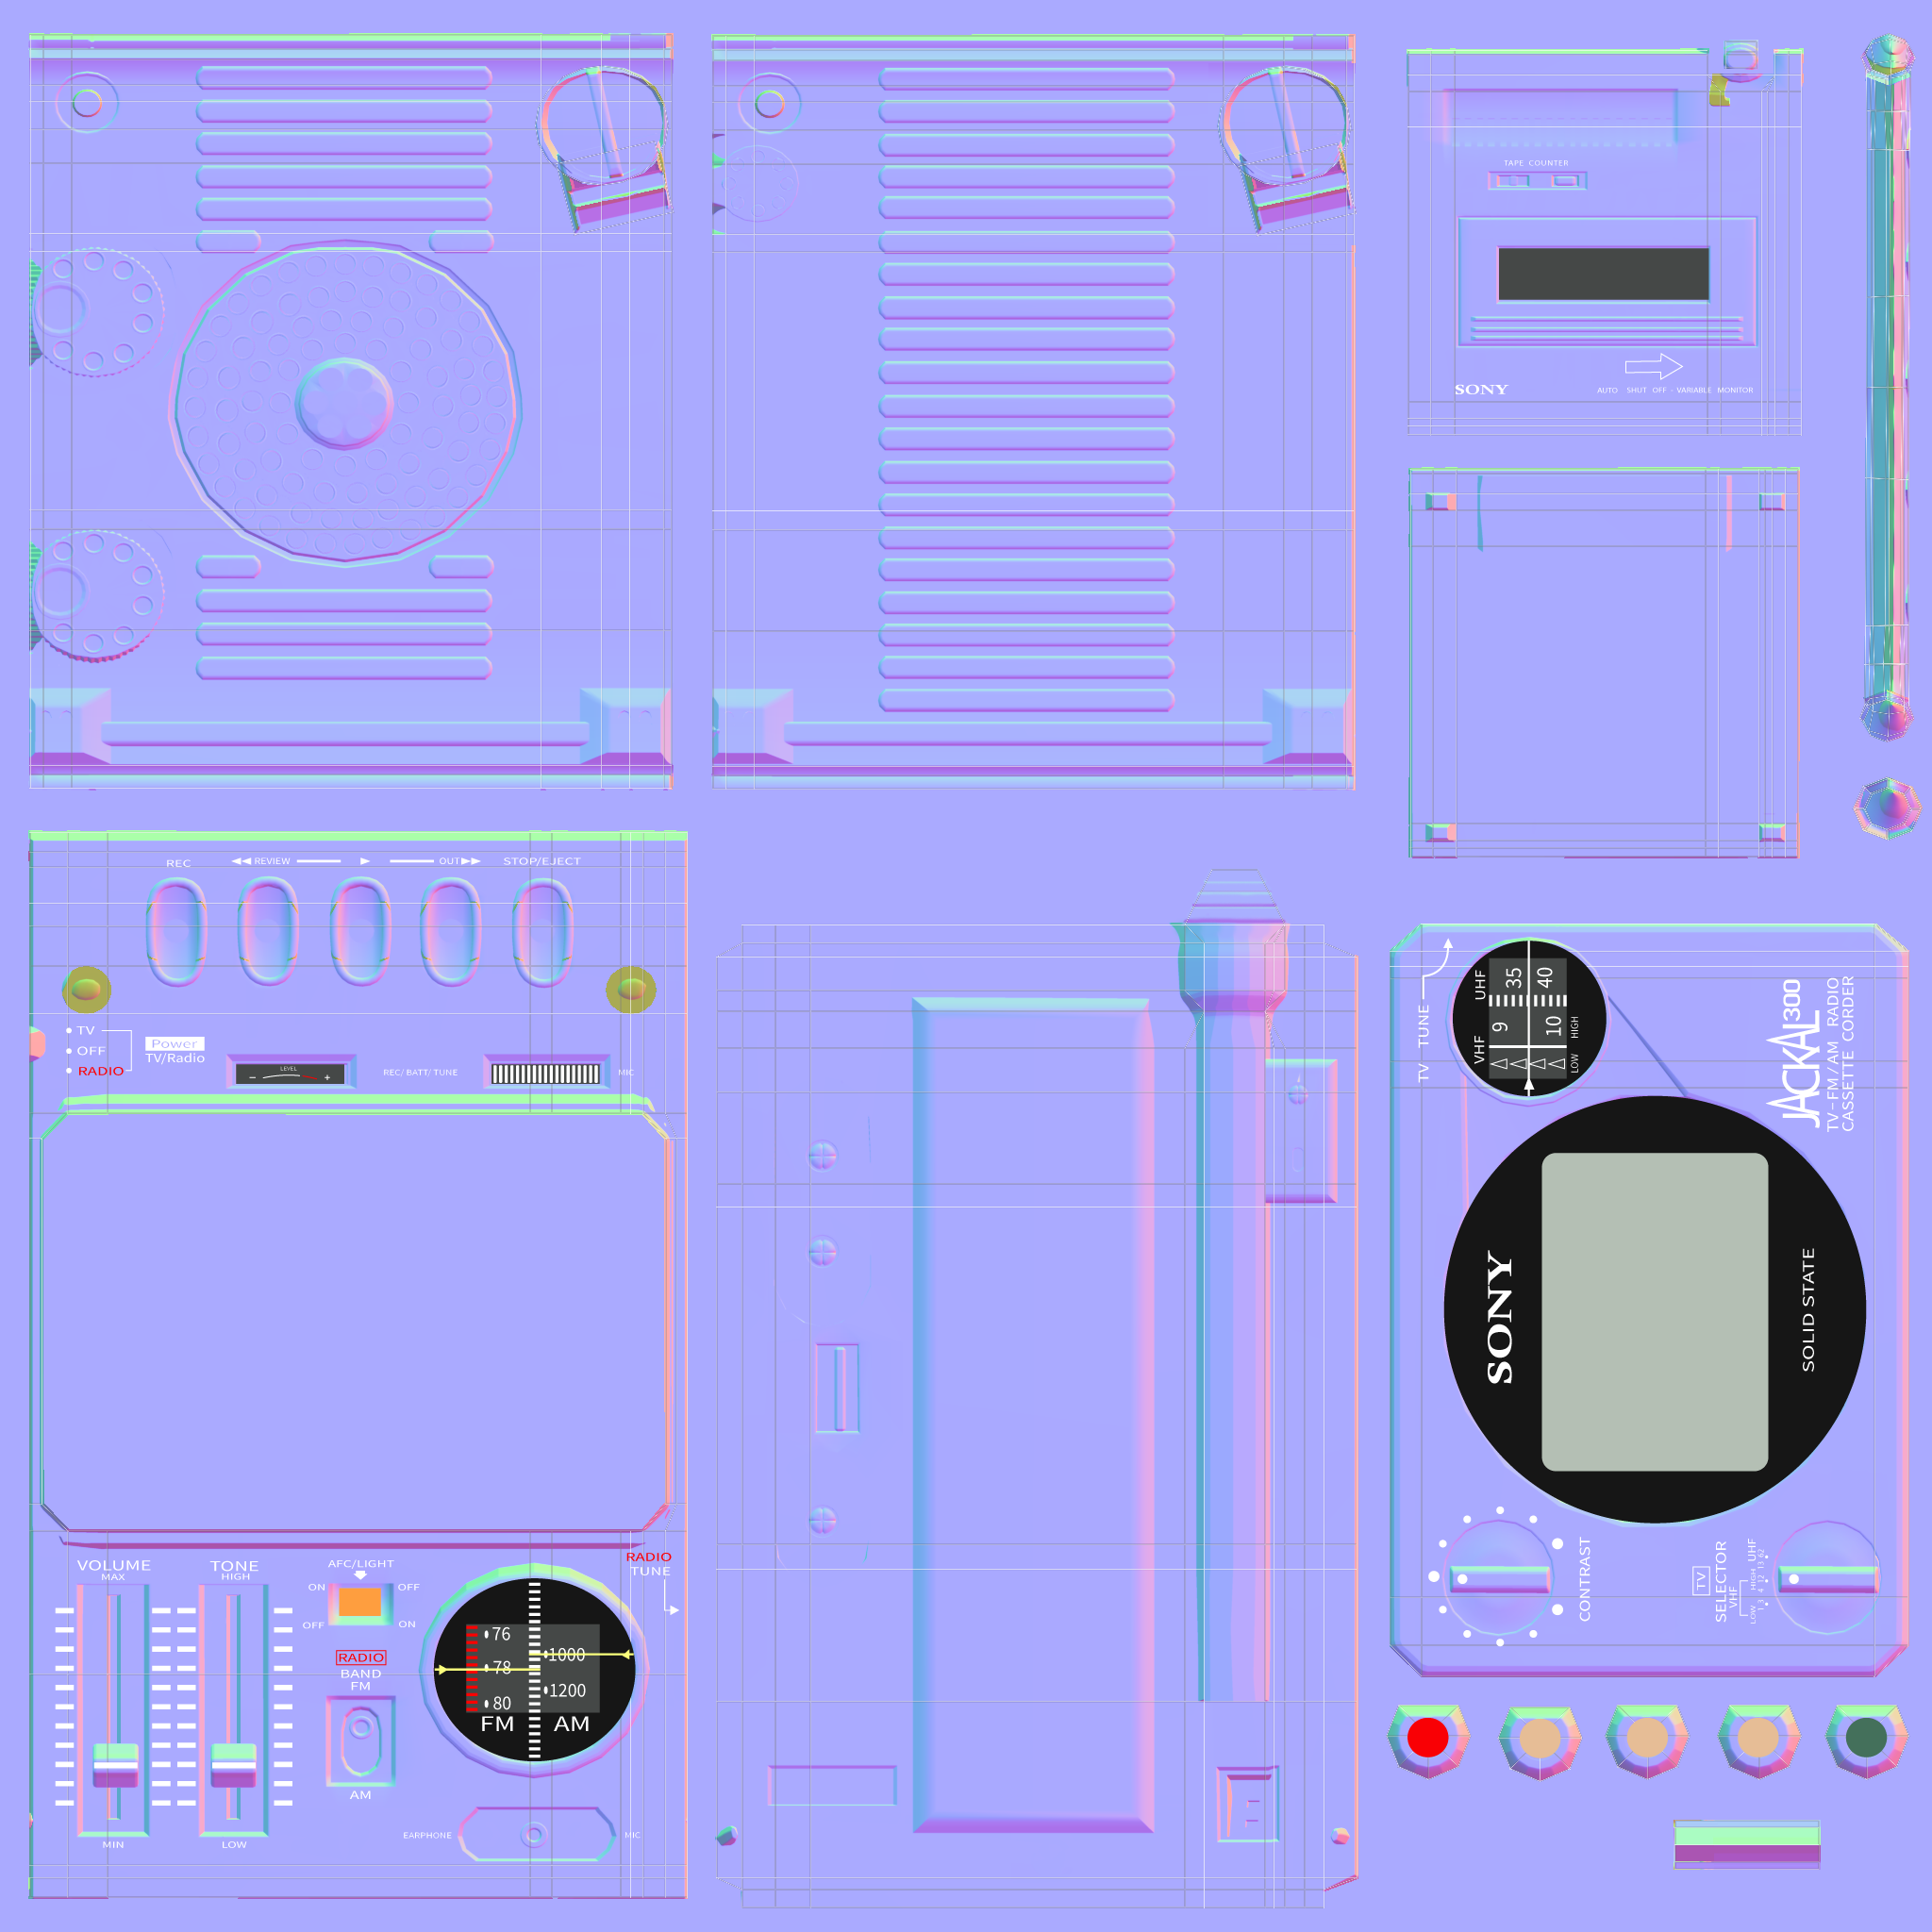
It was rather simple creating a low poly model that my textures would bake on. I do believe that I simplified the model a bit too much. The low poly model would have looked more clean had I took into account that Normal's can only do so much in terms of lift and depth. I am proud of what I was able to accomplish for my first time doing texture baking. I do, however know what I would do differently in order to get better baking.
Due to maya software instability (a multitude of crashing) I did end up editing the Normal map I felt worked best in Photoshop. On my first slide, I utilize a normal map that came out poorly, and was not UV in a way that considered my color map. My final slide shows how I reorganized my UV's and edited the handles normal map located on the sides of my model.
Texturing/Beauty Renders
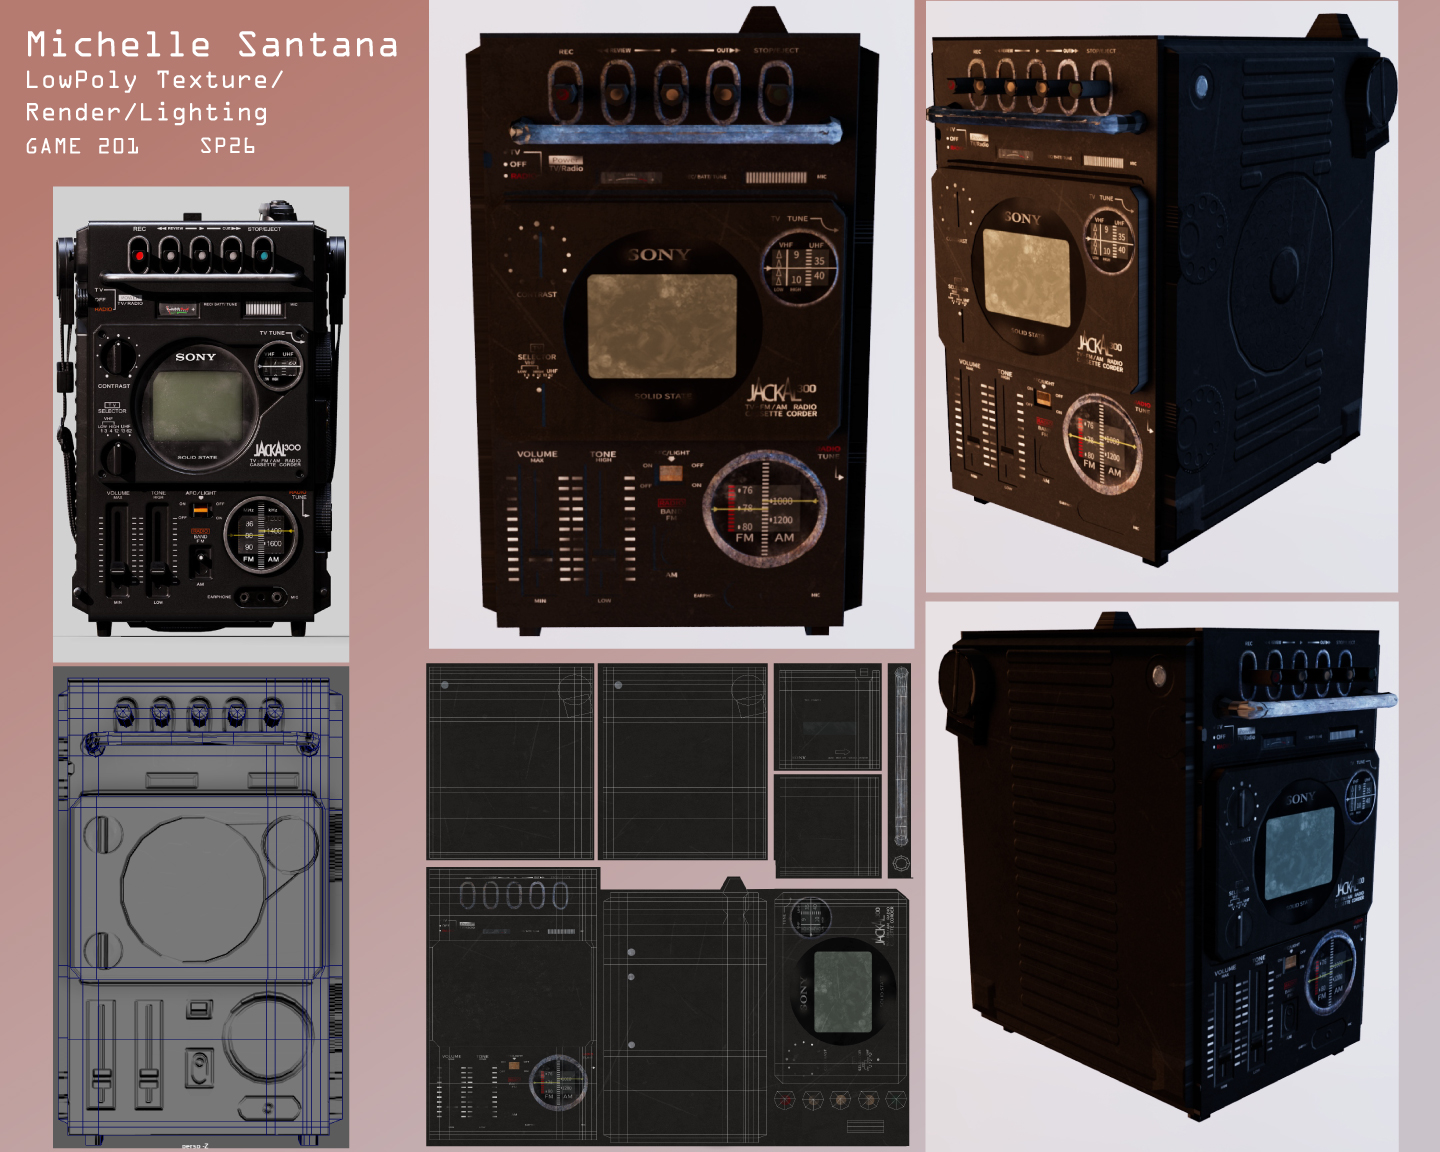
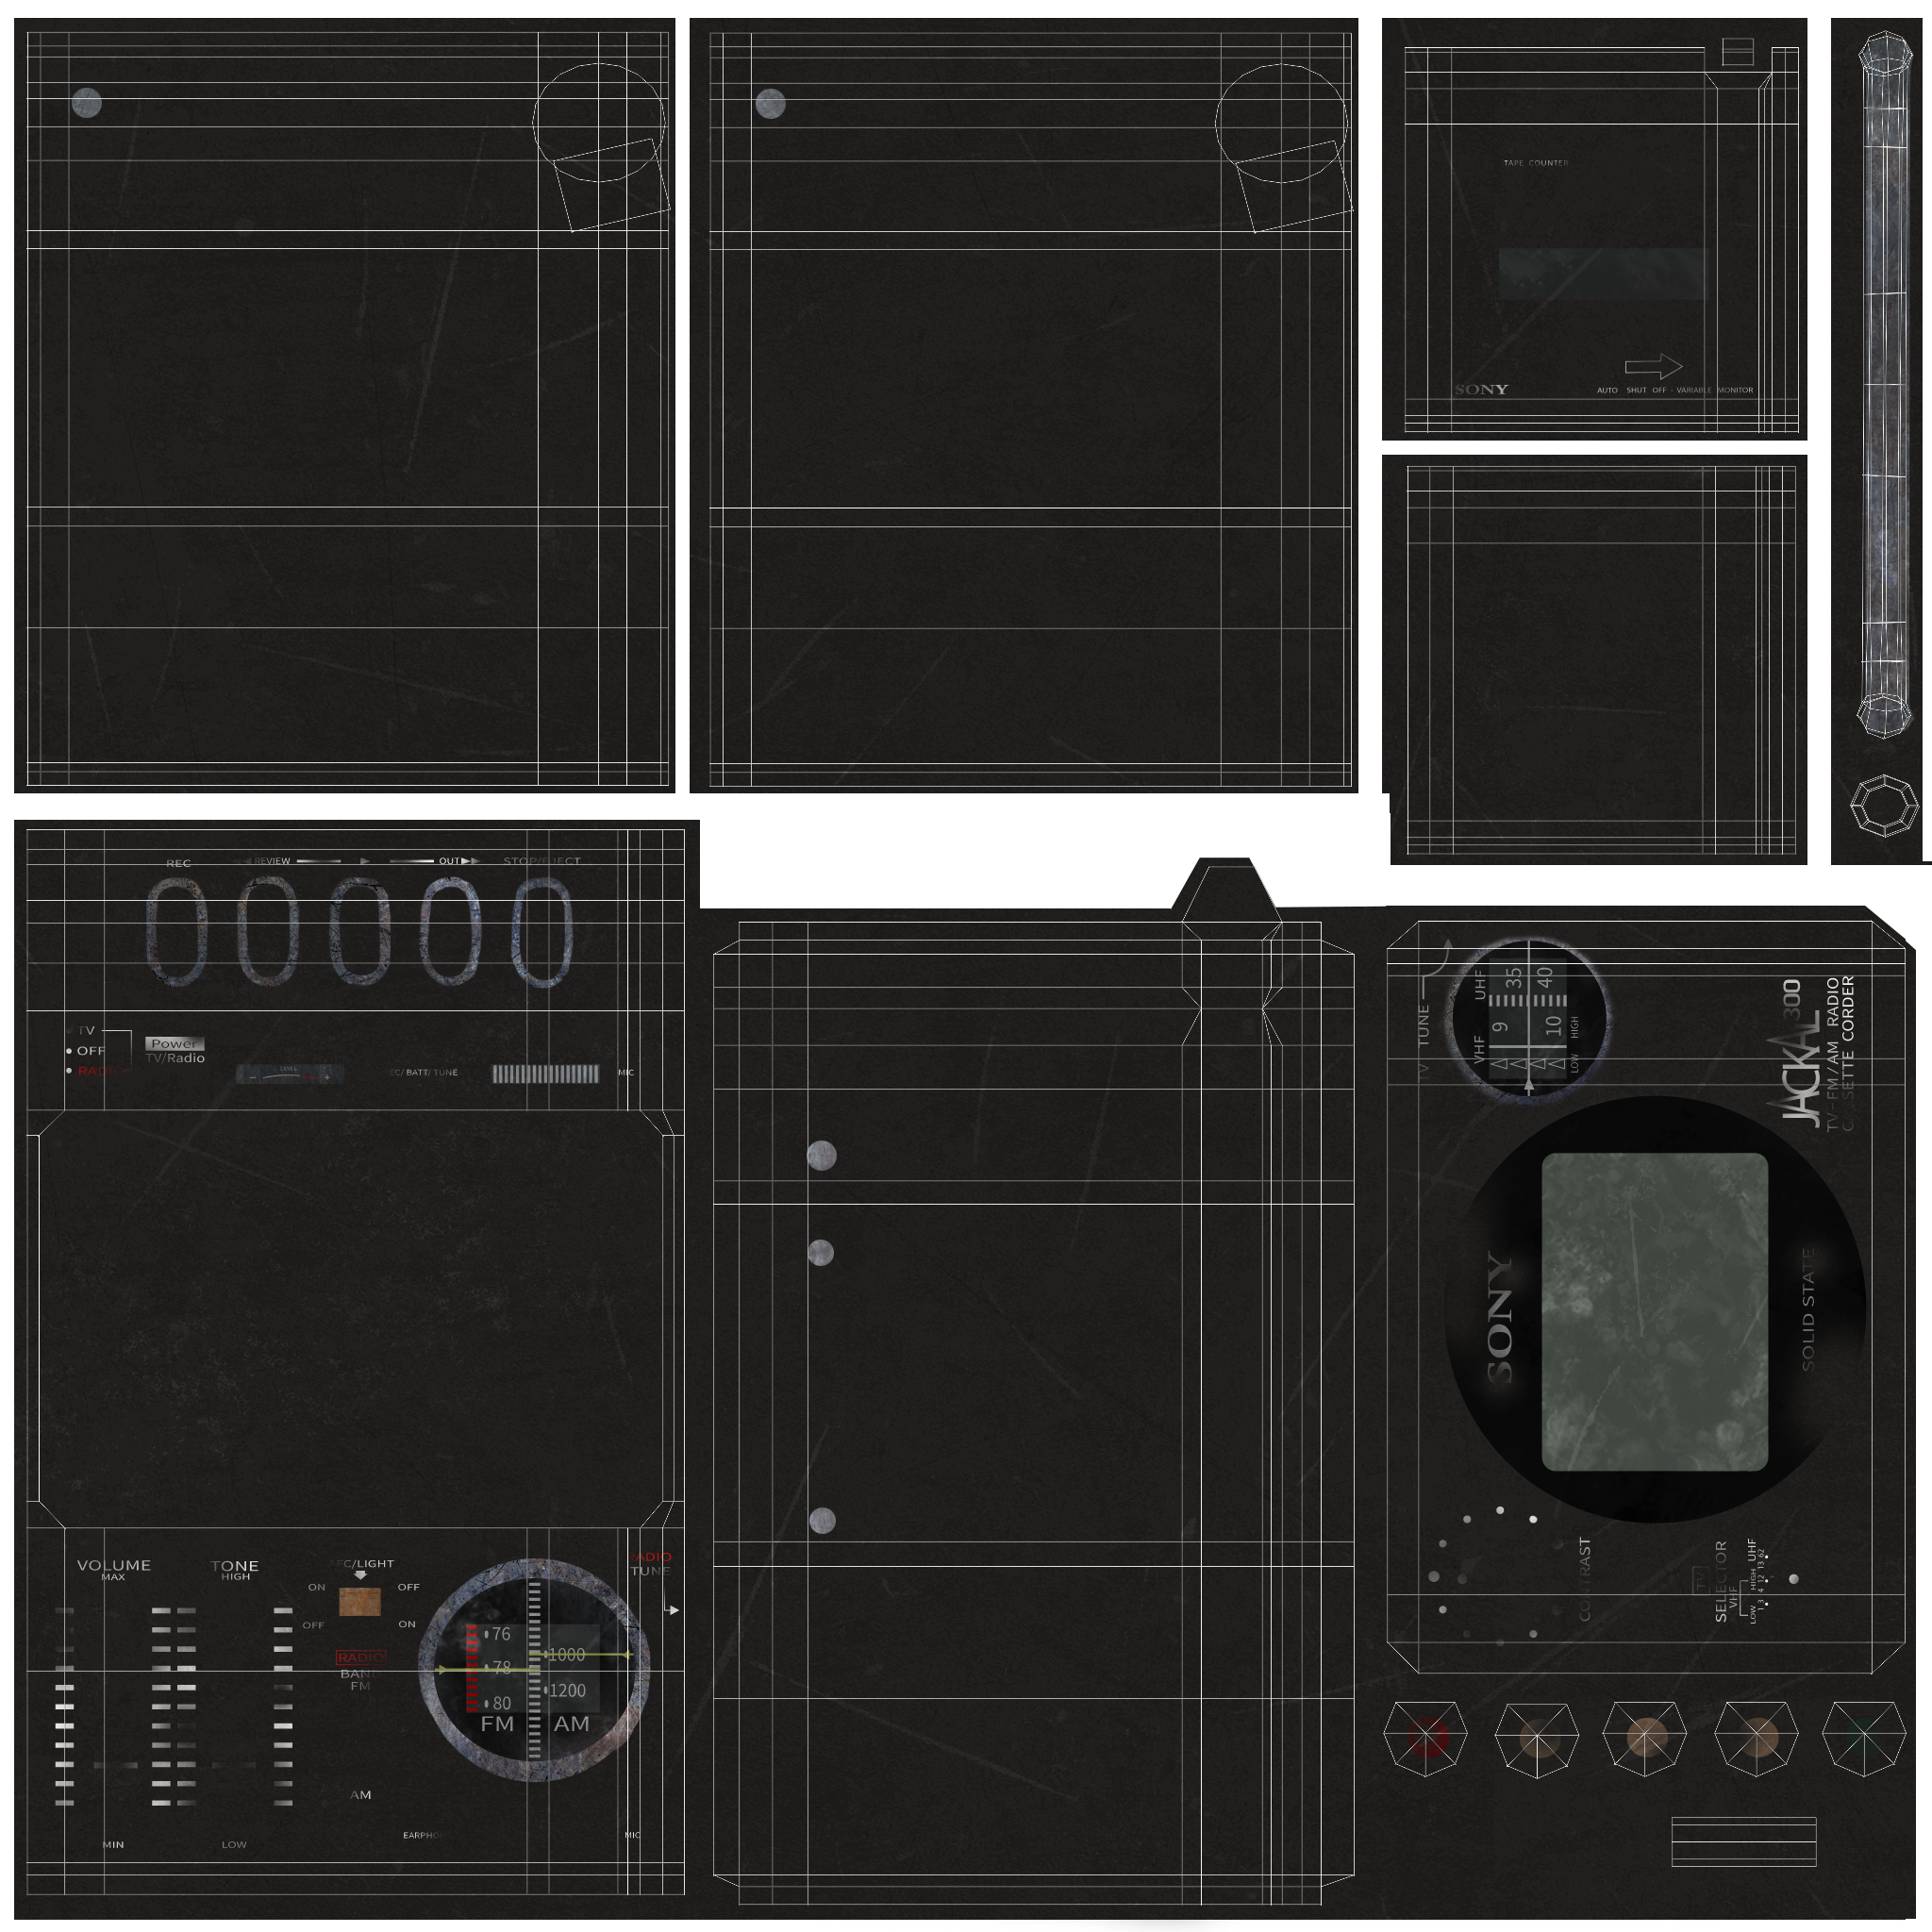
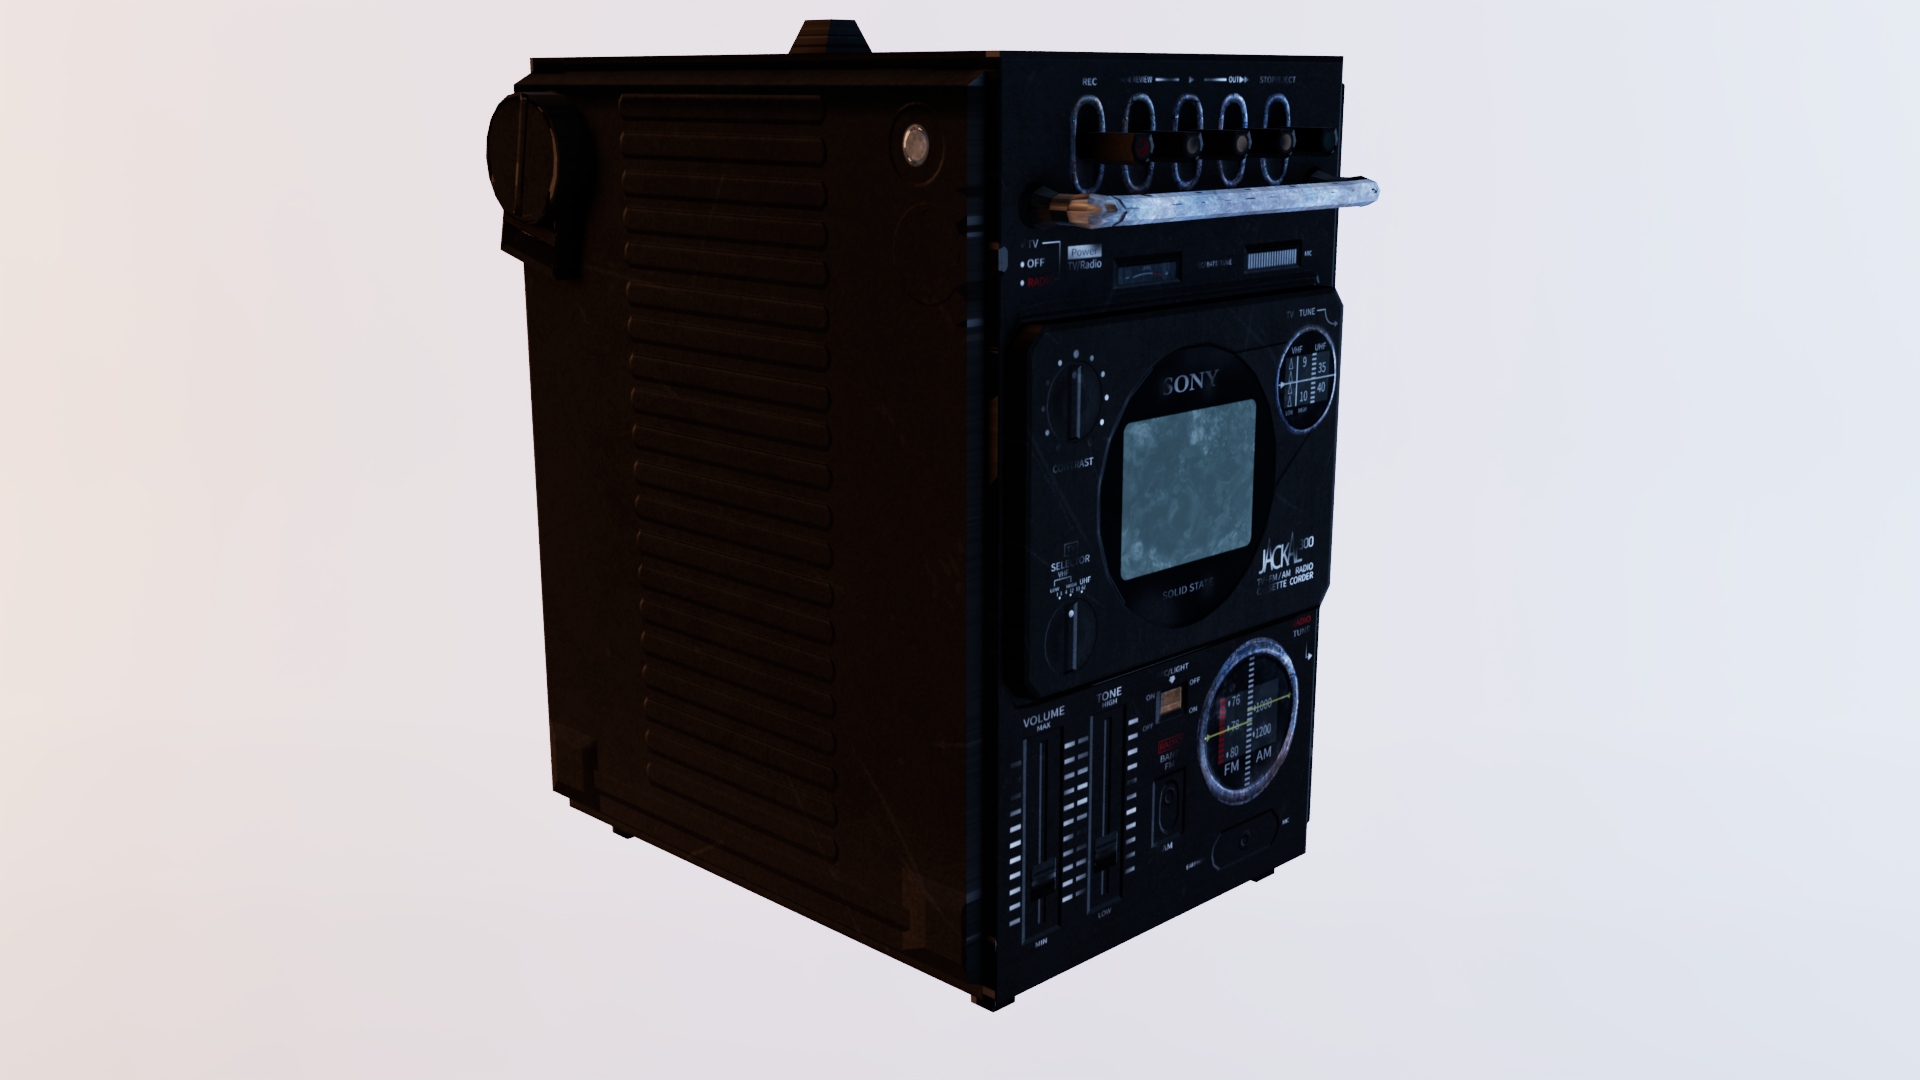
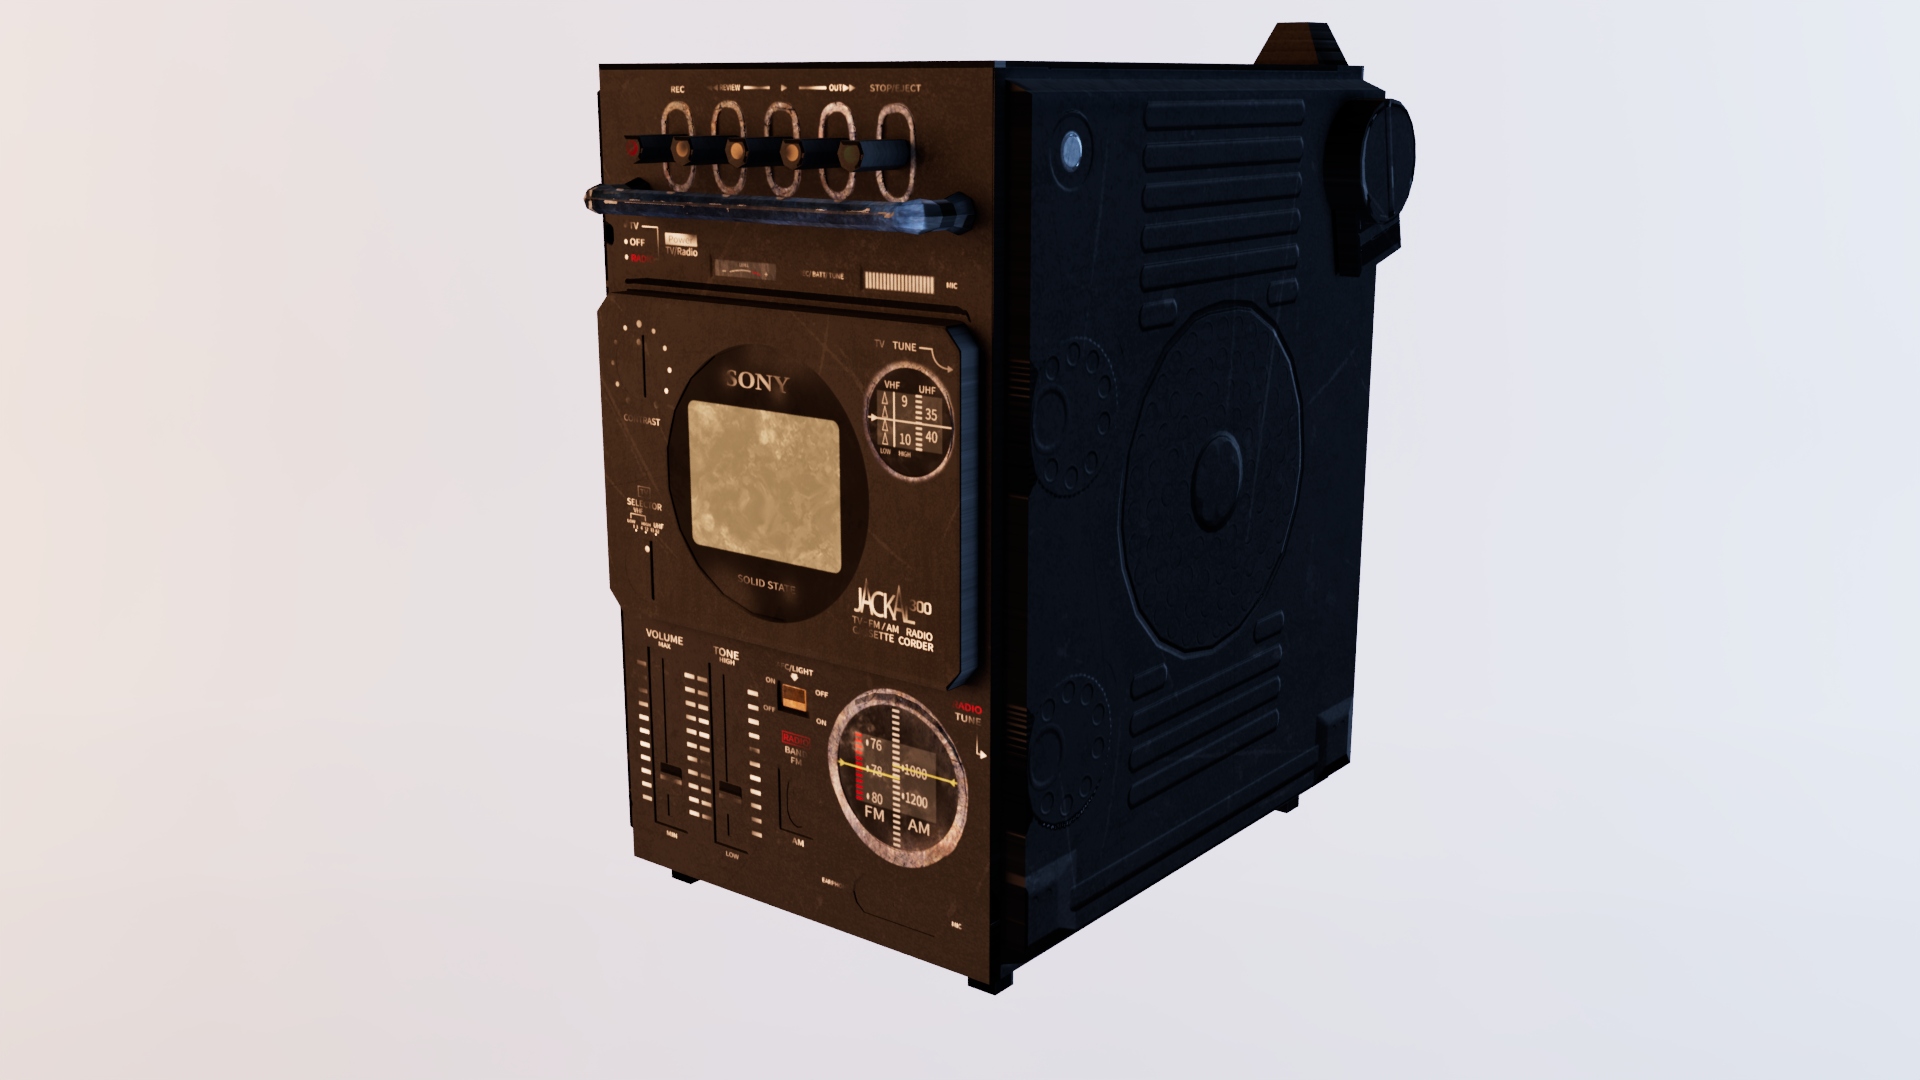
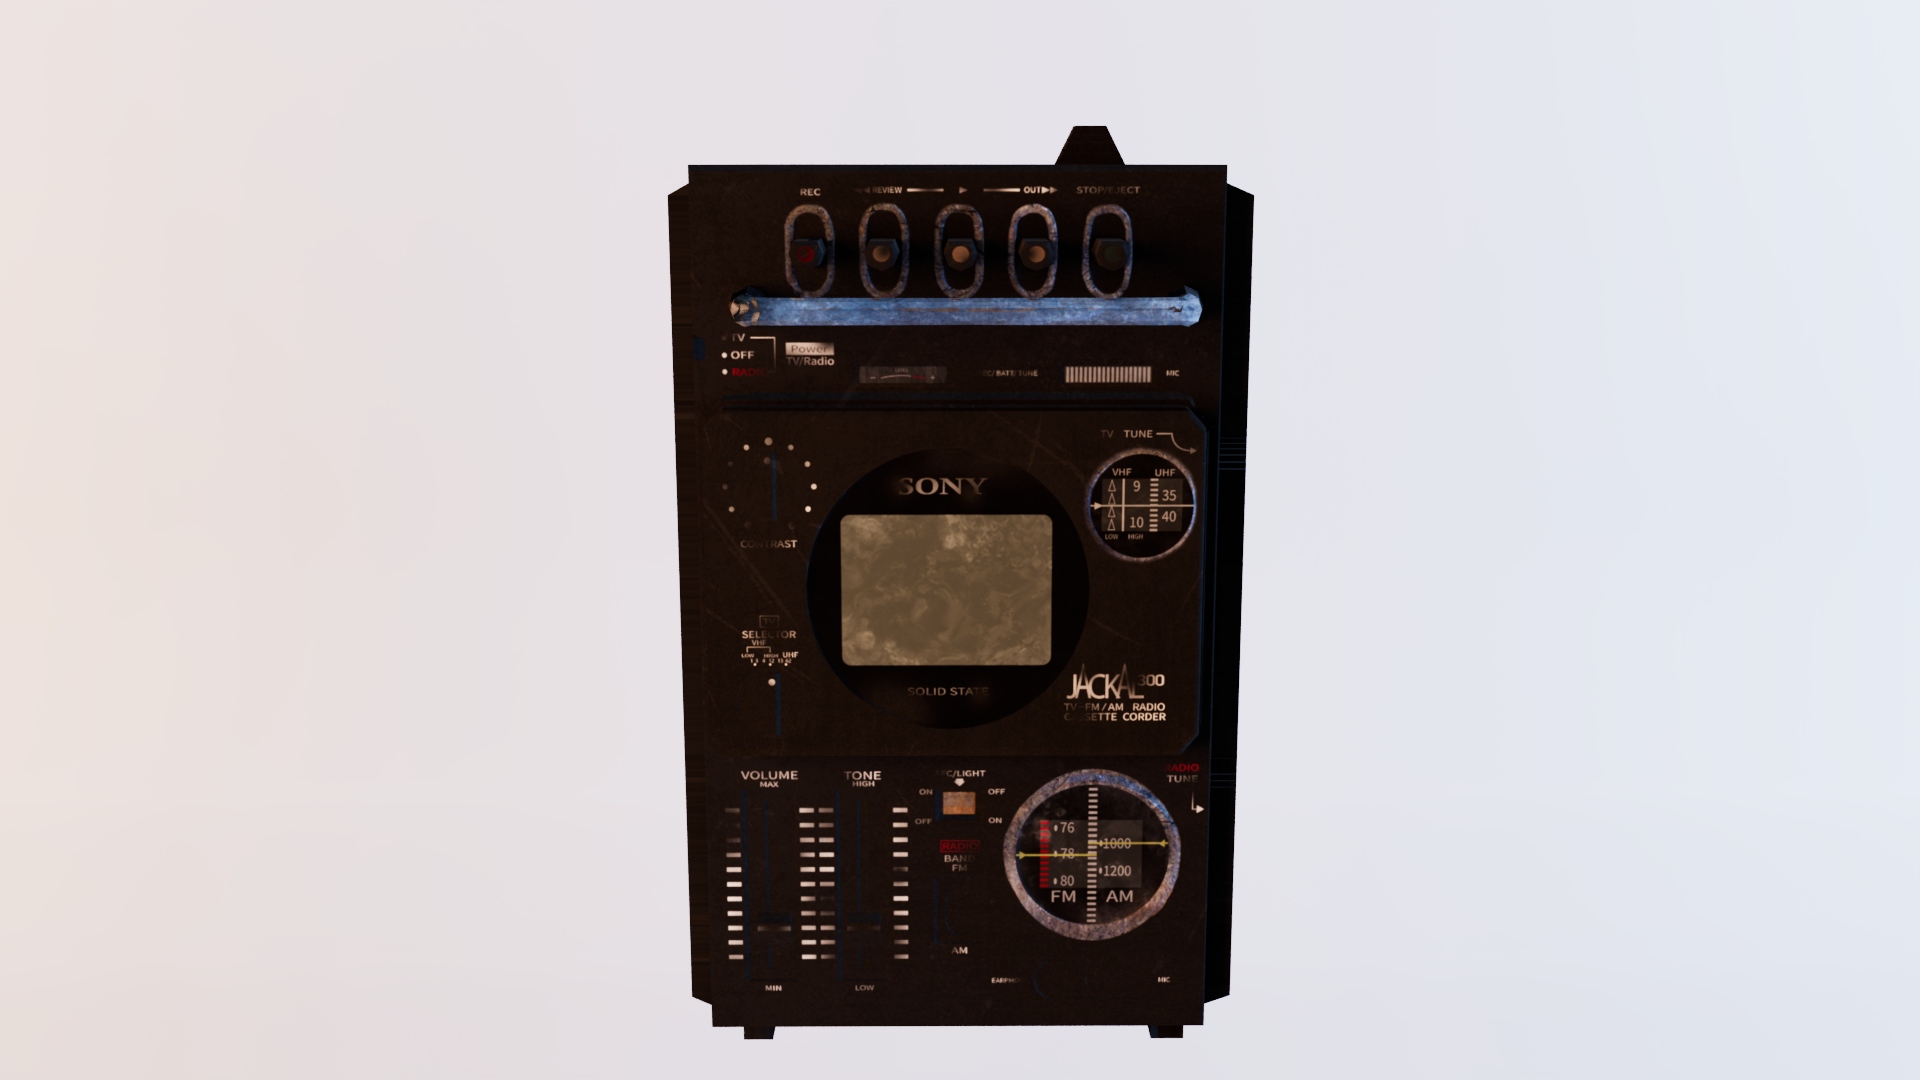
Textures/UV: Photoshop and Illustrator
My main focus was trying to accurately display what I saw on the reference onto my own model. For that, I used Illustrator, which made the process incredibly easy. After I developed and lined up my graphics, I brought the image into Photoshop to start with some texture painting. In Photoshop, I used alpha channels, imported textures of rust, bumps, and dust marks. I did not end up going further and utilizing much of the specular map, which I currently feel like could have done my model well in terms of making textures seem more realistic.
Overall, this project played a large role into how I would later deal with many of the other objects in my Interior space project. It also made me want to learn Substance Painter as their texture baking tool was superior to Maya's.