Planning
Developing Concepts: References and Greybox
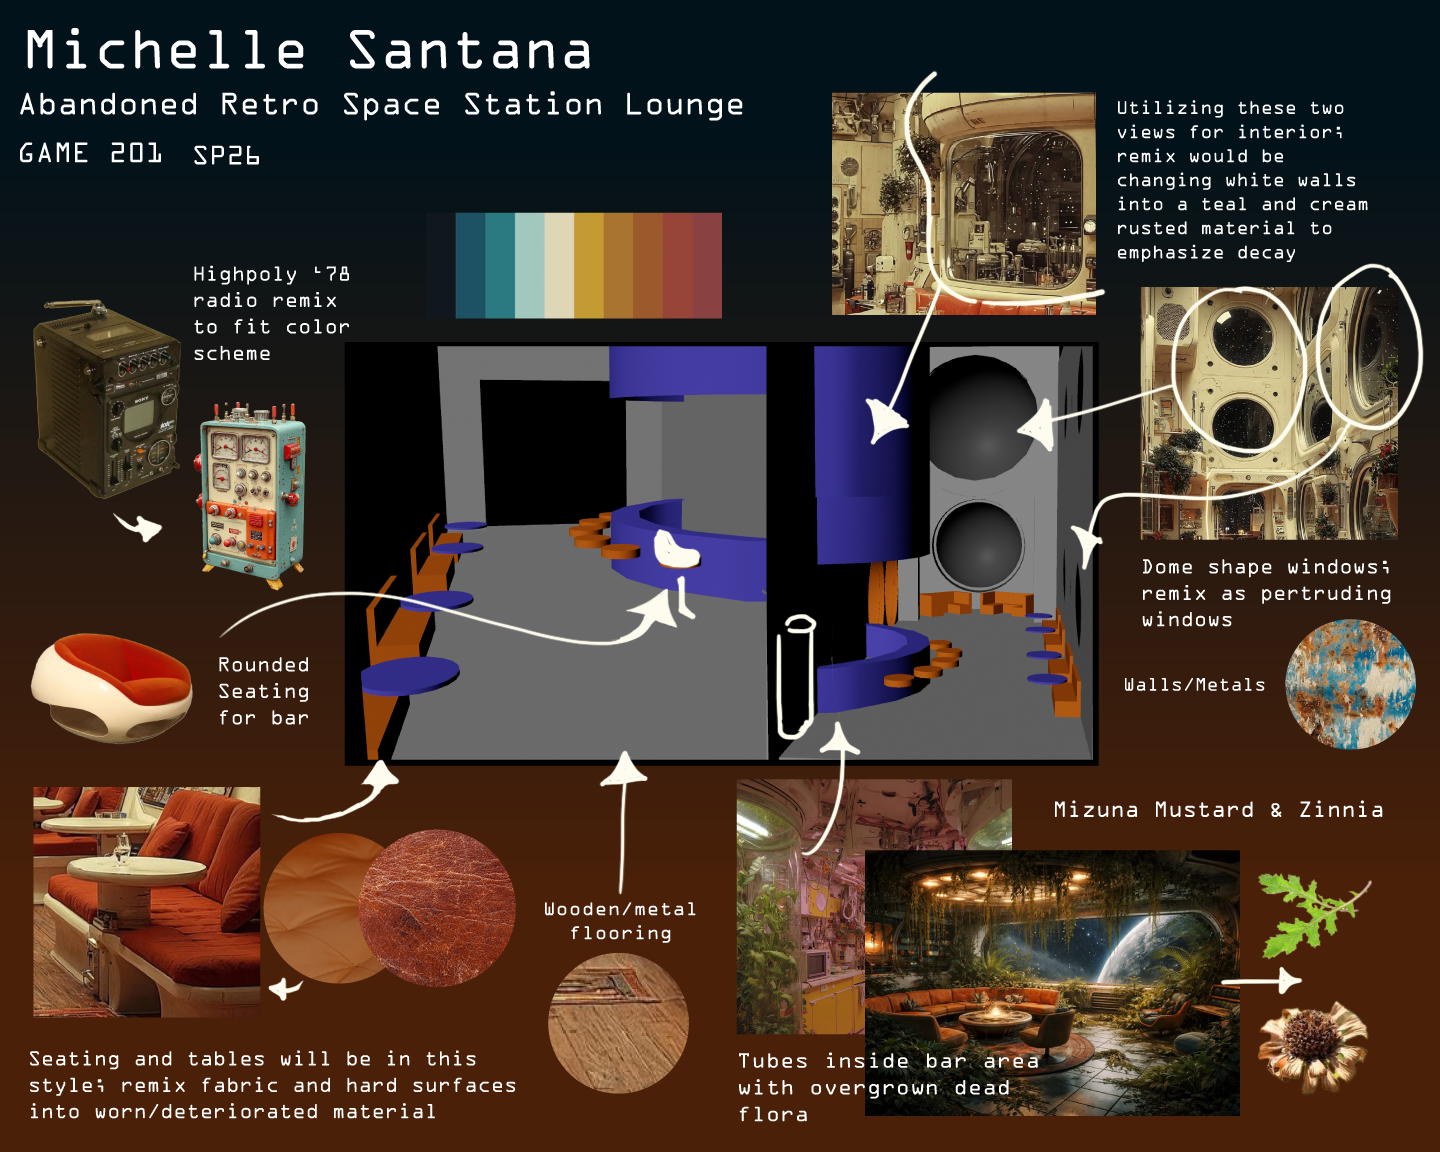
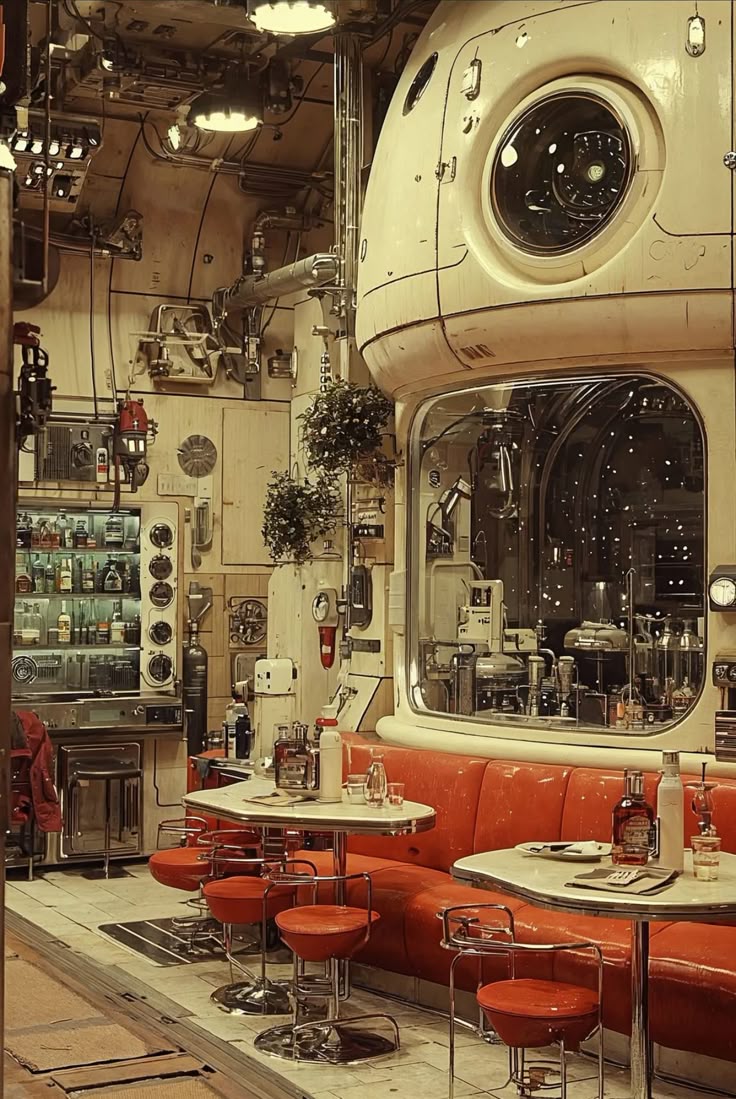
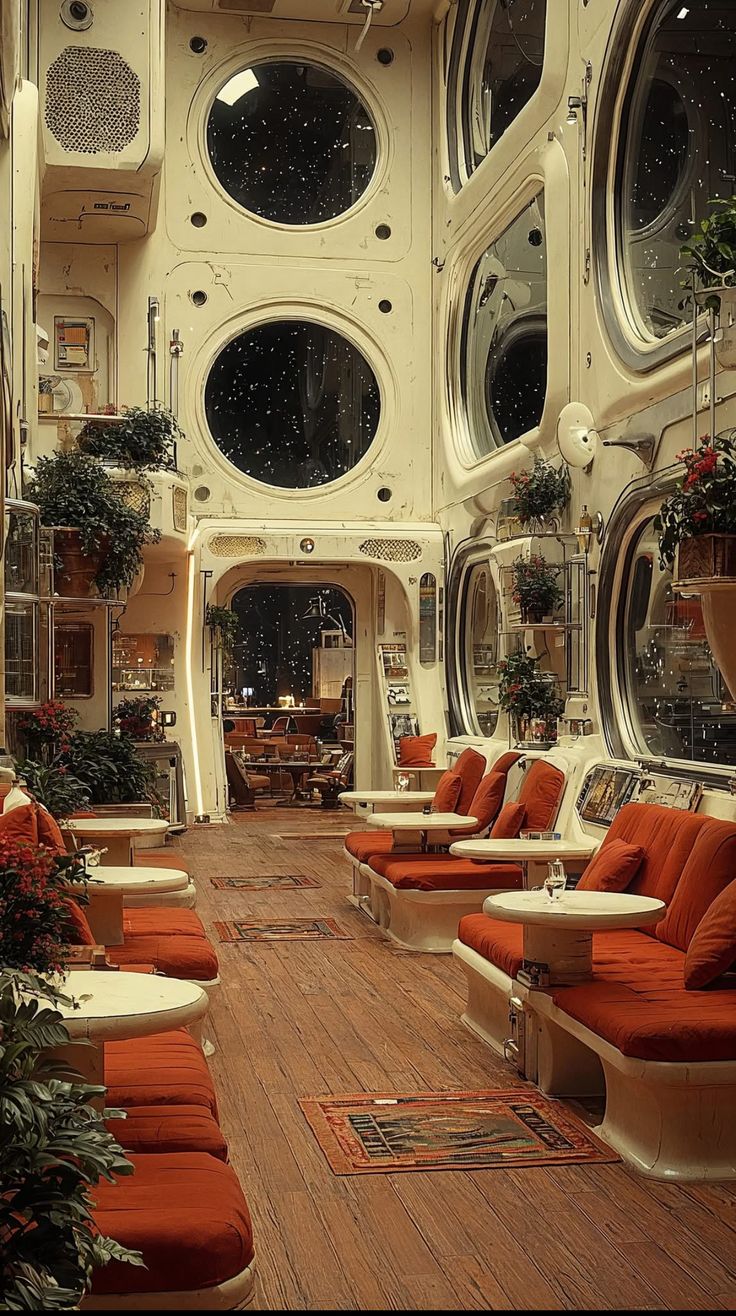
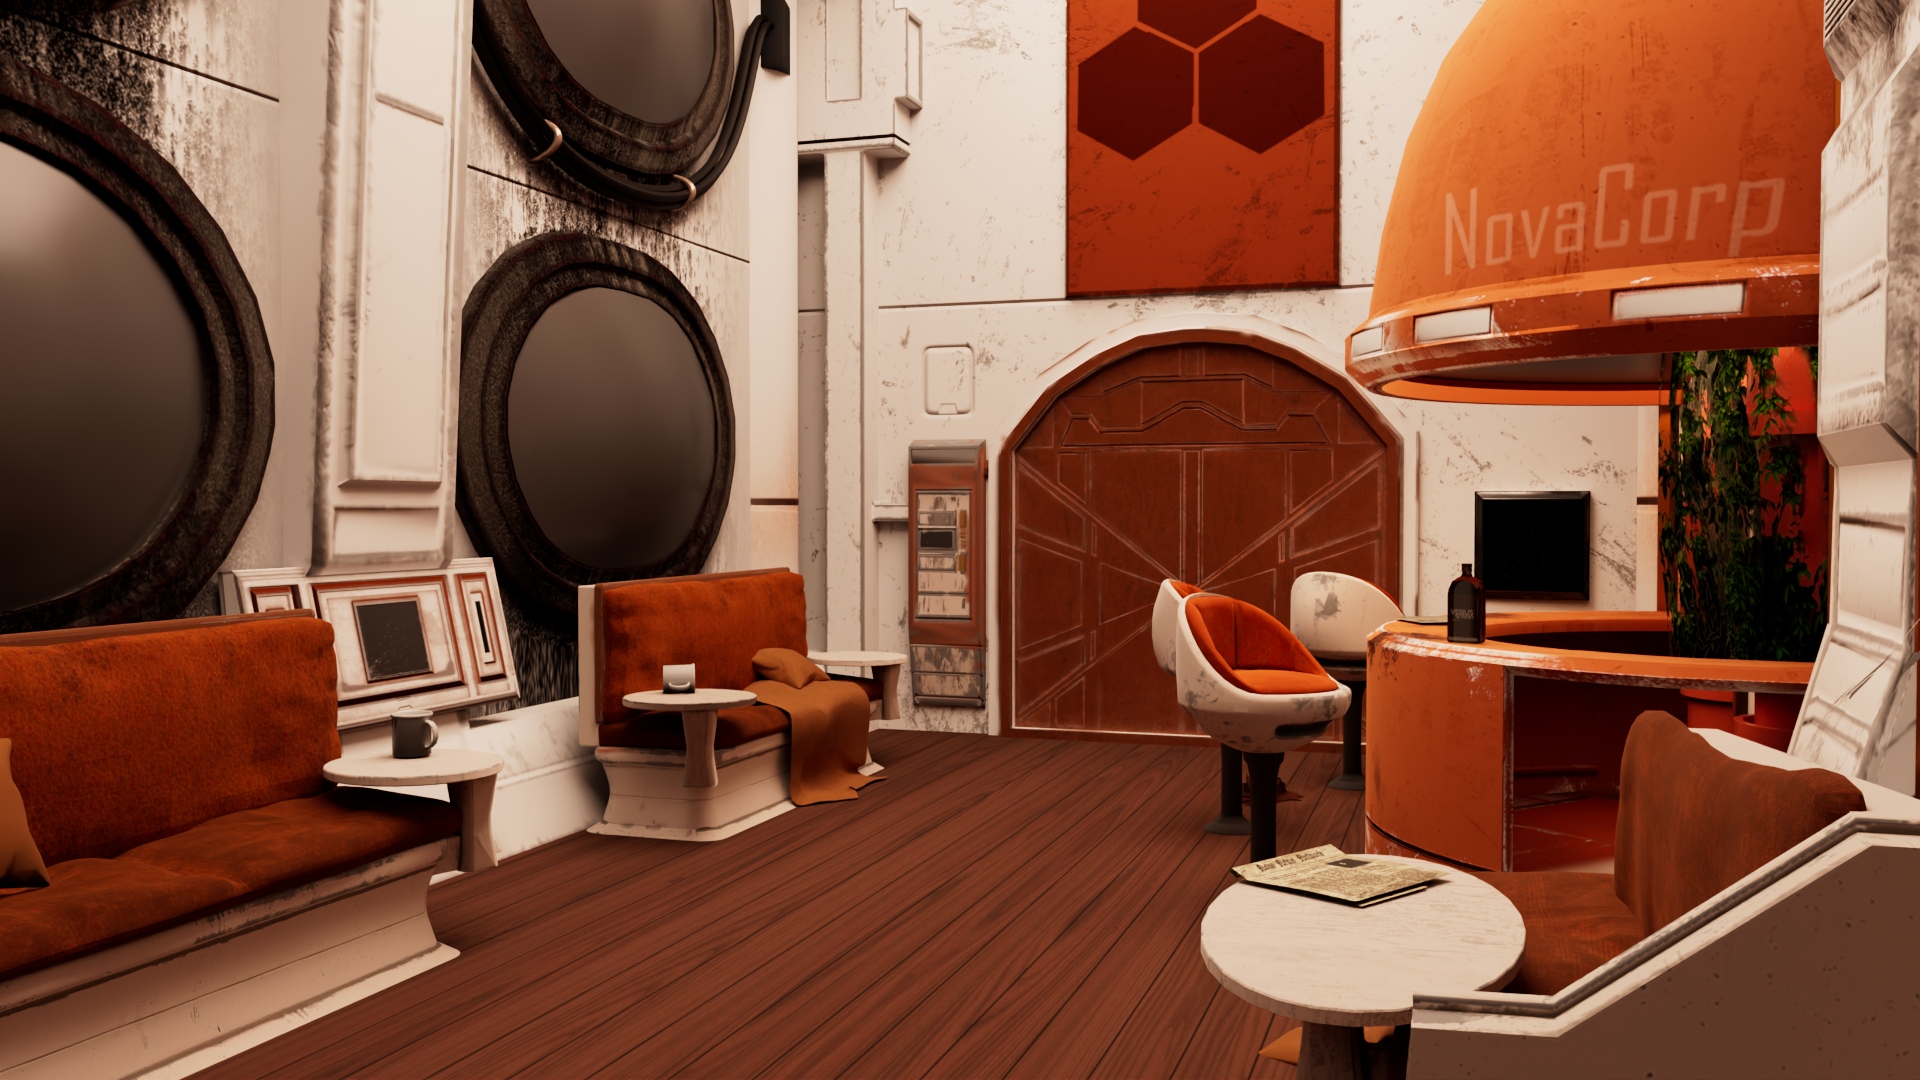
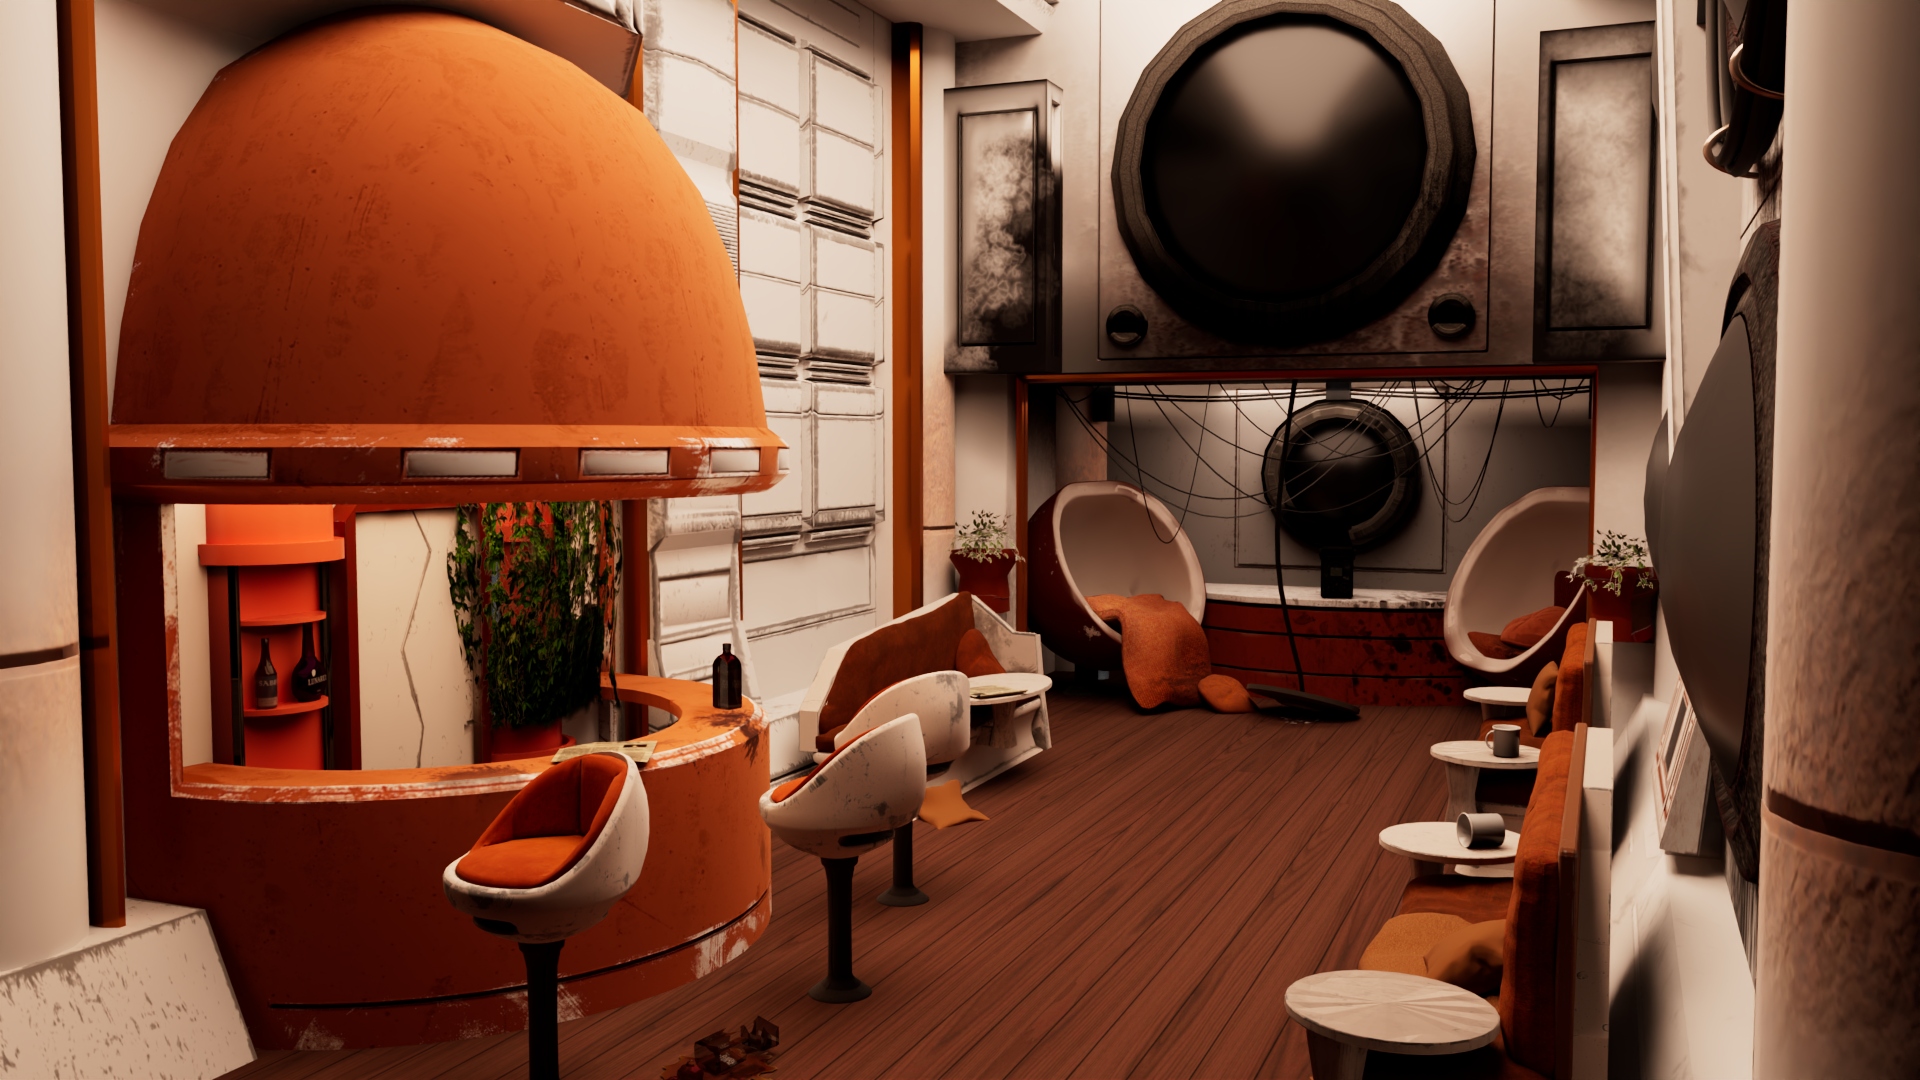
For our first assignment, we were given the opportunity to develop a concept sheet for an interior model of our choosing. I ended up choosing the lounge area of an abandoned retro-style space station - simply because of my love for space and sci-fi story telling.
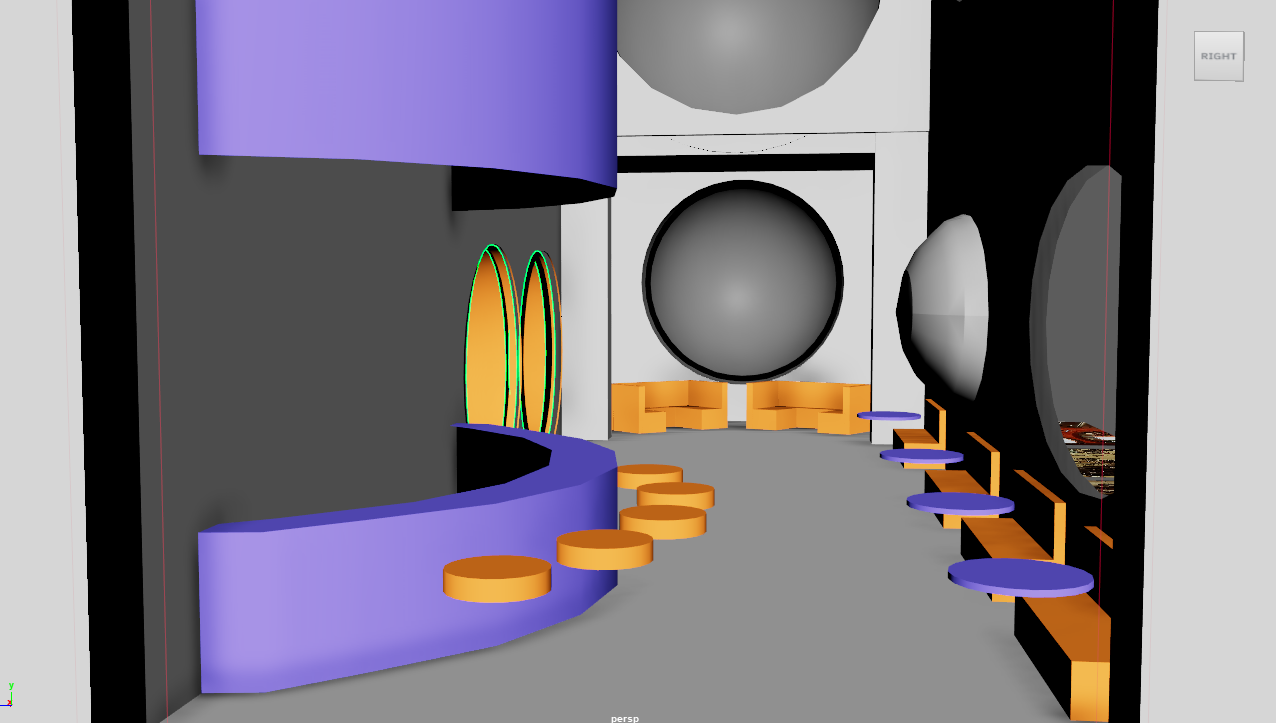
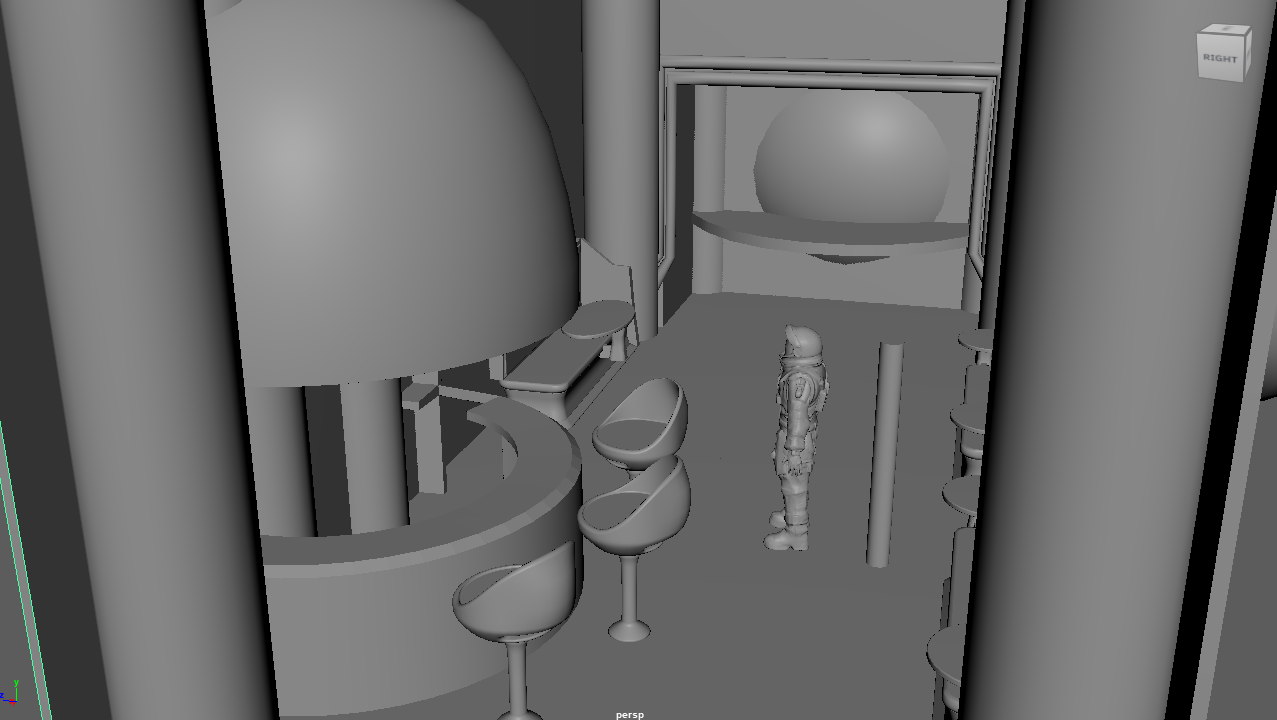
During this stage, I was required to collect reference photos to present my idea to the class. Although not yet required, I had quickly developed a greybox to better display how I would utilize such a small space. While this greybox gave a general idea of how I wanted to place items, I did ultimately have to uderstand the importance of scaling, and how that might affect the amount of objects ( like furniture ) and how they would be placed. By the end of the project I: reduced seating, removed plant specifics, removed circular wall indentations, and made the space a bit more narrow.
During this process, we we're also encourage to start thinking of an object would like to use to learn the process required to successfully normal map. For more detailed information on that work, click here!
Modeling: Objects
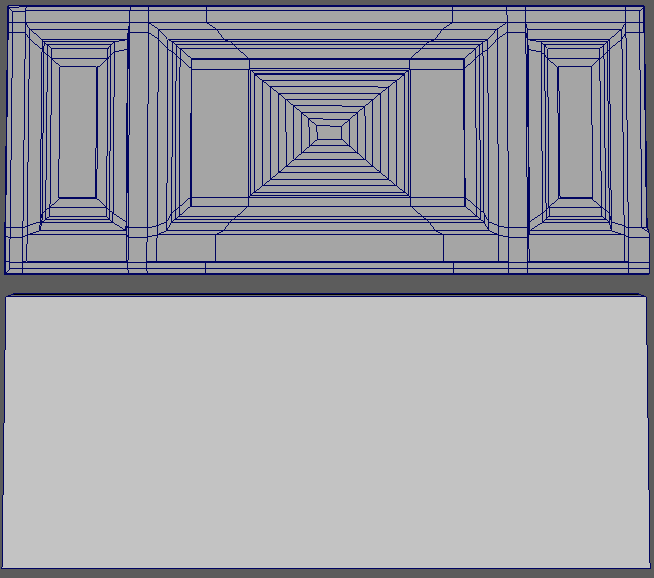
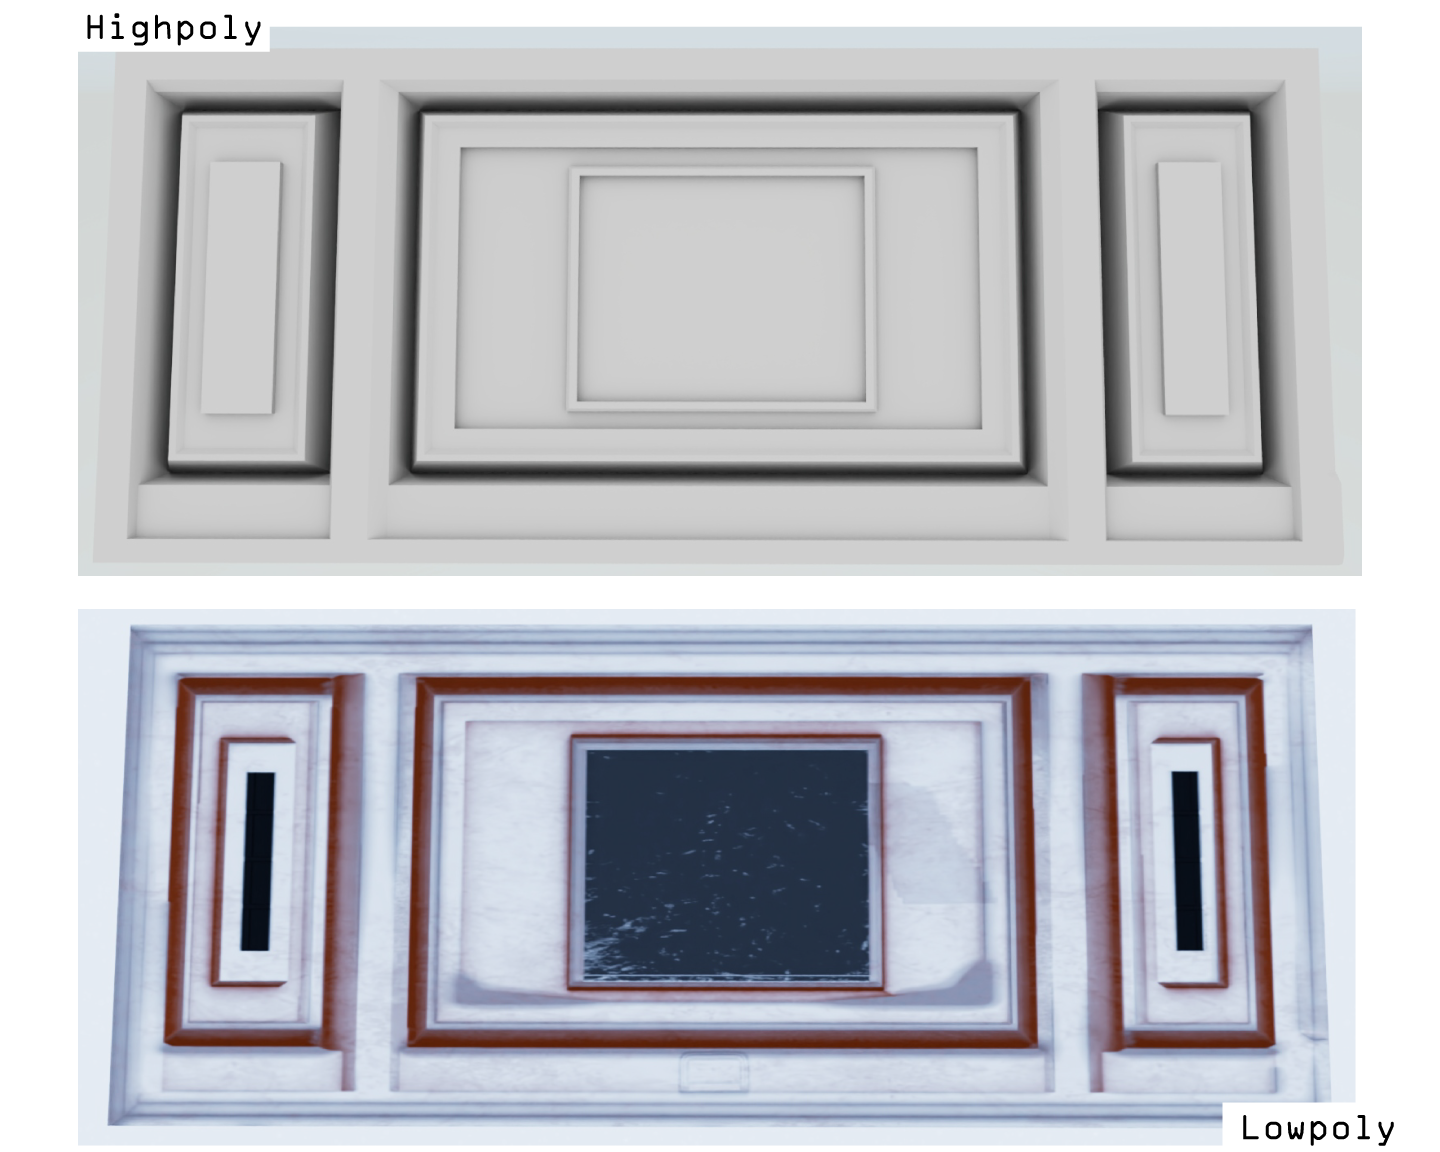
Object Modeling
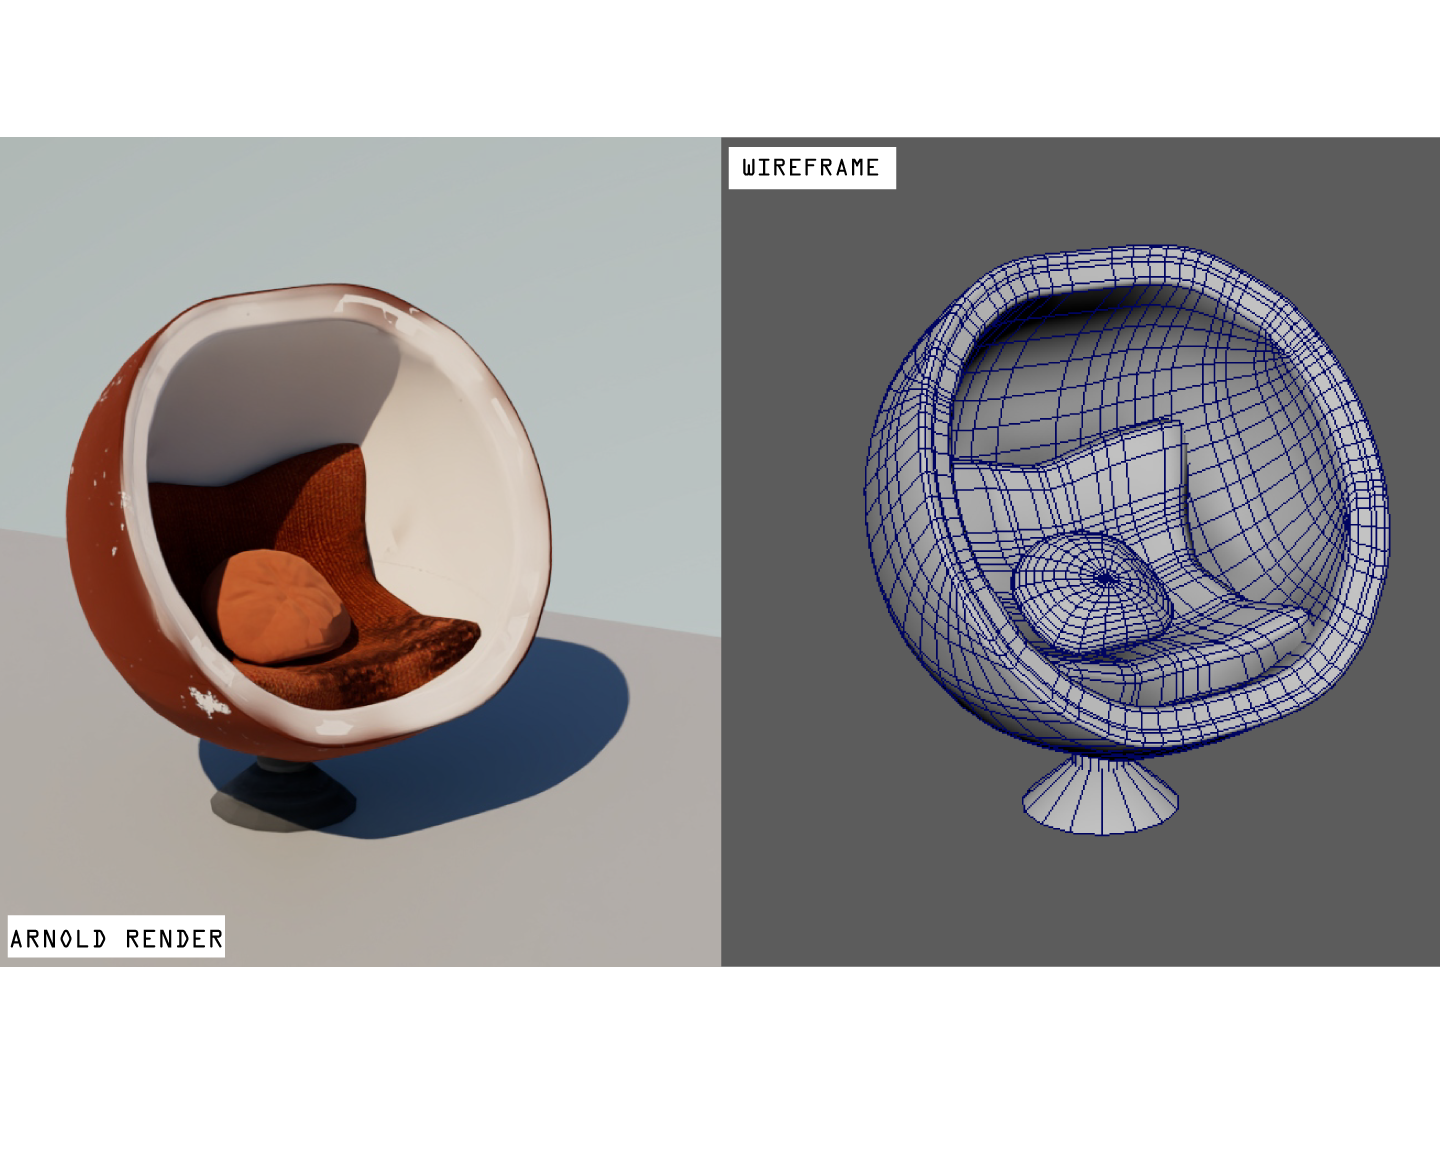
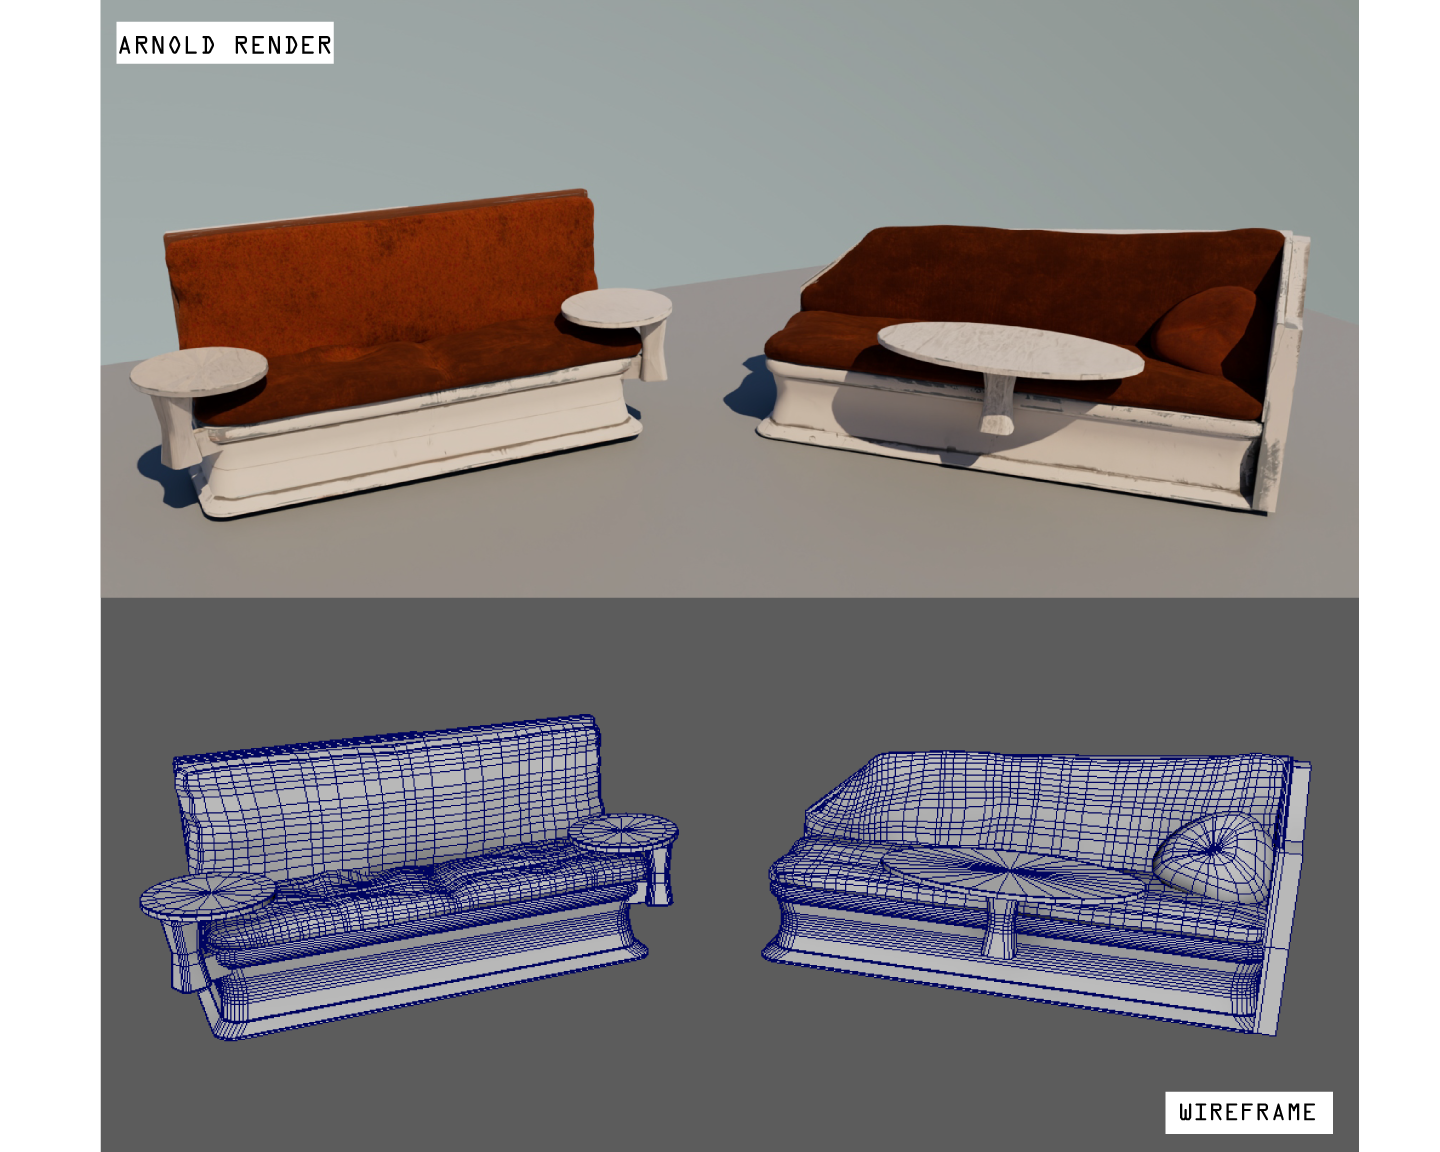
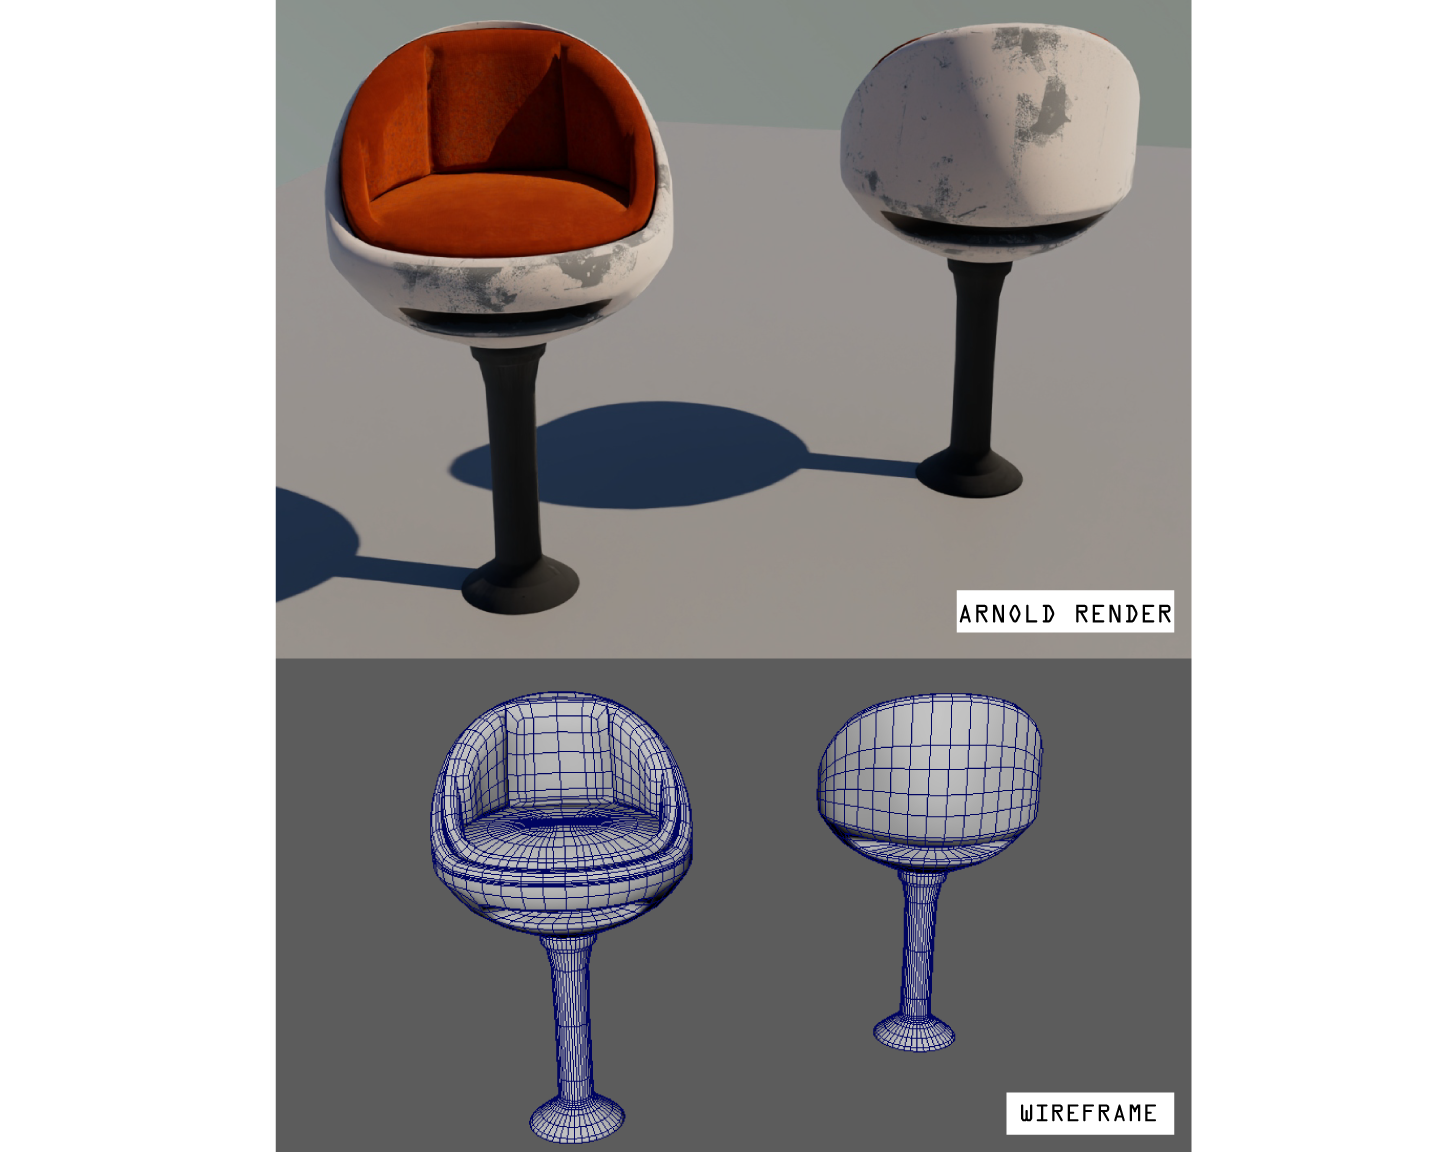
For this portion, I had to really think about the objects I wanted to model that would populate the interior. This required me to look back at concepts, reference photos, and be realistic with myself. I had to understand my overall capabilities, and how that may affect my timeline. I needed to select my main props; objects I felt that were absolutely necessary for a fuller environment.
The most important objects on this list I created were as followed:
-Benches
-Bar Chairs
-Bar
-Windows
-Lighting Fixures
-Wall details
While there are other objects I do not mention here, they were made to help further create a believable living space. My main focus was to make sure I was able to complete the list before creating anything else. The object I spent most of my time on was a highpoly model of an old Portable Sony Radio. I believed it fit the aesthetic as it maintained the retro vibe I was aimming for. Since it was the project that introduced us to the normal mapping pipeline, I created the complete process of that assignment on a seperate page here! My goal was to create highpoly objects with intericate enough details to later bake onto low poly models.
Modeling: Interior 70%
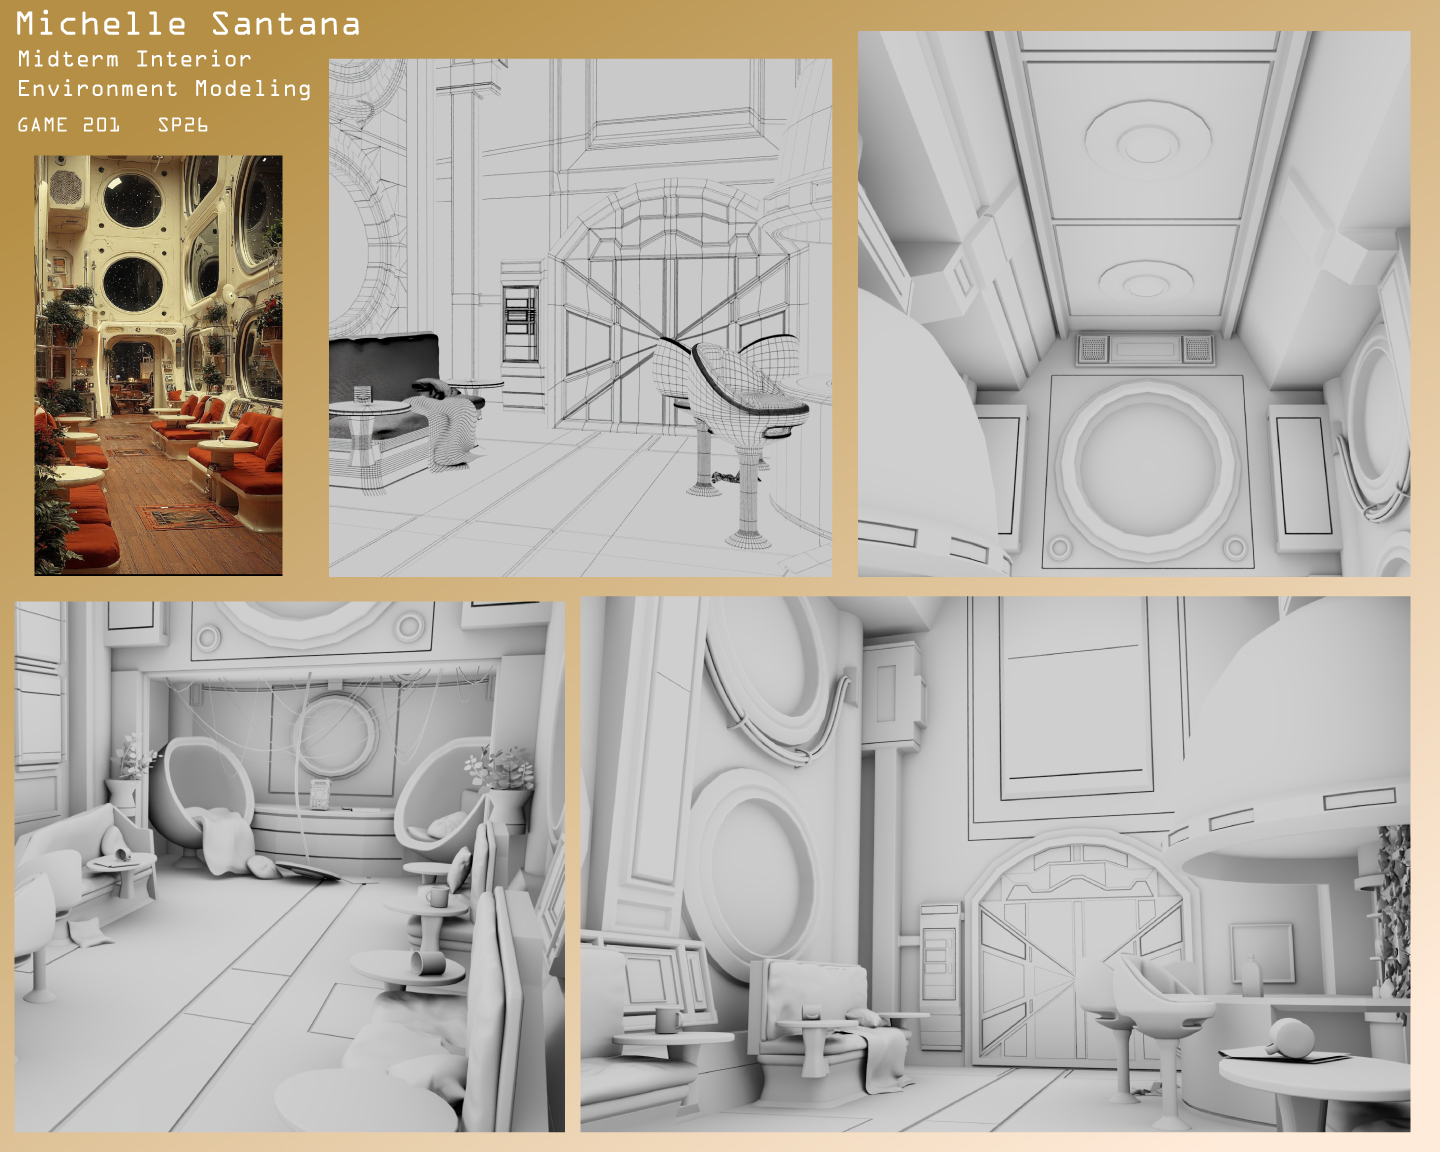
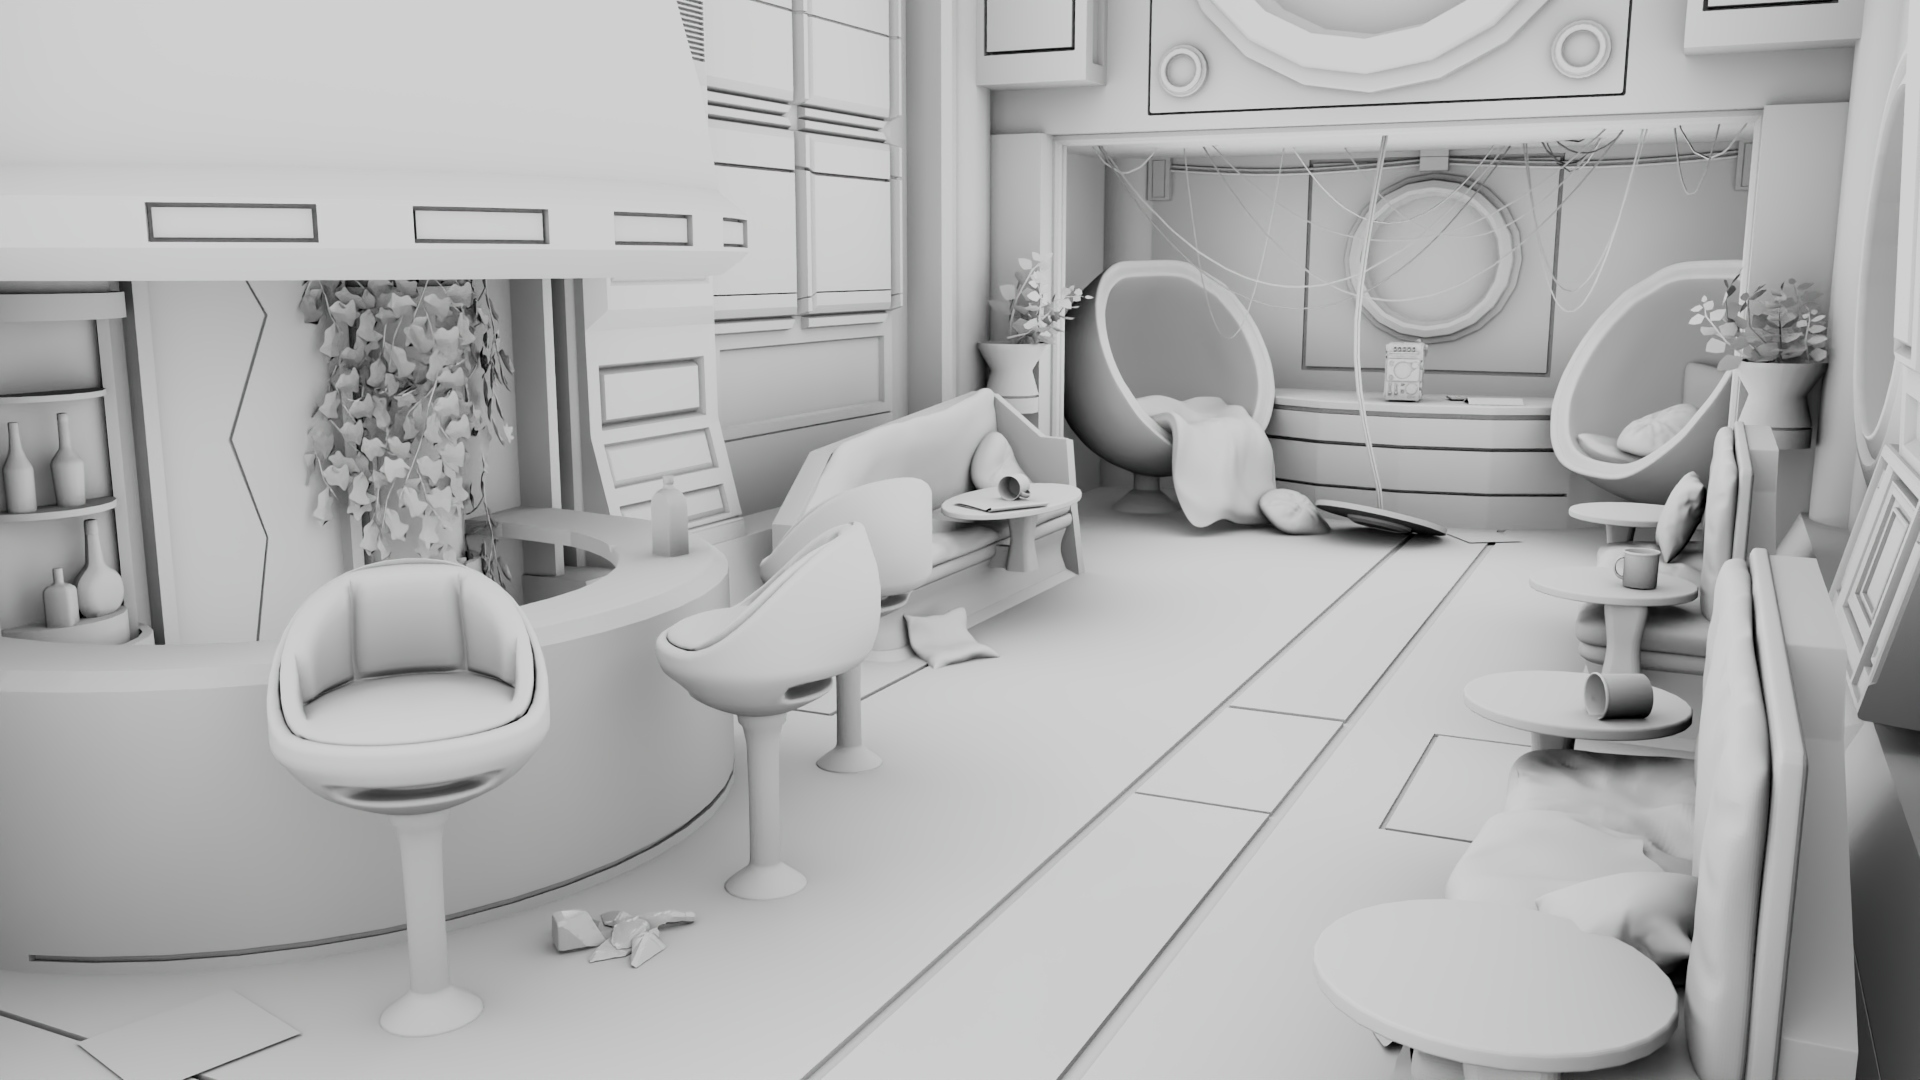
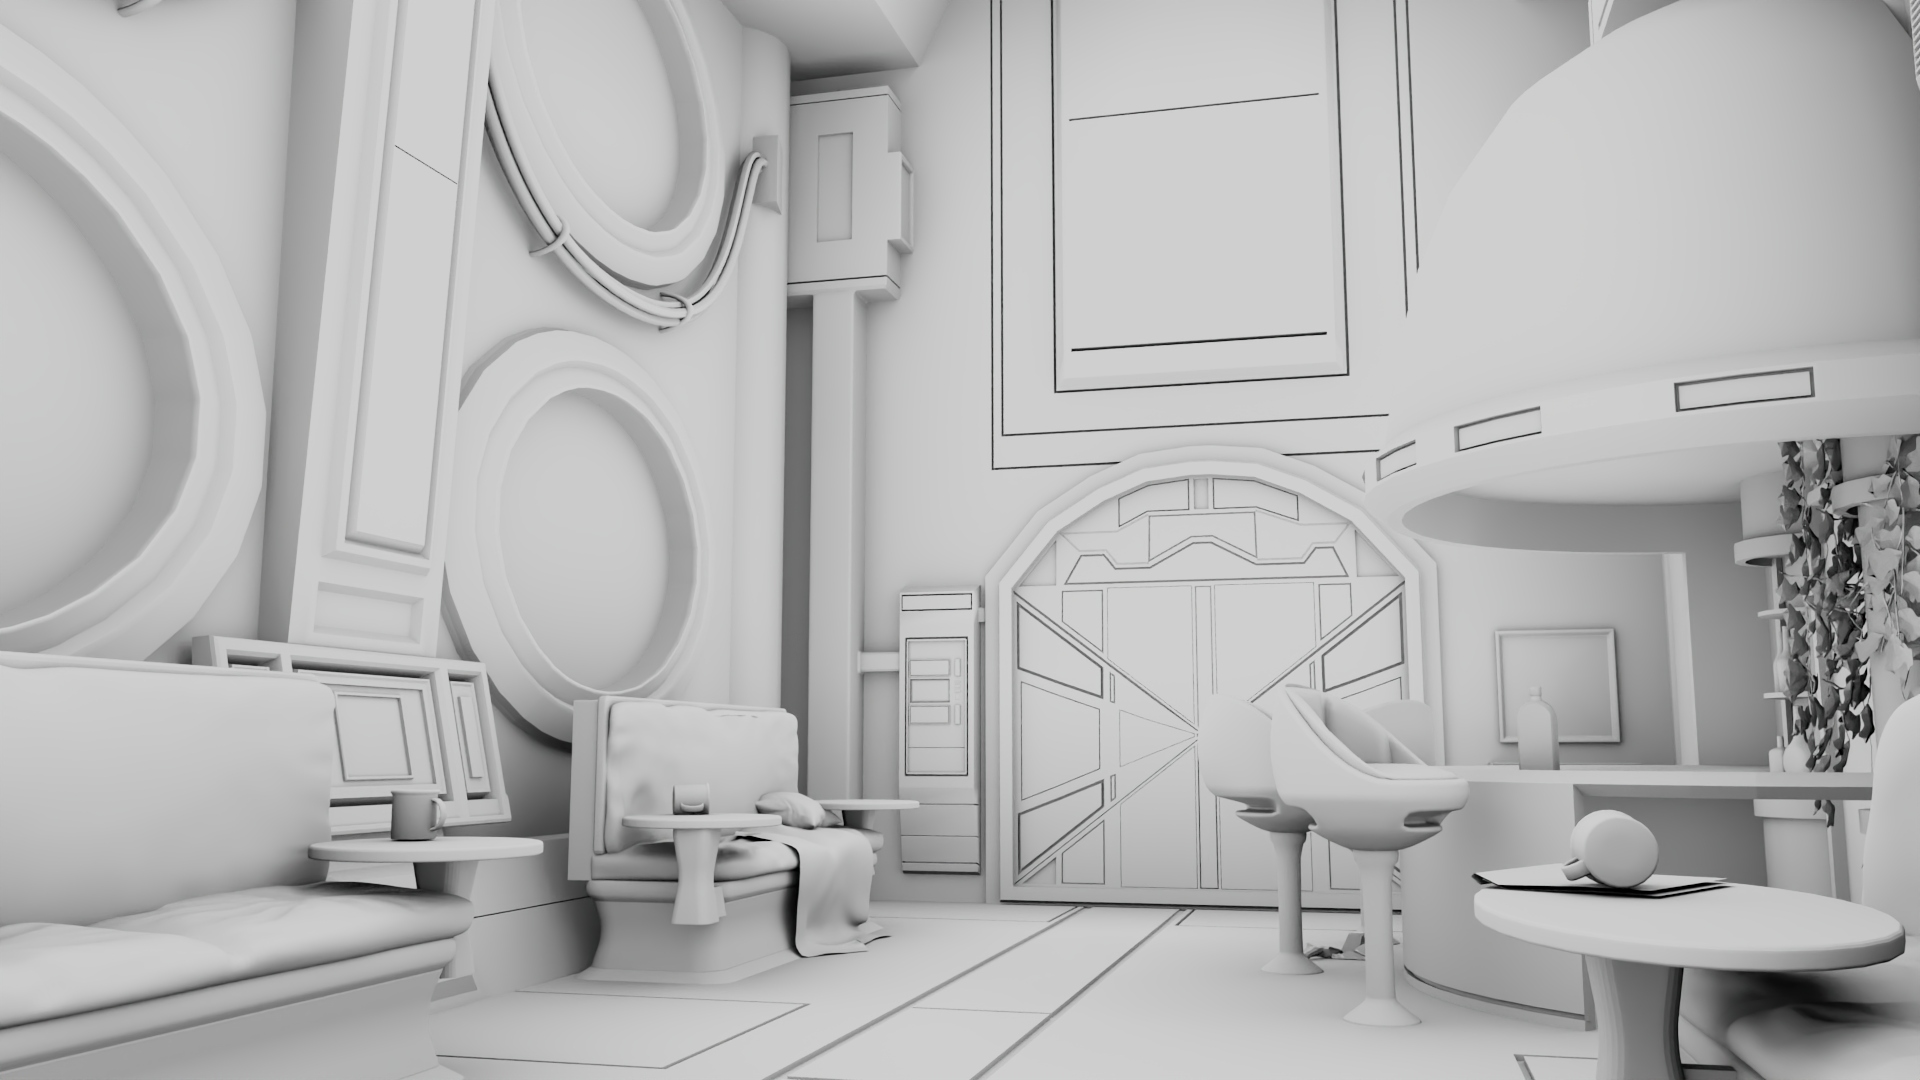
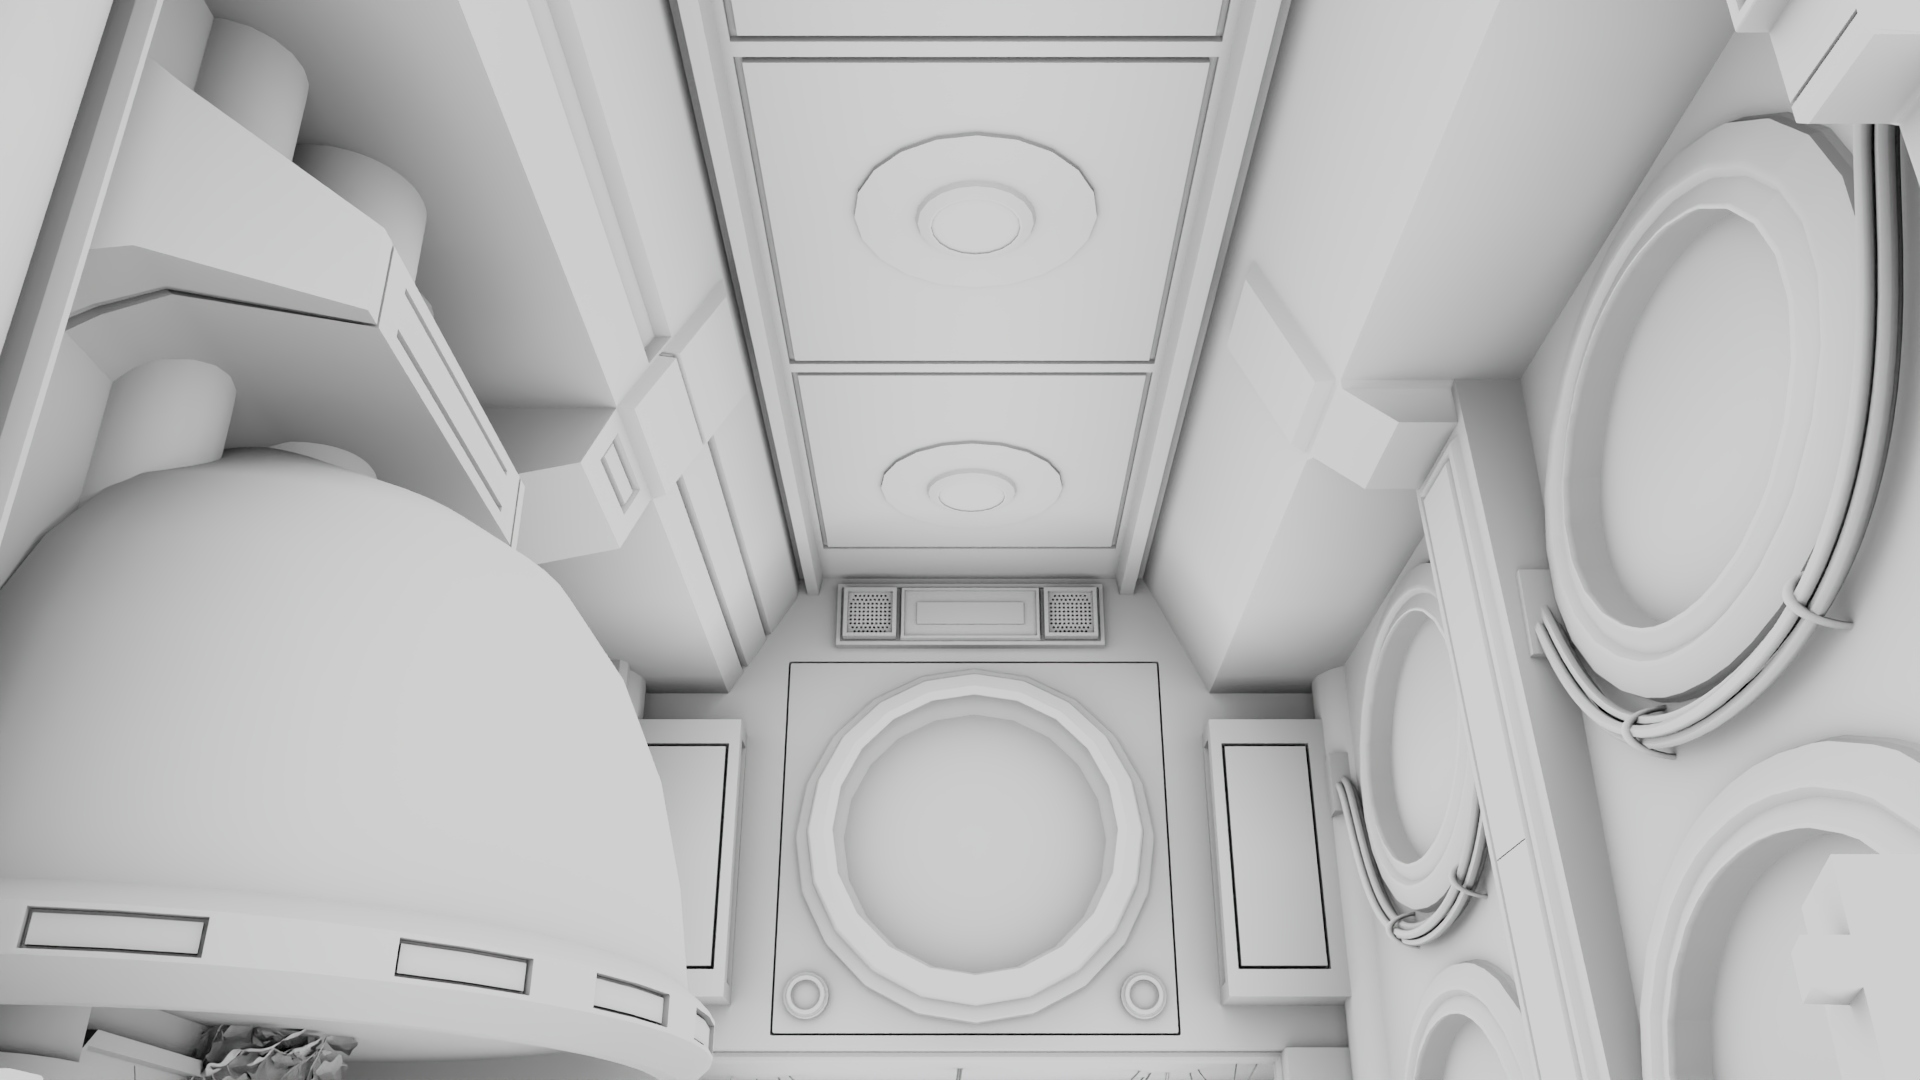
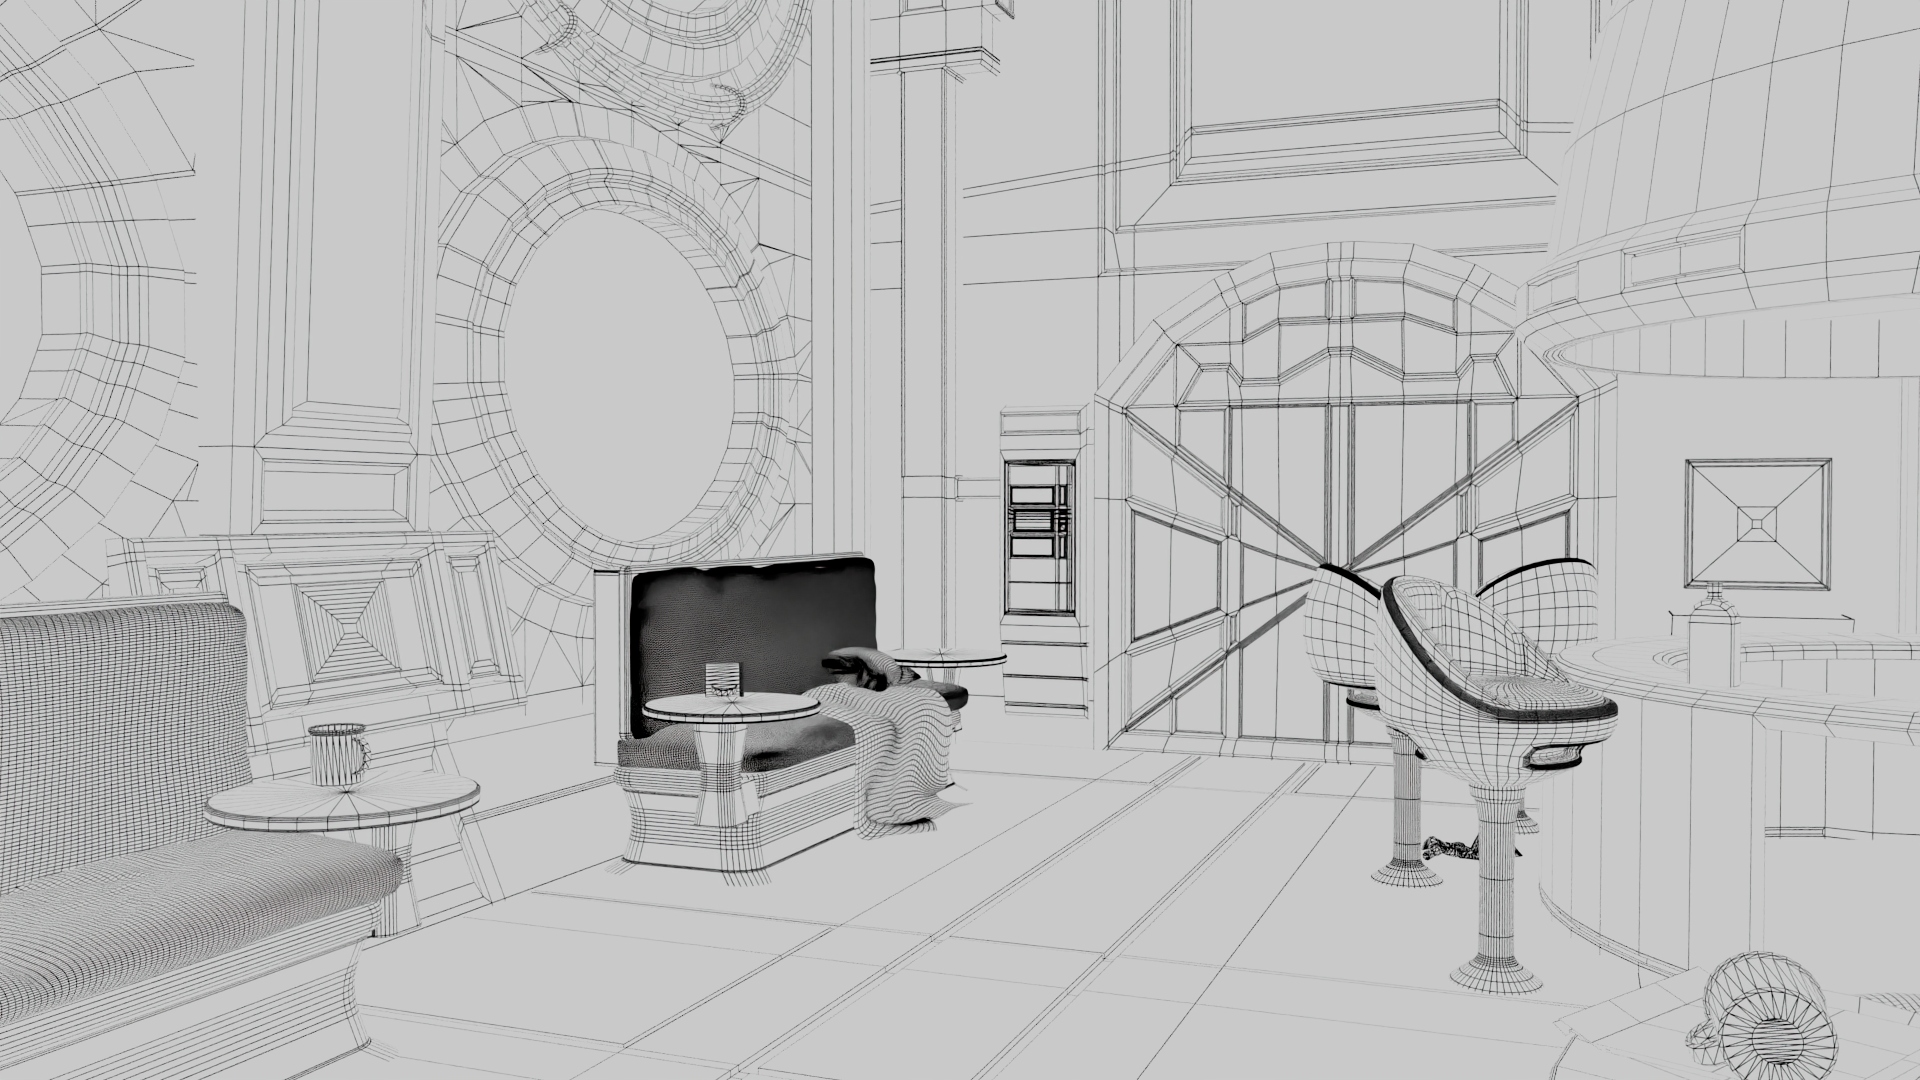
Interior Modeling
For interior modeling, I first needed a character to develop a space with realistic enough dimesions. I would like to clarify, that I did not use the measurments within Maya software to create a 1:1 environment, which I am aware would have been the superior choice overall. I did, however, utilize a pre-made character model to guesstimate reasonable proportions for objects and overall space.
I took extra time to look up more reference photos when developing my the walls for my interior. I wanted something that appeared to have a function, giving the room a uniqueness, whilst also not spending too much time being overly critical. I did not want the walls to be bare, but I also did not want the walls of the room to feel like they had be decorated with unnecessary designs that made the space appear too illogical.
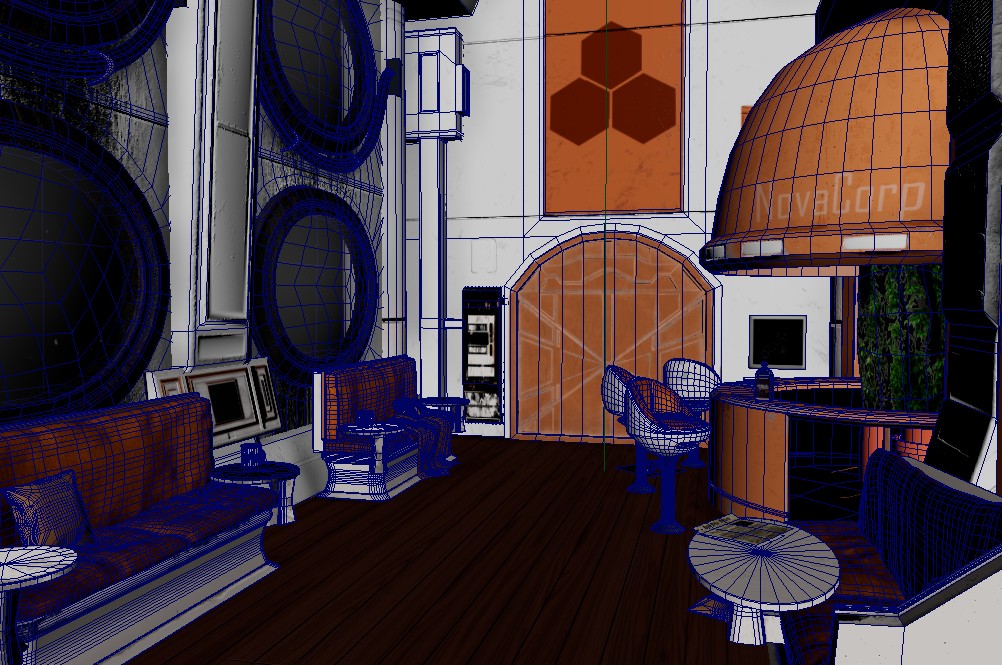
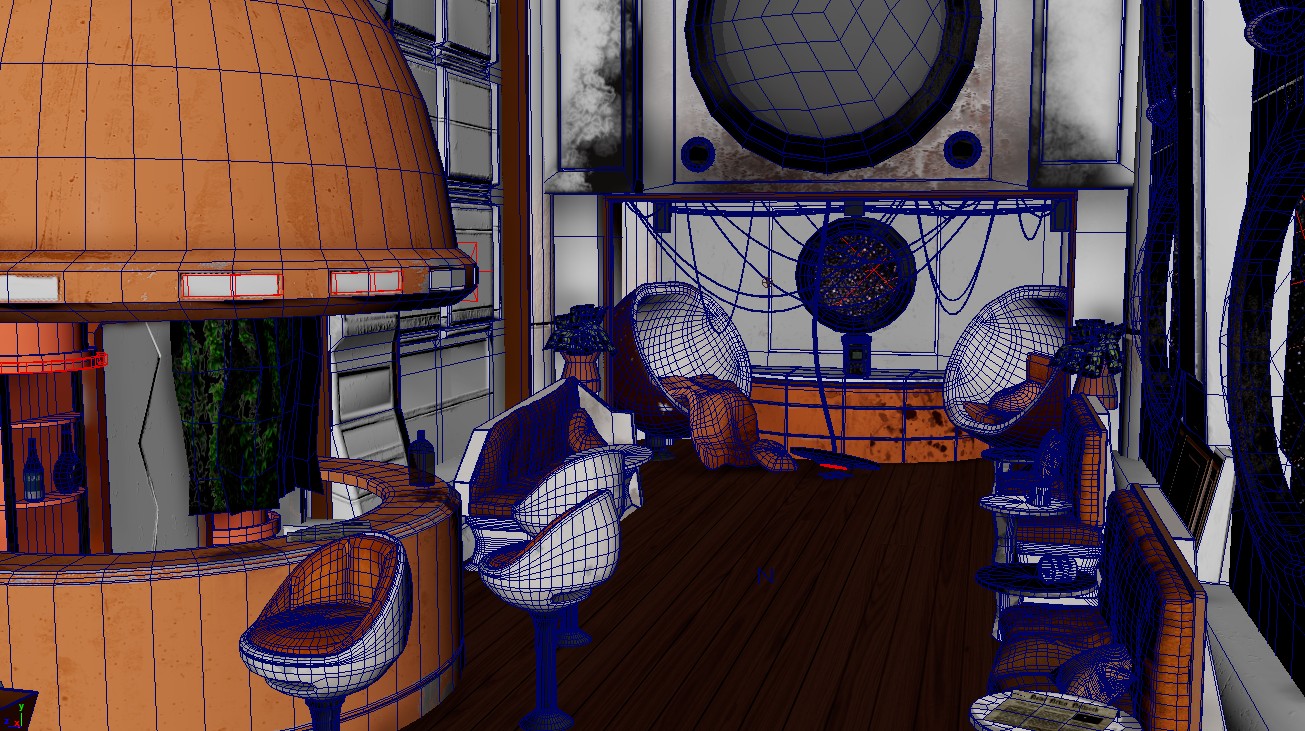
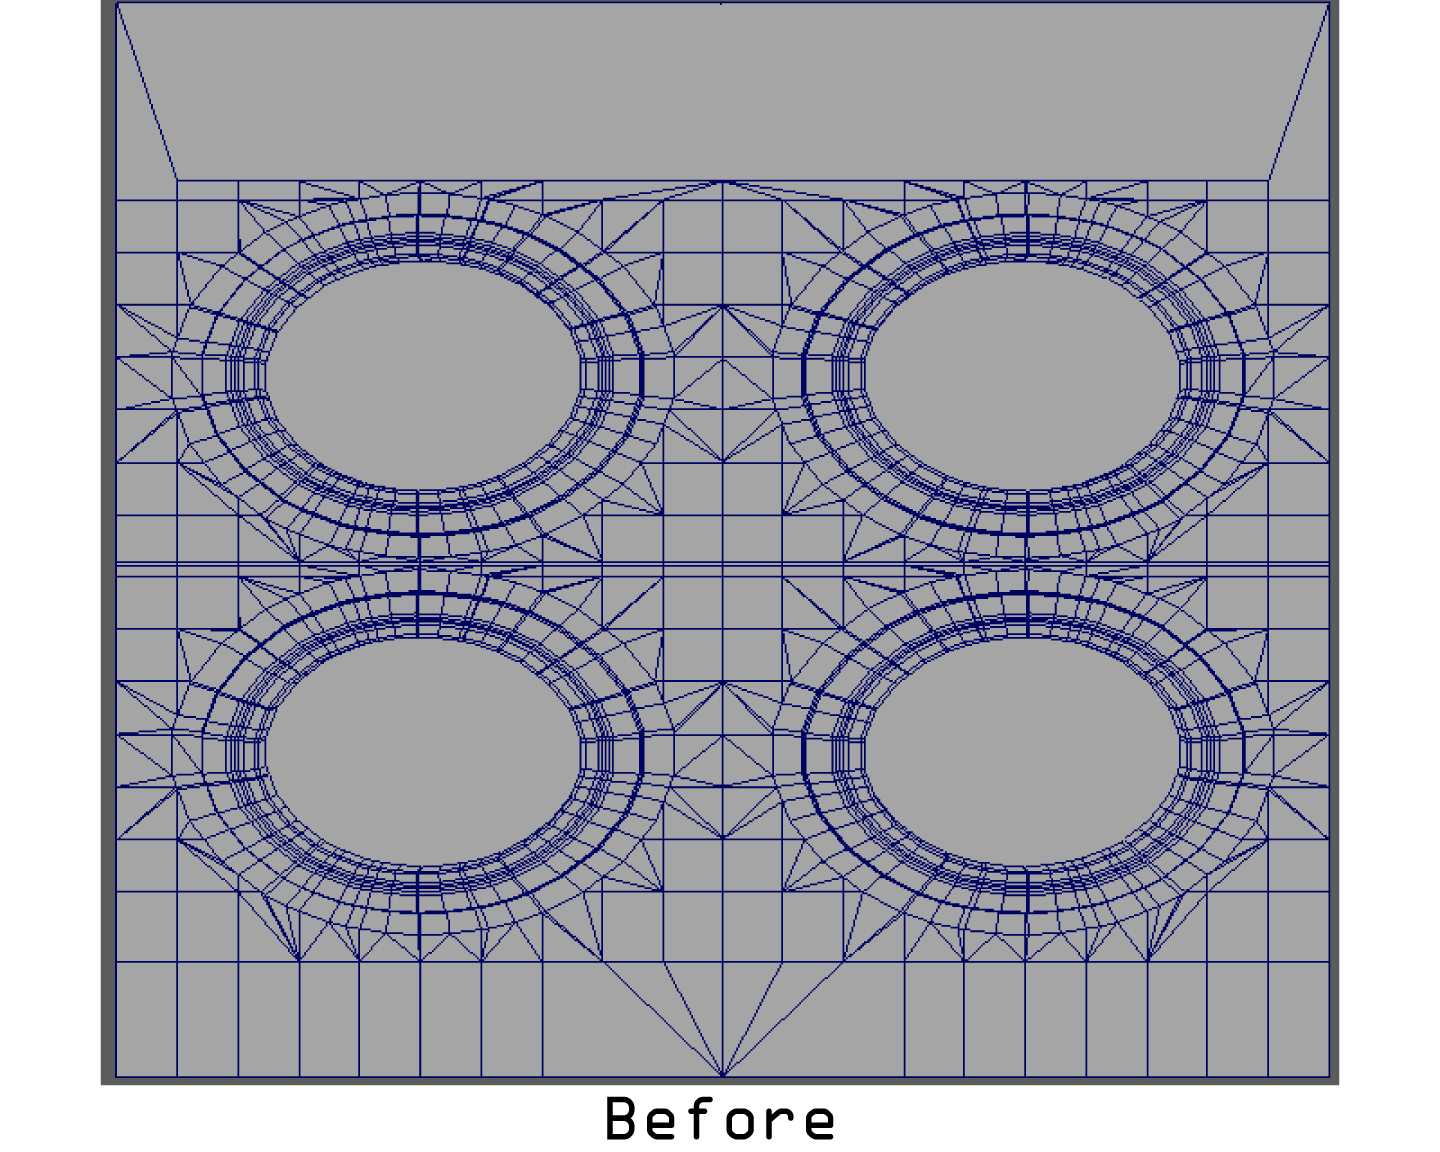
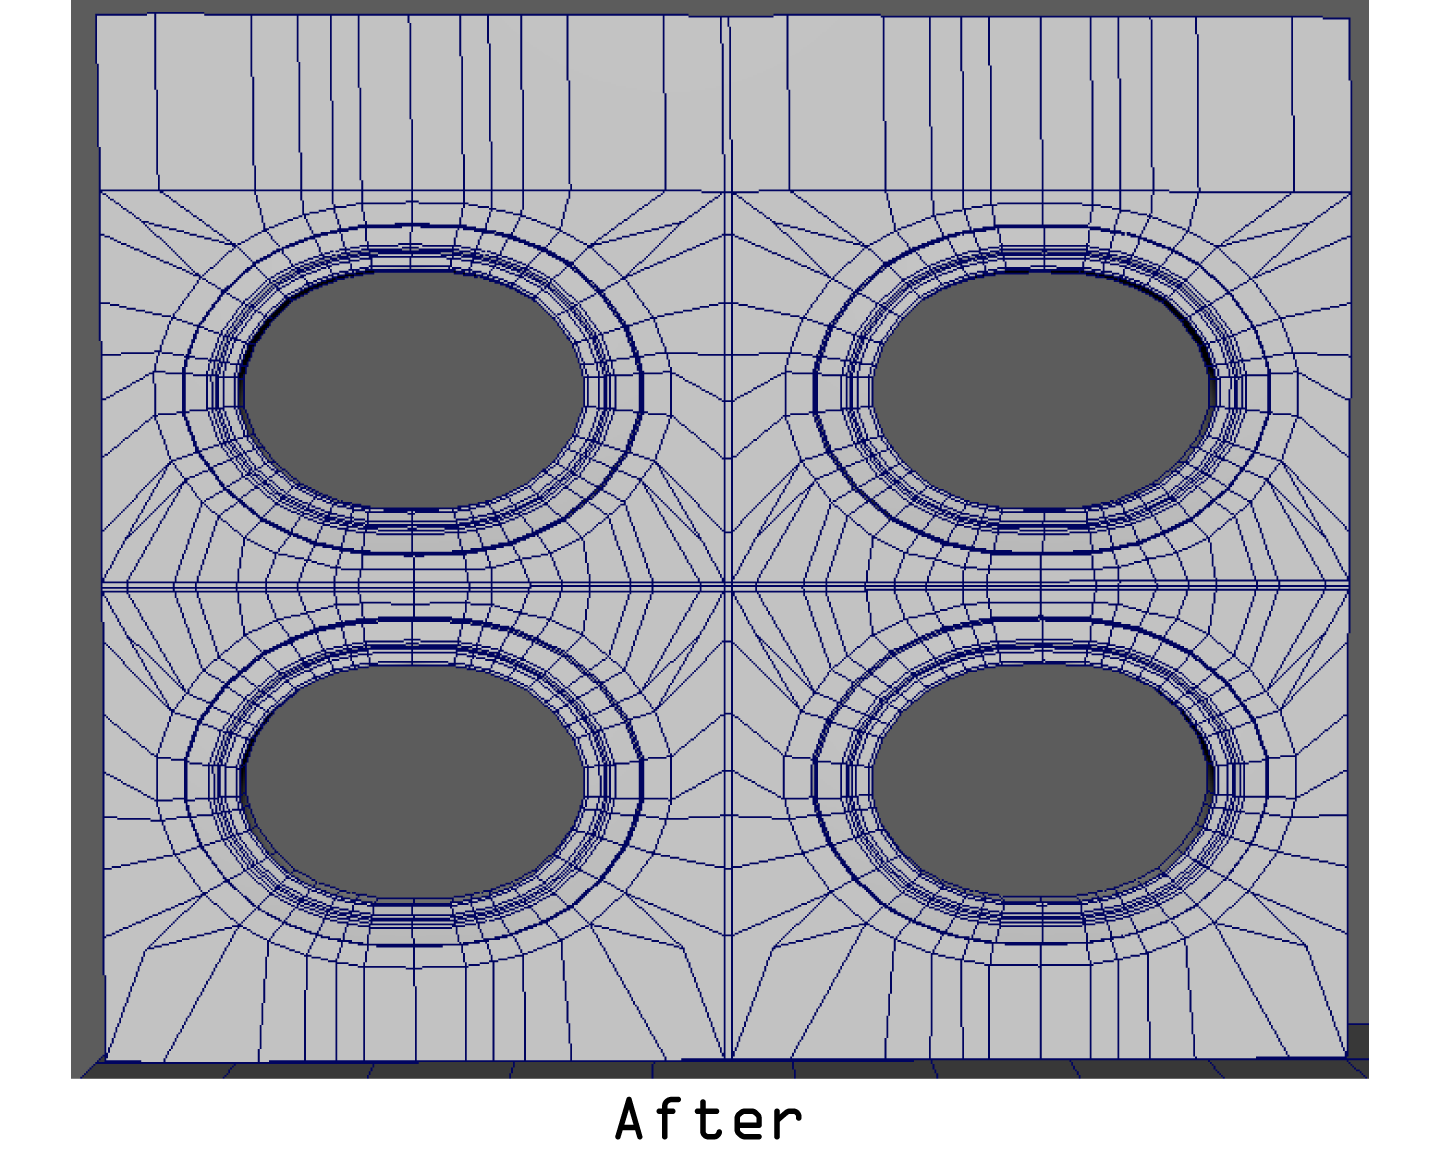
The most important part of this process, was paying closs attention to the topology of all my models. Although most of the space utilized hard edges, it was easy to forget how different manipulative tools affected the edge flow of objects (especially walls in this case) leaving broken models that made the baking process even more difficult.
Texturing/UV Mapping
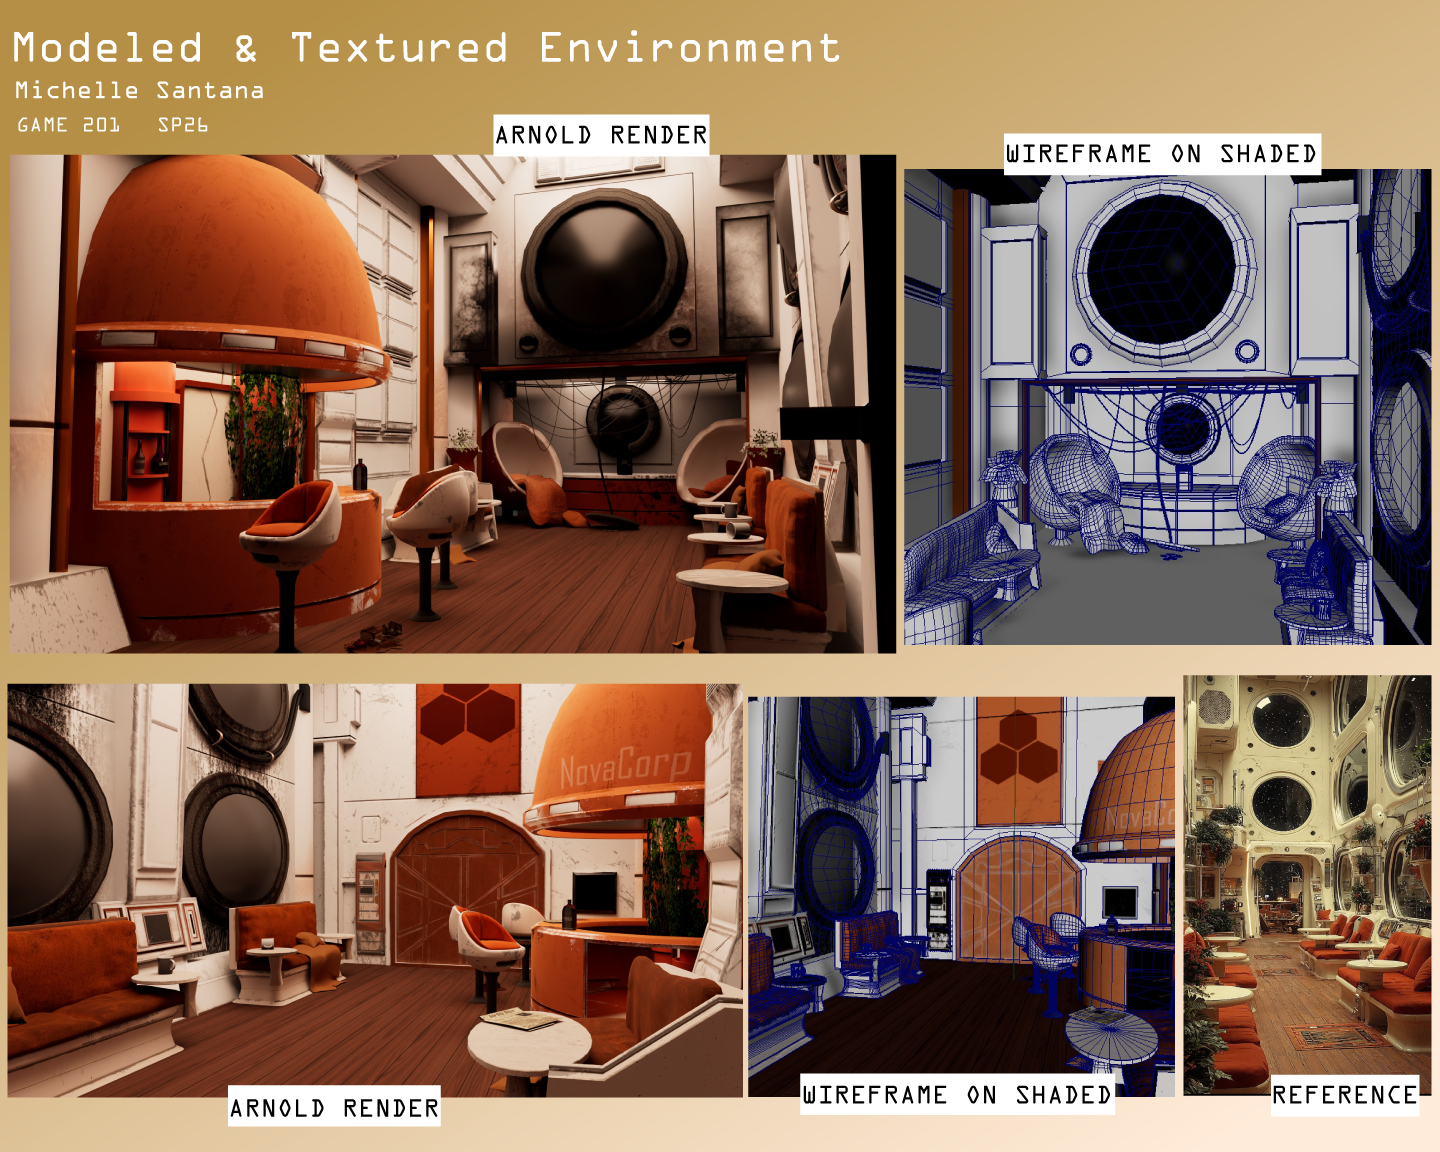
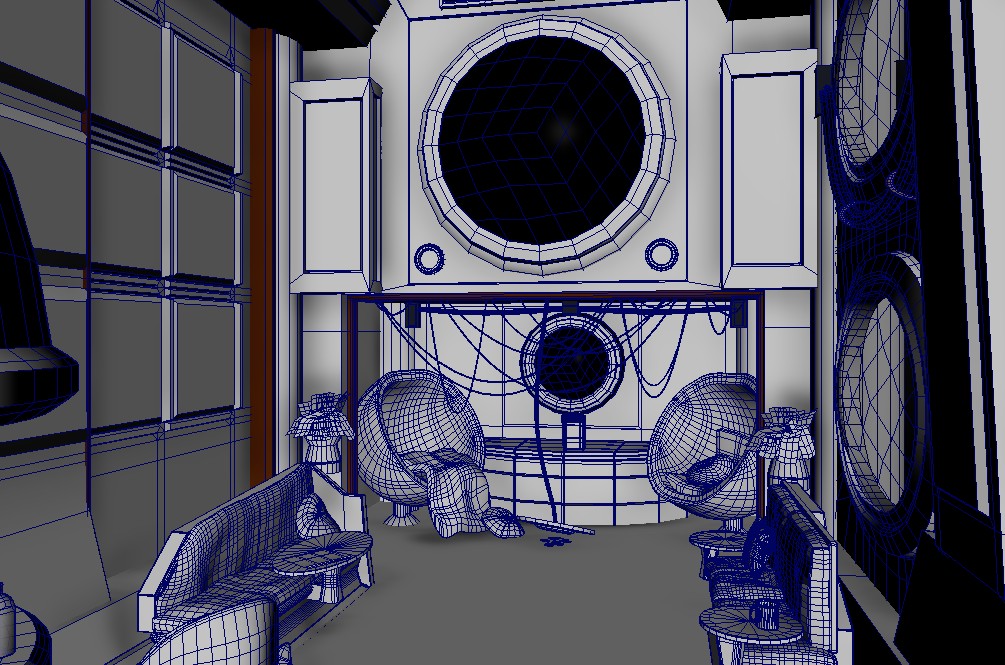
Creating Textures/UV: Substance Painter and UV Unwrapping
Most of my UV unwrapping had to be done manually because of the unique structures of some of the models. I feel much more confident in those skills due to the sheer amount of times it needed to be done in order to both texure paint and bake. It was incredibly tedious, but rewarding when done correctly. During this process I also made sure to delete unnecessary polygons that were either hidden, or doubled due to extrusion. This not only created a more optimized space, but also allowed for quicker UV unwrapping since I did not need to always unwrap the entirety of an object.
At least 98% of the my textures were developed using Adobe Substance Painter. It was the first time I have ever opened the program, yet the the process of overcoming the intial learning curves were greatly rewarded by the work I was able to produce within a short amount of time. Texture baking was utilized heavily for curvature maps that made the process of painting chipped edges much more easier. I would love to continue utilizing the program to further grow my own eye for painting high quality textures. It also has far superior texture baking than Maya, which is what first sold me on it. For the finally 2%, I utilized a combination of Photoshop and Illustrator to create more text oriented graphics.
I also utilized alpha channels for plants for better optimization.
Final
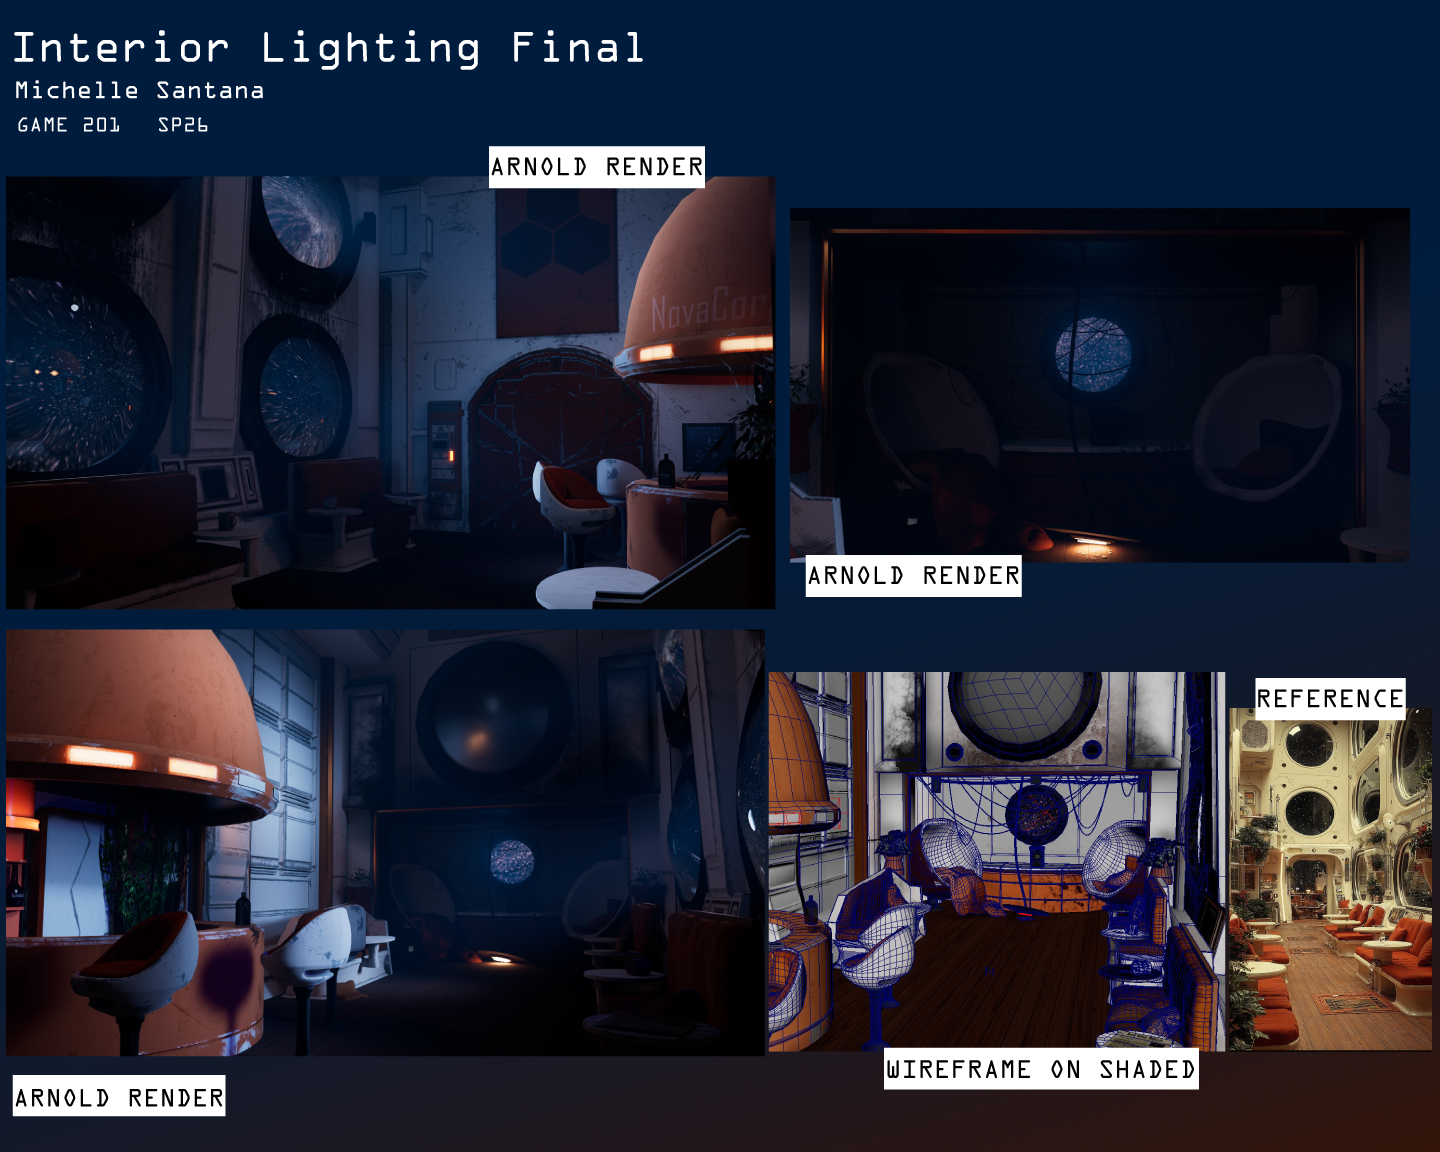
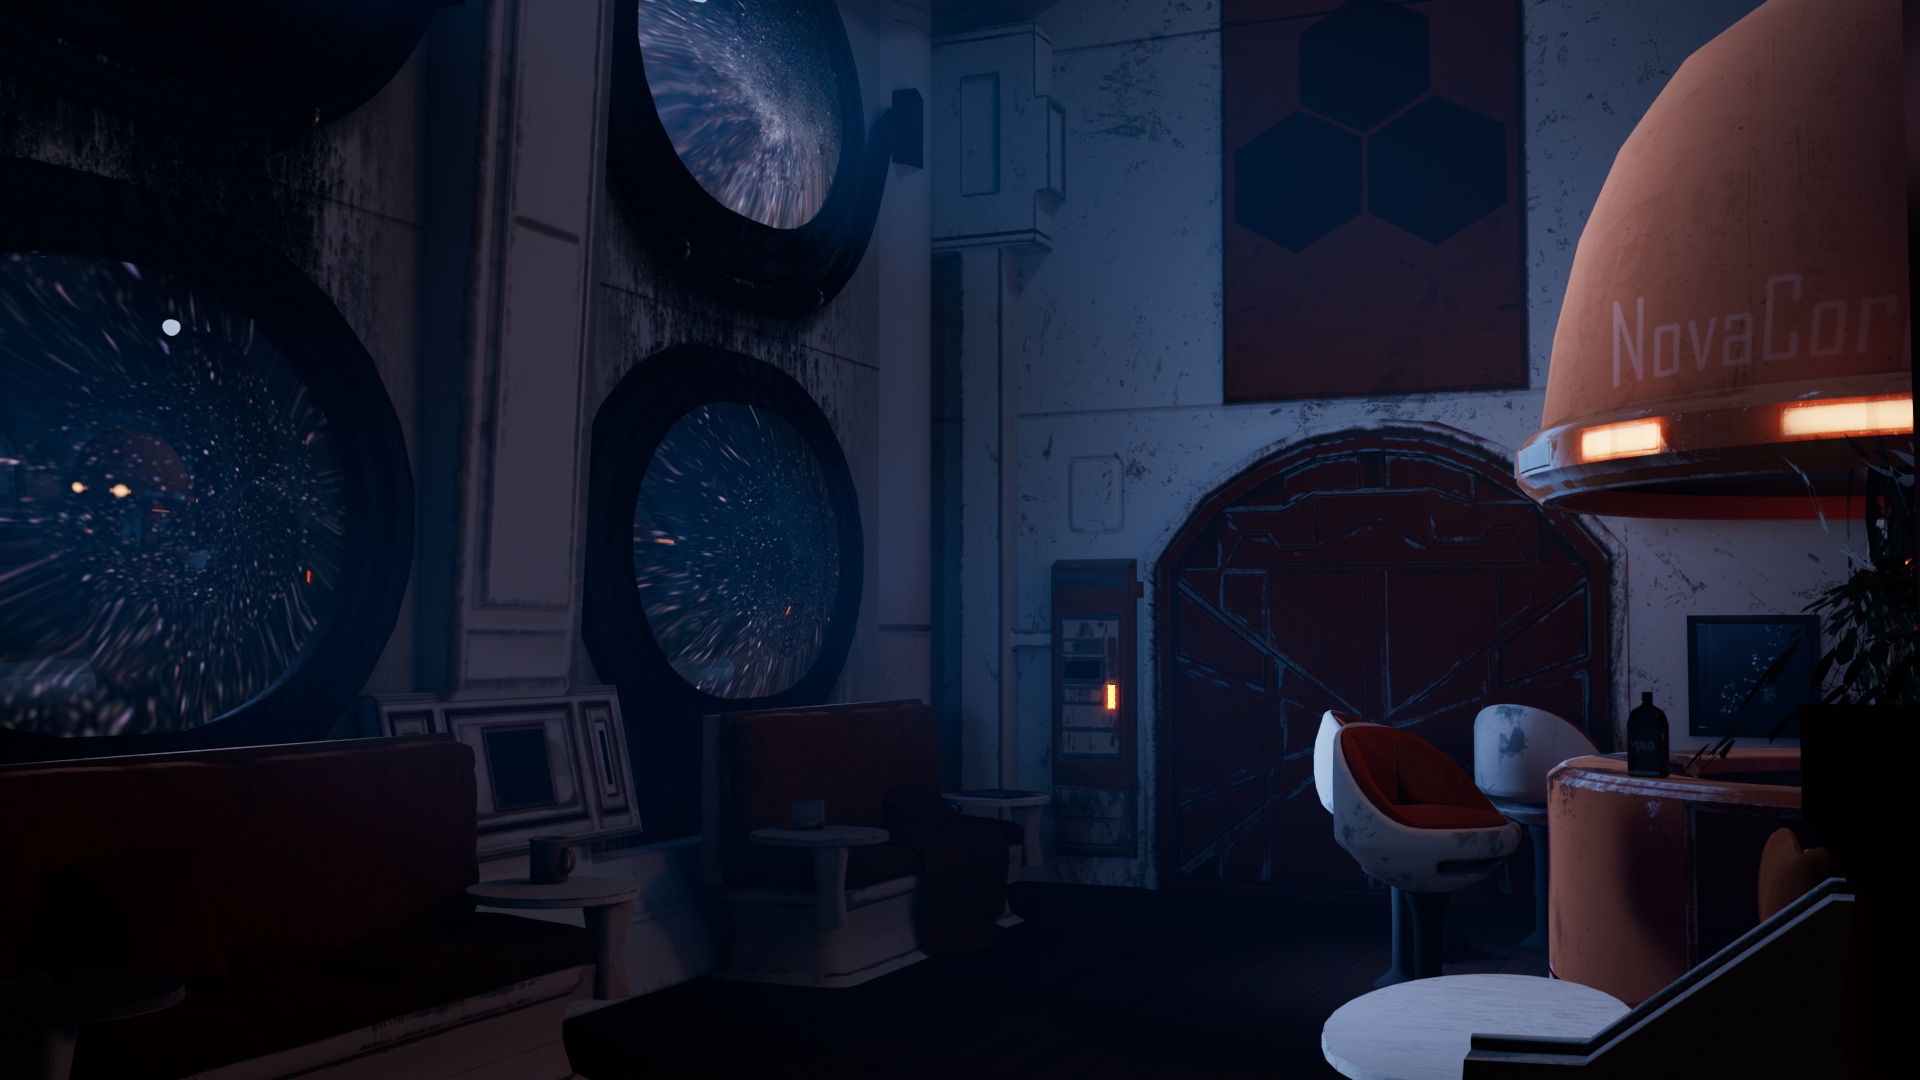
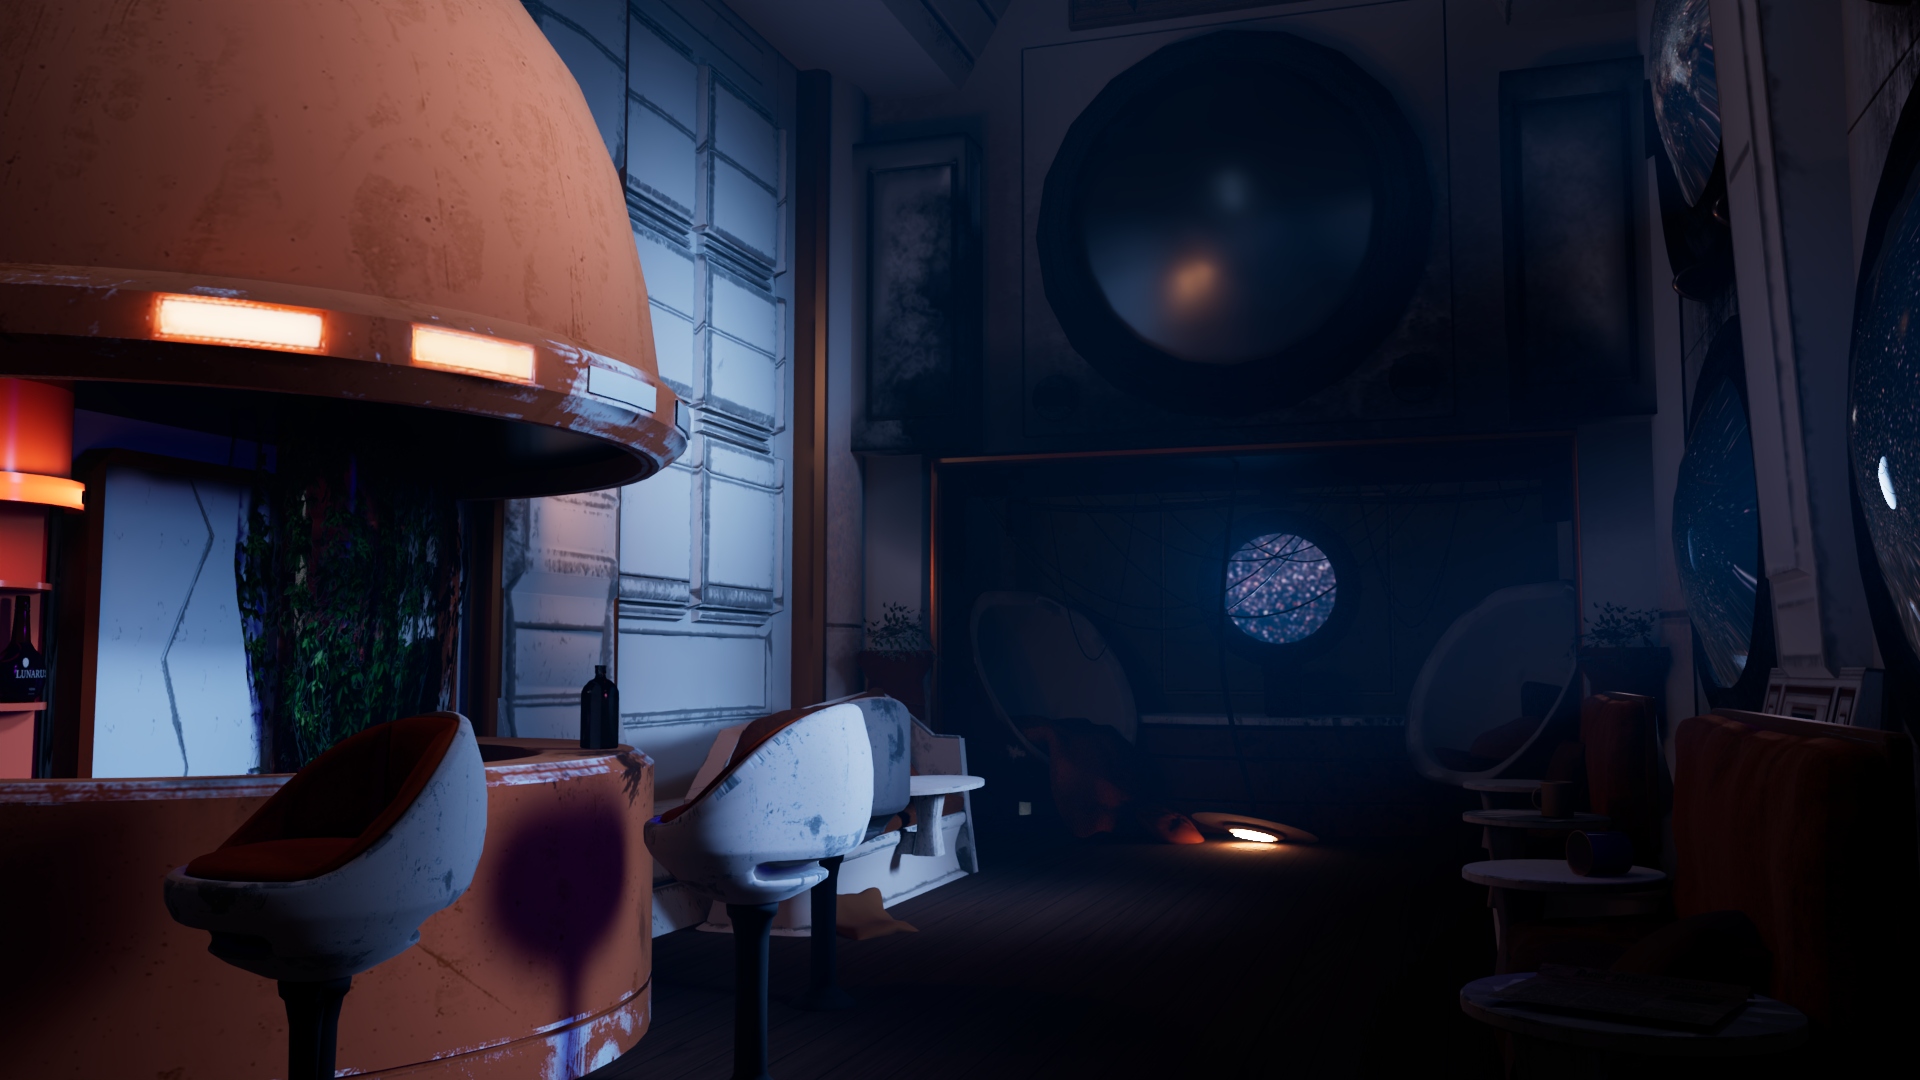
Adding Lights + Rendering
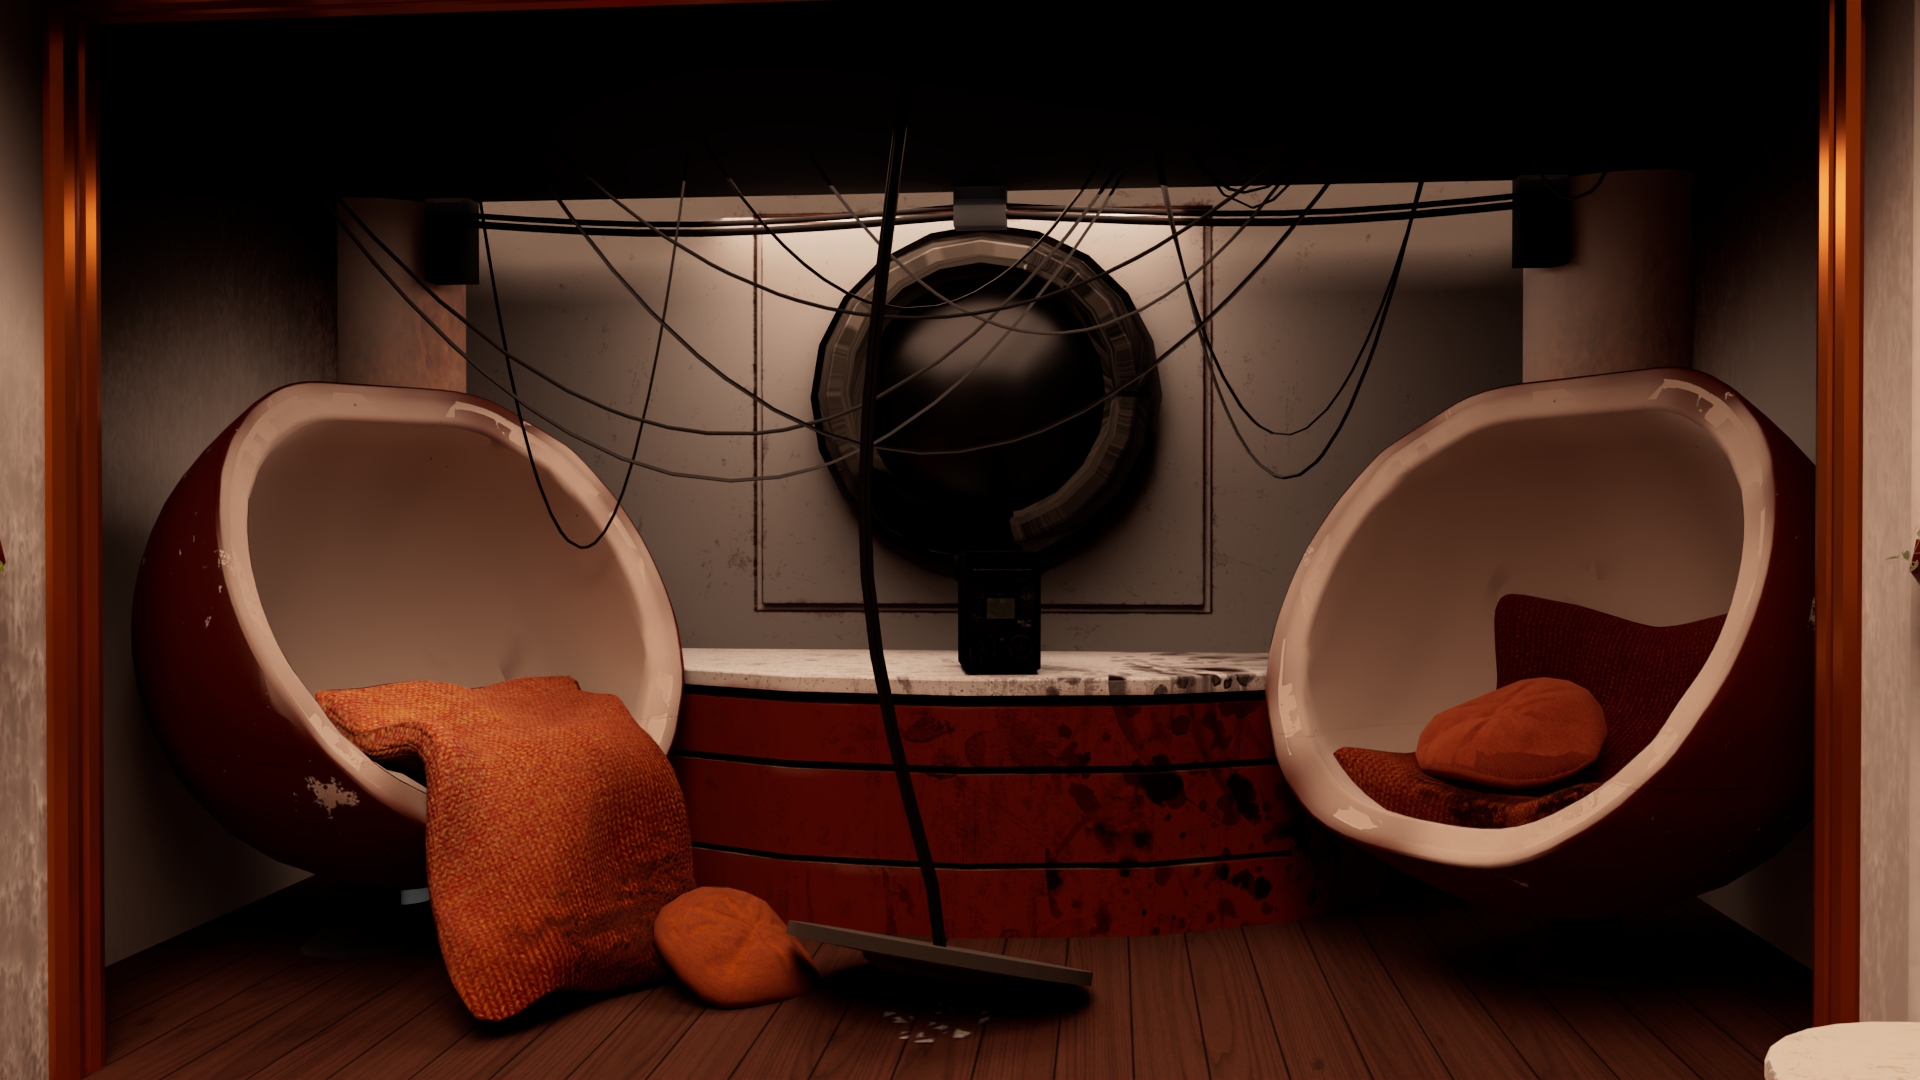
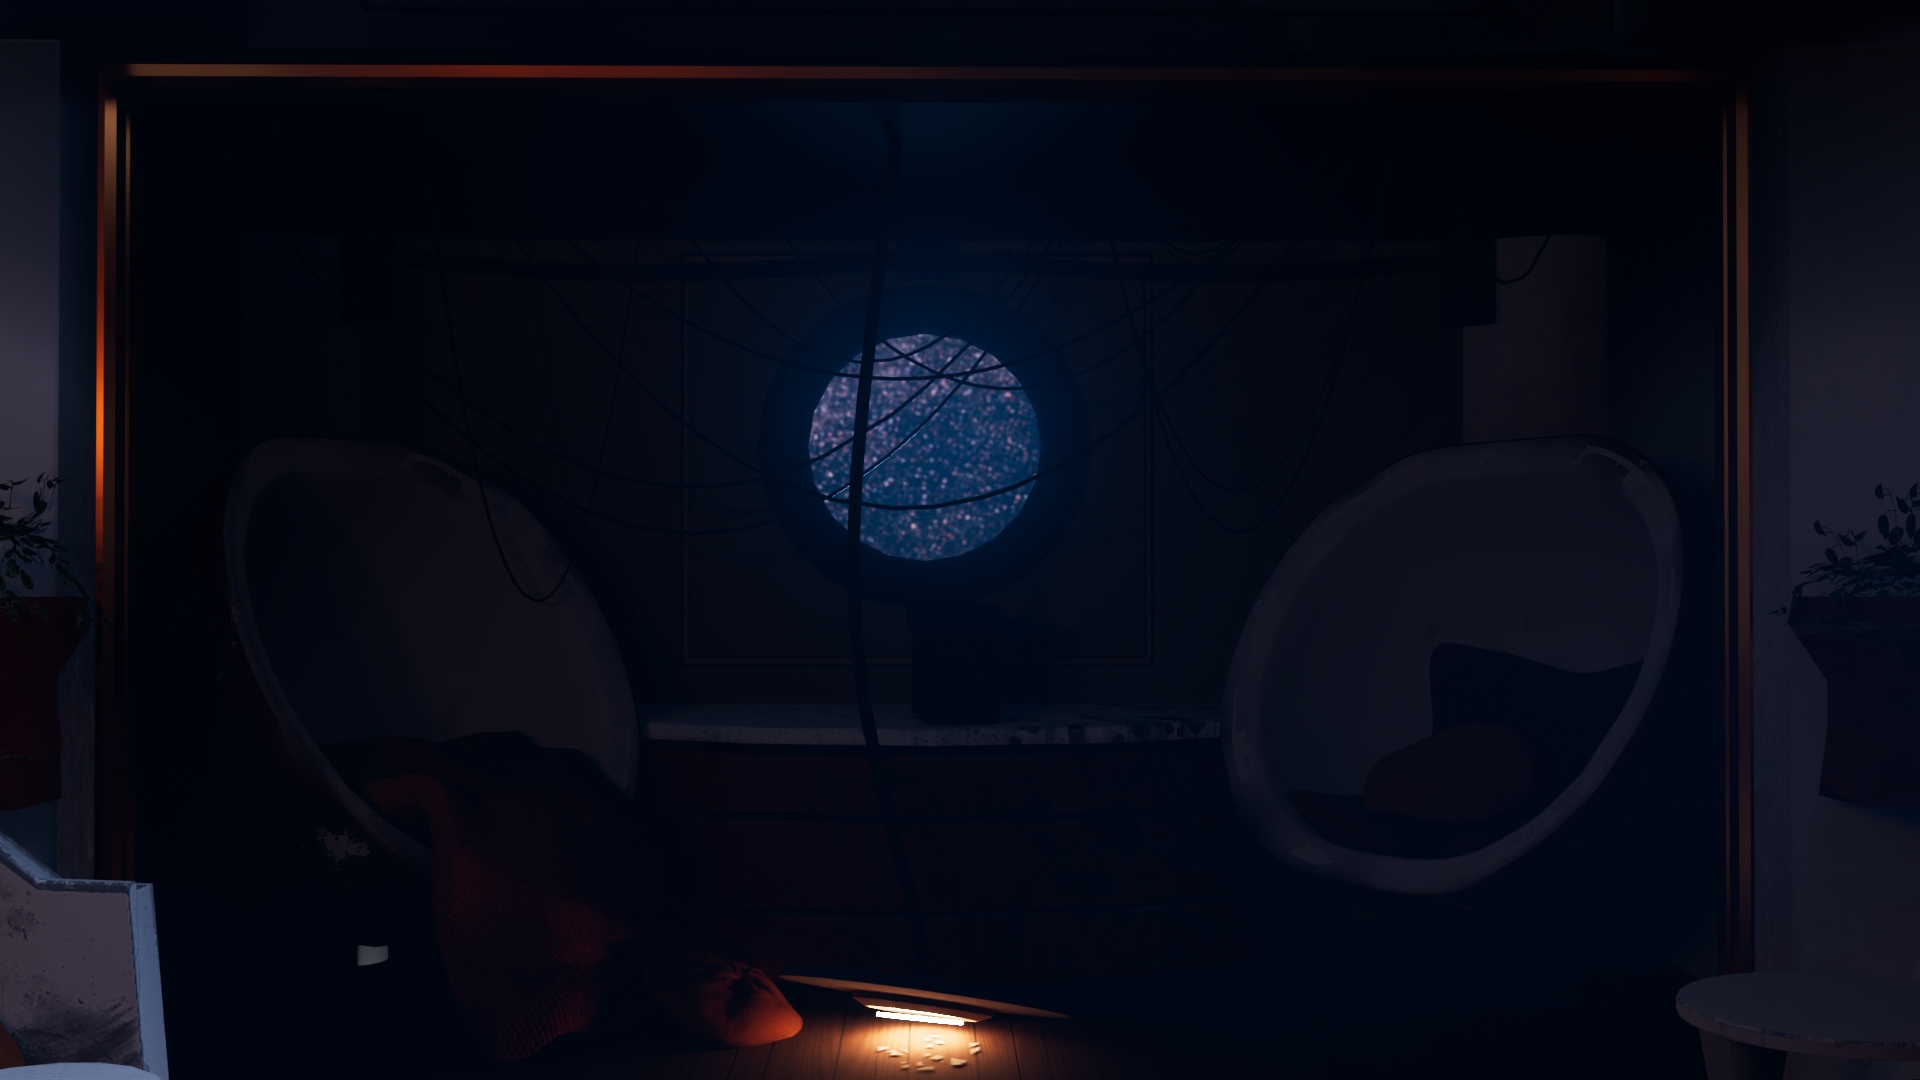
Lighting was a simple process for me, and perhaps the easiest one in terms of how much time it required. Of course, I do feel like I could have done much better, but I am satisfied with what I had accomplished for my first ever fully developed environmental model. I mainly used area lights, changing temperture, exposure, and angles. I included arnold's atmospheric fog, which I currently feel could do with some more polishing. My goal was mainly to create a desolate feeling with a majority of light coming from outside the vast coldness of space. Within a game, a player would aquire a flash light with warmer lighting to offset the coldness of the room.
Outside utilizes an hdri I had to develop myself. To be fair, I took the simple way out by using a space image from NASA's site, and uploading it into a HRDI convertor. I know there is a process That can be done inside Photoshop, but I did not have the desire time to be able to learn that process fully.
Rendering was the simplier task. I mainly had to rework camera postions, be cautious about render times, and make sure lighting shows up pleasing to the eye. I did have to restart render due to issues regarding the things I listed, but once I was done, I was overall satisfied with my project. I might change some lighting details once I implent everything into unity, but I am glad with what I was able to accomplish for my final.
Final Thoughts/Finishing Touches
Finishing Touches and Final Thoughts
I ended up doing some retopolgy on a few objects for better optimization, texturing, and viewing due to artifacts found during lighting demos. Some colors were changed, and objects were slightly moved around. Other objects ended up being rebaked due to poor baking and curvature maps. Looking back at my work now, I noticed some redundancy in textures, illogical placement of deterioration and odd placement of paint that do not feel natural. Using what I've learned through the process of this project, I desire to create other interiors with more sophistication very soon.